
We have had big excitement this Fall with the launch of not one but TWO new embroidery machines to join our already fabulous line up of embroidery machine options at Janome: the Skyline S9 and the MC230E.
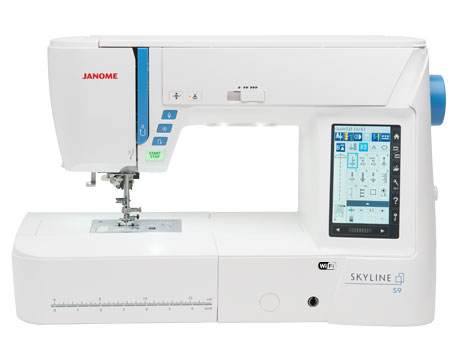
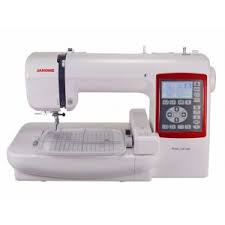 We have our top of the line JANOME MC 15000, our Horizon MC9900 and our “selling like hot cakes” MC500E embroidery only machine. Joining these machines is the JANOME 230E (embroidery only) and the SKYLINE S9 (sewing and embroidery).
We have already published posts – recently – on these new machines so we won’t talk at length about the awesome embroidery possibilities on offer. What we want to start today is a series of educational posts on STABILIZERS. If you are new to machine embroidery, it can be somewhat overwhelming and confusing when trying to figure out why you need a stabilizer, which one to choose and so on……So we hope to simplify this for you.
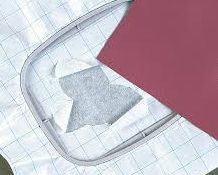
pic: Ebay
We like to always have a supply of TEARAWAY STABILIZER on hand for our embroidery projects. This is probably our go-to stabilizer for most projects. While we probably use this type of stabilizer for most of our embroidery, it is not the best option for some embroidery projects. We will review some other stabilizer options in the coming weeks so stay tuned! Sign up for our emails if you are not already subscribed. Don’t worry….you only get an email each time we publish a blog post…..to alert you so that you don’t miss these educational posts. And we do not share your information with anyone else either.
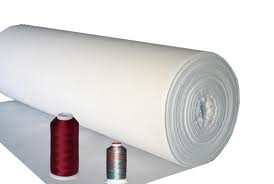
pic: Marathon threads
Tearaway stabilizer is exactly as it says: it is torn away from behind the embroidery after the design has been stitched out. Why have it then if we are only just going to tear it out? The fabric does need to be stabilized and made firmer to receive the embroidery or the fabric will pucker and pull in. You will not be happy with the completed embroidery if this happens so stabilizing with the correct type of stabilizer with enough firmness is crucial.

How do I know what type of stabilizer to use and how firm should it be? Ask yourself the following questions when selecting a stabilizer:
- What fabric am I using? A poly or cotton fabric is generally firm enough for a medium weight stabilizer and strong enough to have the stabilizer torn away afterwards.
- If the fabric is delicate or is a knit? or has stretch, you might want to think again. Perhaps you are doing the embroidery on a soft, knit fabric? If you try to tear away the stabilizer, you may stretch and damage the fabric and you will almost certainly distort the embroidery stitches, especially around the edges. This type of fabric is better suited to a different stabilizer (see Part 3 on Cutaway stabilizers on Monday 17 October 2016).
- What weight of tearaway should we use? We tend to buy and use big 40 inch wide x 100m rolls of a pretty firm medium weight tearaway stabilizer. This is industrial embroidery top quality stabilizer and we find it works for most of our embroidery projects, especially the ones we do on regular cotton & poly fabrics, denims, vinyl, decorator fabric, etc. If we kept a less firm stabilizer or lighter weight tearaway in our stash, we would find that we would often have to double up with 2 layers of stabilizer to get enough firmness. Sure, the lightweight stabilizer is a little easier to tear away but in the long run, we feel it is more economical and practical to go for a medium weight. There are heavier weights of tearaway but these would be used for real heavy duty projects such as embroidery on thick vinyls or upholstery fabrics, etc. We rarely need this amount of stabilizing but if we did, we could double up on our medium weight one.
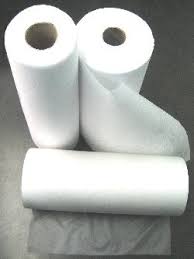
- There are tearaways that look like a non-woven interfacing, some look almost like a fabric, others like a mesh. There are many brands available. All do the job – the trick is to find one that is readily available to you, is the right price for your budget and works well. We do not promote one stabilizer over another.
- One tearaway which is slightly different to the ones mentioned in #4 is an iron-on tearaway. This is ironed onto the back of the fabric so it sticks and then the fabric + stabilizer is hooped. It usually looks and feels like a sheet of paper – almost like freezer paper – and the glossy side is the side with glue which goes against the fabric. There are occasions when I do use this type of stabilizer but for the most part, I don’t hoop my fabric so tend to use other stabilizers. Advantage is that it is pretty firm and tears away really easily as the stitching perforates the paper. Some brands of this type would be Johnny Sews and Sulky Totally stable.

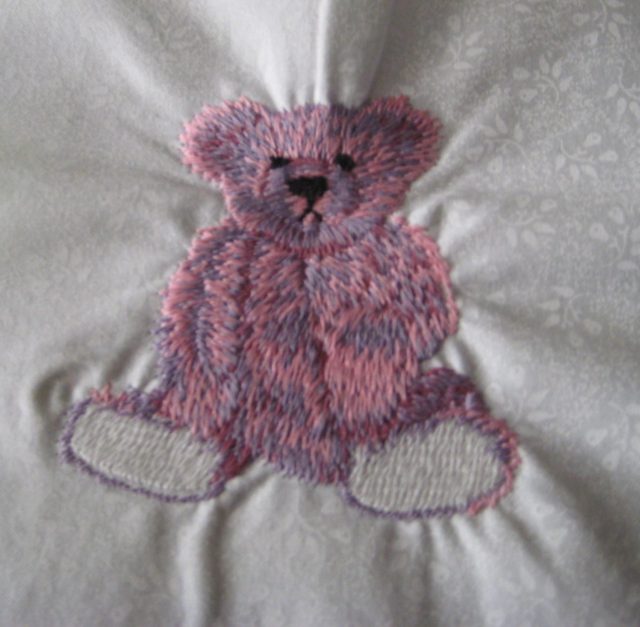
This embroidery required good stabilizing as it was quite densely digitized. It is one of the fonts on our Artistic Embroidery Collection: Fontastic – available at your local authorized Janome or Artistic dealer
Hints & tips:
- We prefer to hoop ONLY the stabilizer and then lay the fabric over the top of the stabilizer. If the fabric is hooped with the stabilizer, it can mark the fabric (this is called hoop burn) or stretch the fabric as we pull & push the fabric into the hoop to get it hooped up a tight as a drum. This is not desirable at all.
- In addition, we like to use the Janome Clothsetter to achieve perfect placement of our embroideries so it is nice & easy to reposition the fabric on top of the tacky hooped stabilizer than have to completely re-hoop to get the placement correct.
- It is also very important to hoop the stabilizer firmly and tightly in the hoop. Sloppy, loose hoopings will give poor results. The hooped stabilizer should be as tight as a drum.
- We DO, however, have to adhere the fabric to the stabilizer firmly so that is does not shift during embroidery. We use a fabric adhesive spray on the stabilizer once it is hooped. This makes the surface of the stabilizer tacky and the fabric sticks to it. There ARE sticky stabilizers on the market where you hoop up & them peel away the paper revealing a sticky surface. These are great. They are more expensive than regular tearaway stabilizers but are convenient – especially if you don’t like adhesive sprays for health or messy “overspray” reasons.
sticky stabilizer hooped up showing the paper to be peeled away. Pic: Threads magazine
- In addition, we definitely like to BASTE our fabric in place on the stabilizer before we start the embroidery. Most of our Janome embroidery machines have this basting function and we love to use this!
- Some of our embroidery models have a double basting function as well which is very useful indeed for larger hoops and embroidery designs. HINT: do the basting with a water soluble thread as you do not want to be fiddling later trying to remove the basting from the embroidery without pulling or snipping stitches. Just spritz with water & it is gone!
- If you notice that the fabric is pulling or puckering & wrinkling in any way, chances are the stabilizer is not firm enough for the embroidery you are doing. Some designs are pretty densely digitized so a rough rule of thumb would be: the more stitches in the design, the firmer the stabilizer may need to be.
This results when the correct type and weight of stabilizer is not used and/or it was not hooped correctly.
Pic: quiltersclubofamerica.com - If an outline around a design is not sitting exactly on the edge of the stitch fill and you notice a gap between the fill & outline….again, your stabilizer was not firm enough to support this design.
- We recommend you support the embroidery with your fingers as you tear away the stabilizer. It is generally not a wise idea to just rip.
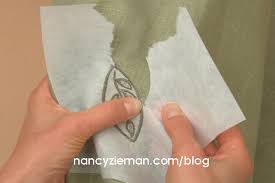
pic: nancyzieman.com
We hope you found this information useful. Each Monday for the next 3 weeks, we will offer another blog post on using other types of stabilizers. Feel free to send us your comments about your experiences with stabilizer and any hints or tips you might like to share with our janomelife readers.


Greetings From Texas. Great post here. thanks for sharing!
LikeLike
This is very informative. Thank you!
LikeLike
This was very informative and I’m looking forward to future articles. Thanks for sharing your expertise!
LikeLike
Thanks for a very informative article. I think we are inclined to forget how important the stabliser is in our projects. Looking forward to the next instalment.
Thanks again
Gayle – Australia
LikeLike
Very helpful hints, especially on hooping the stabilizer and floating the block. Thanks.
LikeLike