
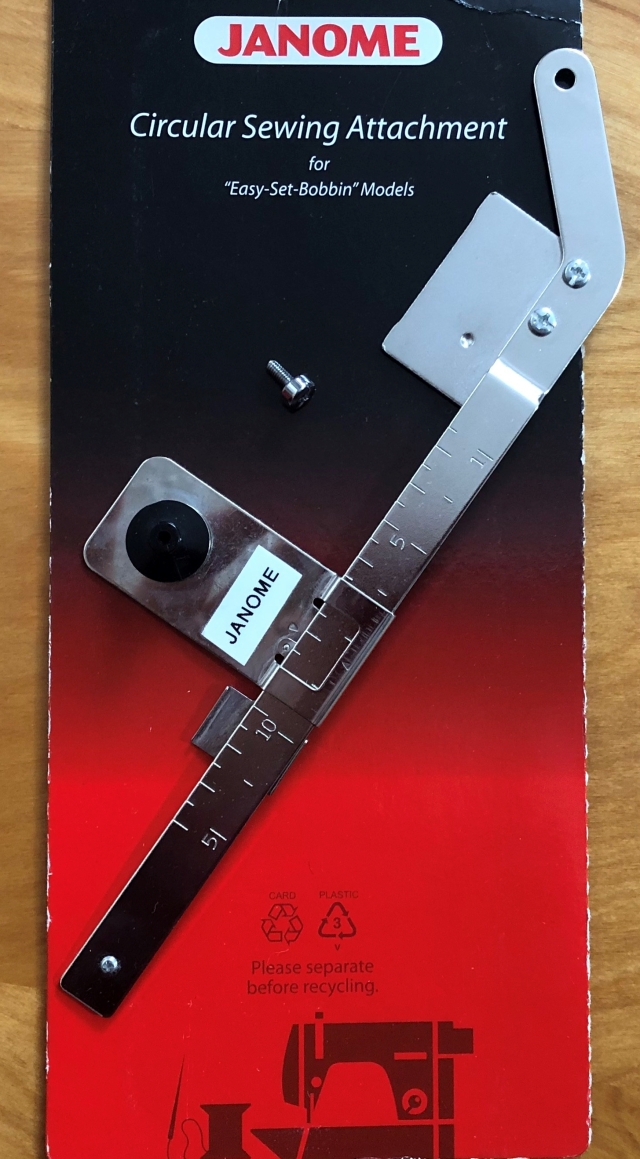
The Janome Circular Attachment isn’t anything new; it’s been around for YEARS! It’s one of those tried and true, “if it ain’t broke, don’t fix it” kind-of things. You can’t really improve on perfection.
Perhaps you’ve had one in your drawer for a while, or have been tempted to purchase one, but you’ve been waiting for a fun, creative project to use it. There’s lots of great inspiration to be found on Janome Life. Use the search box to the right of your screen to find all the previous posts.
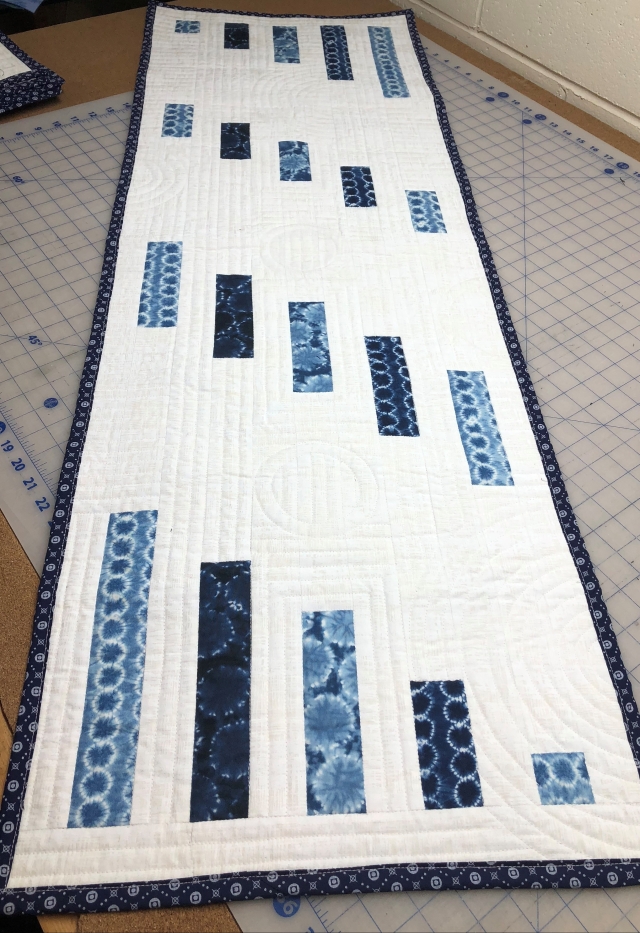
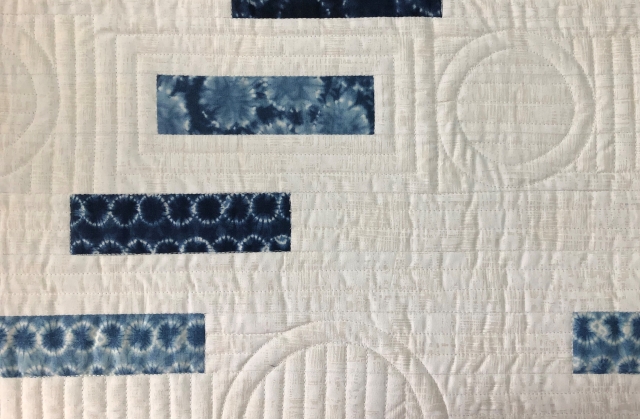
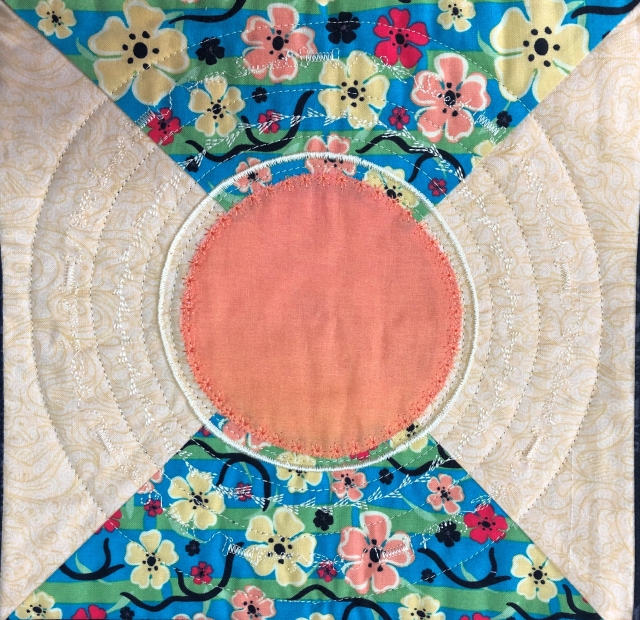
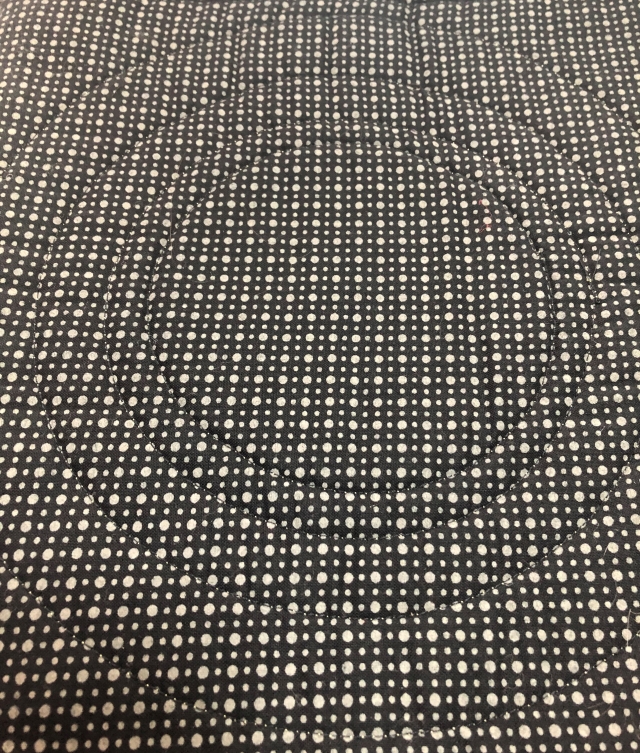
I was inspired recently to use the Janome Circular Attachment for quilting a table runner. I wanted some soft circular lines to break-up the rigid lines of the piecing and majority of the quilting, which was done with one of my all-time favourite Janome presser feet, the Dual/Twin Acufeed Flex holder with standard AD foot.
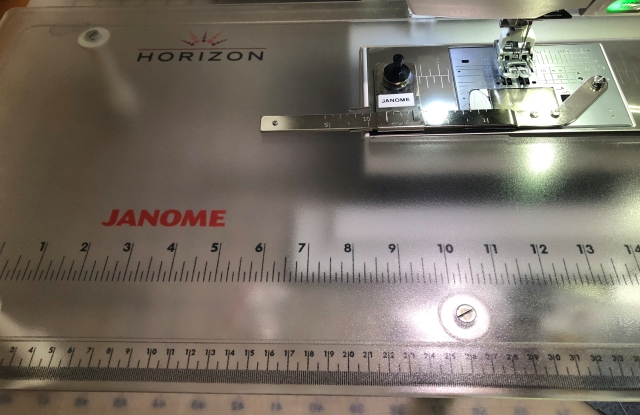
This is when I really appreciate that so many Janome machines come with an extension table to provide a larger sewing surface, which makes the process so much easier. I certainly love the 11 inches of throat space which my Janome Horizon MC 15000 Quiltmaker and all the other Janome Horizon range of machines models, provides.
Any presser foot can be used with the Janome Circular Attachment.

Be sure you select the correct Janome Circular Attachment for your machine, however, as there’s different parts numbers for different machine models. Visit your Janome Dealer for more information. You can see in the above photo that the bobbin cover is removed to fit the circular attachment into place. Use the little screw included to attach it to the needle plate, as well. Don’t worry – there’s full instructions on the back of the blister pack.
Use the Janome Circular Attachment to combine your machine’s decorative stitches with straight stitch quilting for your next quilted project. The decorative stitches were stitched first, including those to applique the centre circle, then all three layers of the quilt were quilted together with straight stitches, again using the circular attachment.
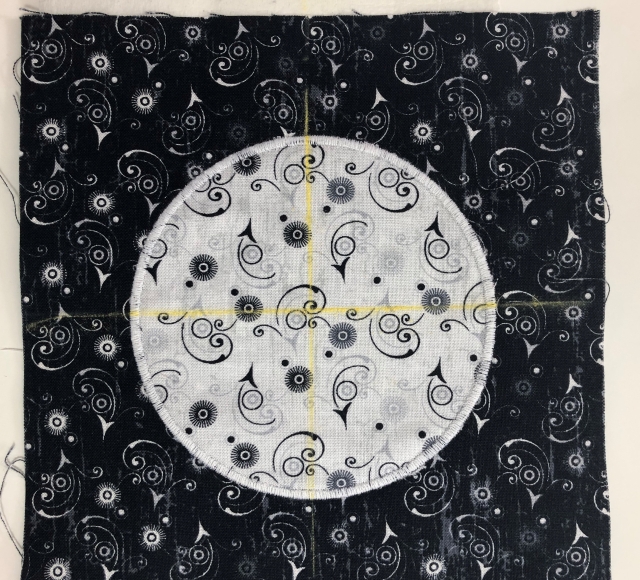
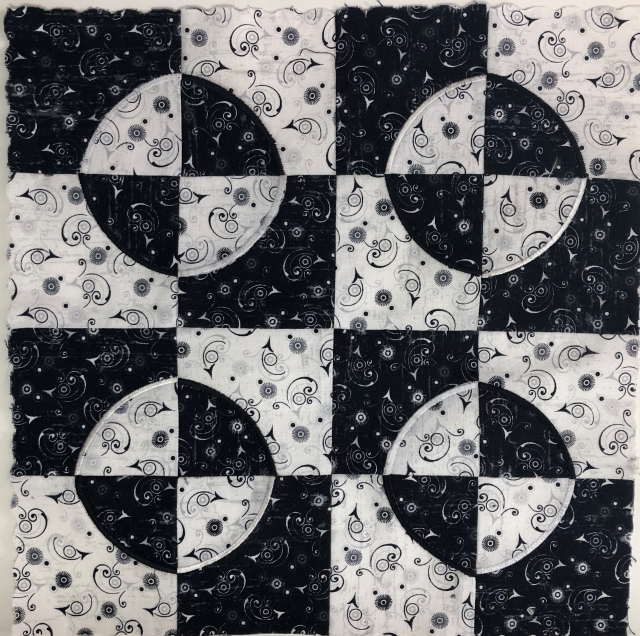
Have you avoided making a Drunkard’s Path quilt because of the curved piecing? Fear no more! Use the Janome Circular Attachment to applique a circle onto a background square then cut the square in half vertically and horizontally and viola! No curved piecing necessary!
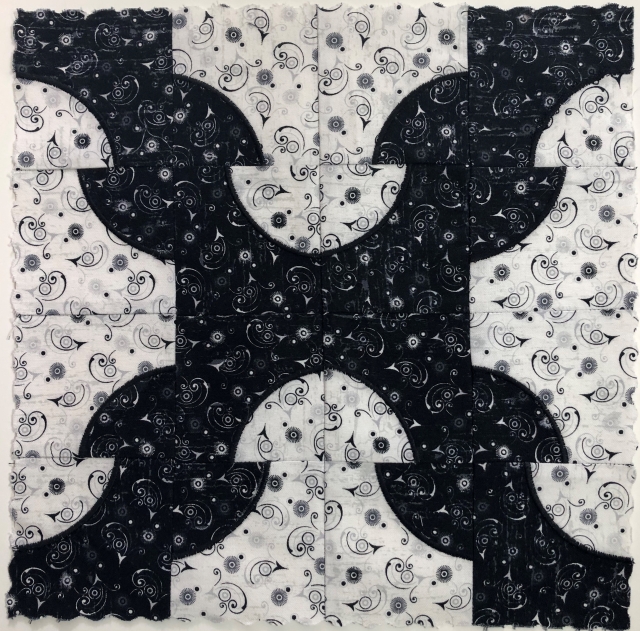
Piece your squares into whatever pattern you wish. It’s THAT easy! You’ll have your quilt done in a flash!
The Janome Circular Attachment adds some fun and flair to your sewing and quilting projects. We’d love to see what YOU create with it!
Happy Sewing!


The packaging no longer has instructions, at leastvmine didn’t
LikeLike
Hi Patricia,
I just checked in the warehouse – It does contain instructions: The red & black blister packaging cardboard opens out like a book with instructions of how to use the Circular attachment. Hopefully you did not throw the cardboard in the packaging away as that was your instructions.
Liz
JANOME CANADA
LikeLike
Not much impresses me so all I can say is “Oh, WOW!”
LikeLike
What a great post! I have the circular attachment and hadn’t thought about using it for quilting. I’m going to try this.
LikeLike