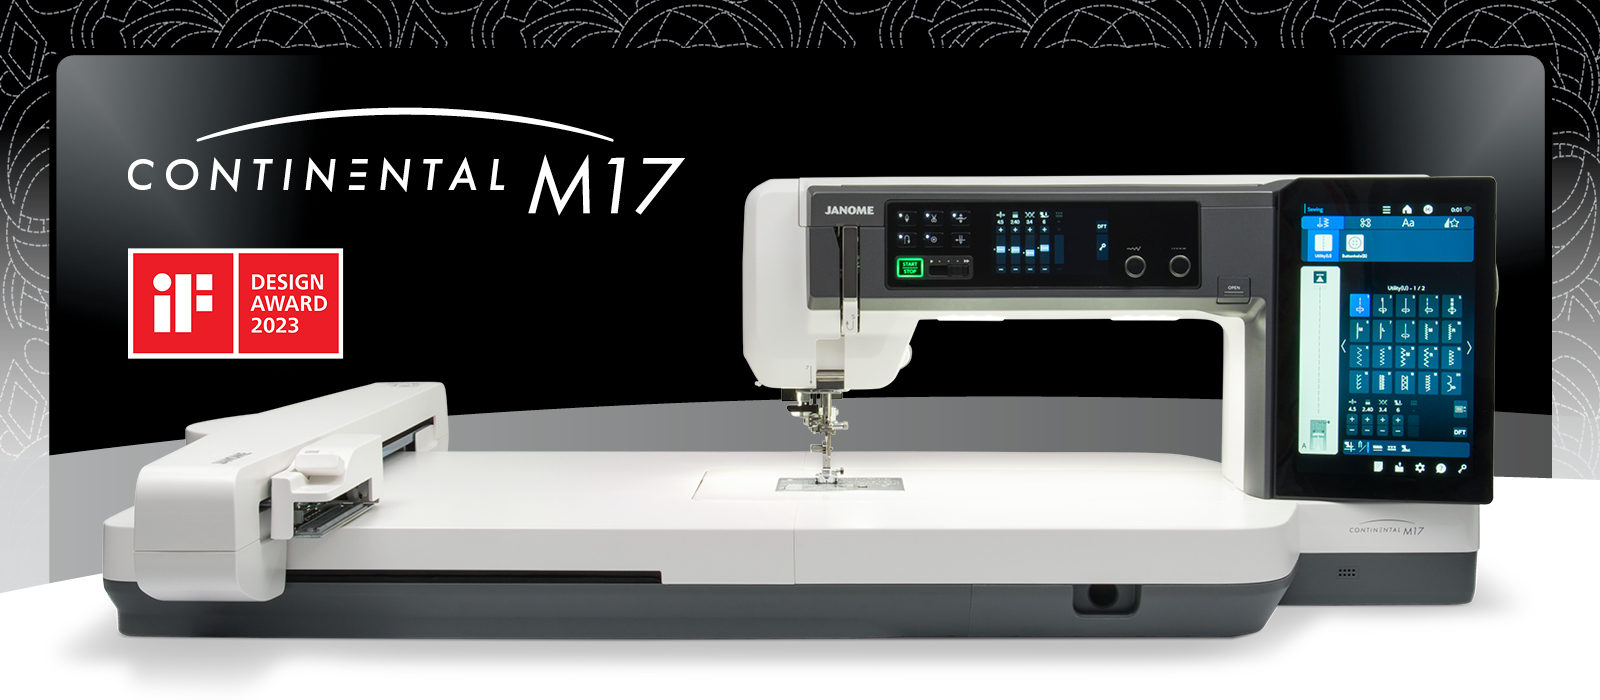
Note: While I’m using the Janome M17 to demonstrate these decorative stitches, you can use similar decorative stitches on other Janome sewing machine models.
I love to make custom gifts for my friends and family but I often seem to run out of time to make them from scratch – sound familiar? This year I decided to make placemats as gifts and wanted to personalize them for each recipient. Since I was running out of time to make the placemats, I purchased some premade placemats, washed and dried them, and then turned to the Janome M17 to help me with the customization.
The Janome M17 and other Janome models have so many decorative stitches and, as a quilter, I don’t often get to play with these so I was really looking forward to using them.
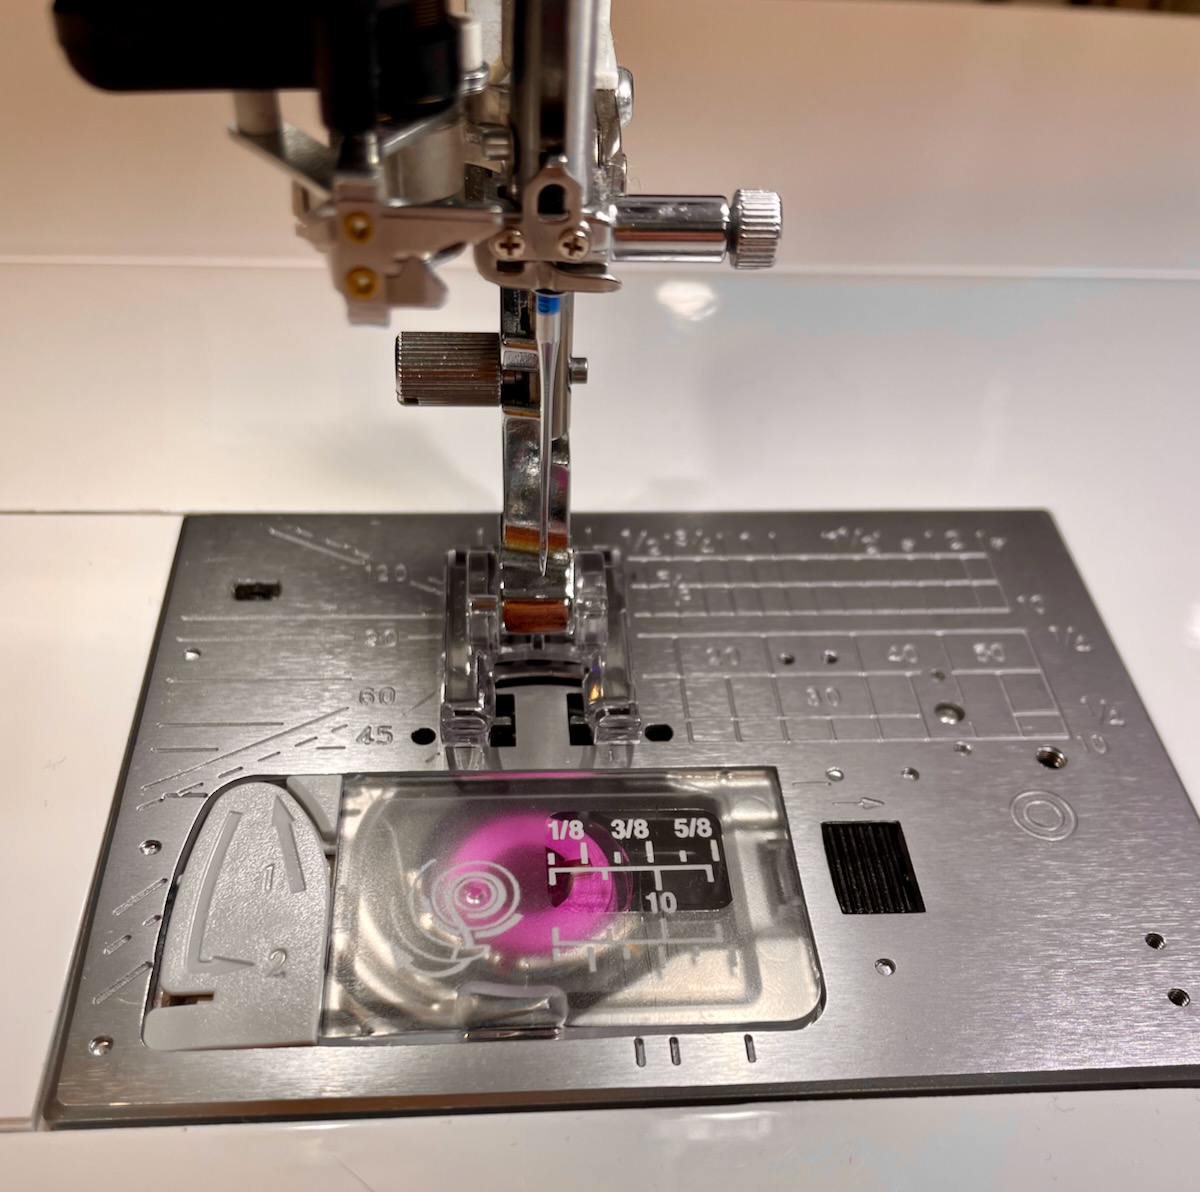
To use the decorative stitches, I inserted the zigzag or regular needle plate into the Janome M17 and attached the F2 foot (you could also use the F foot). I love how easy this is to change needle plates with just a touch of the button on the display screen.
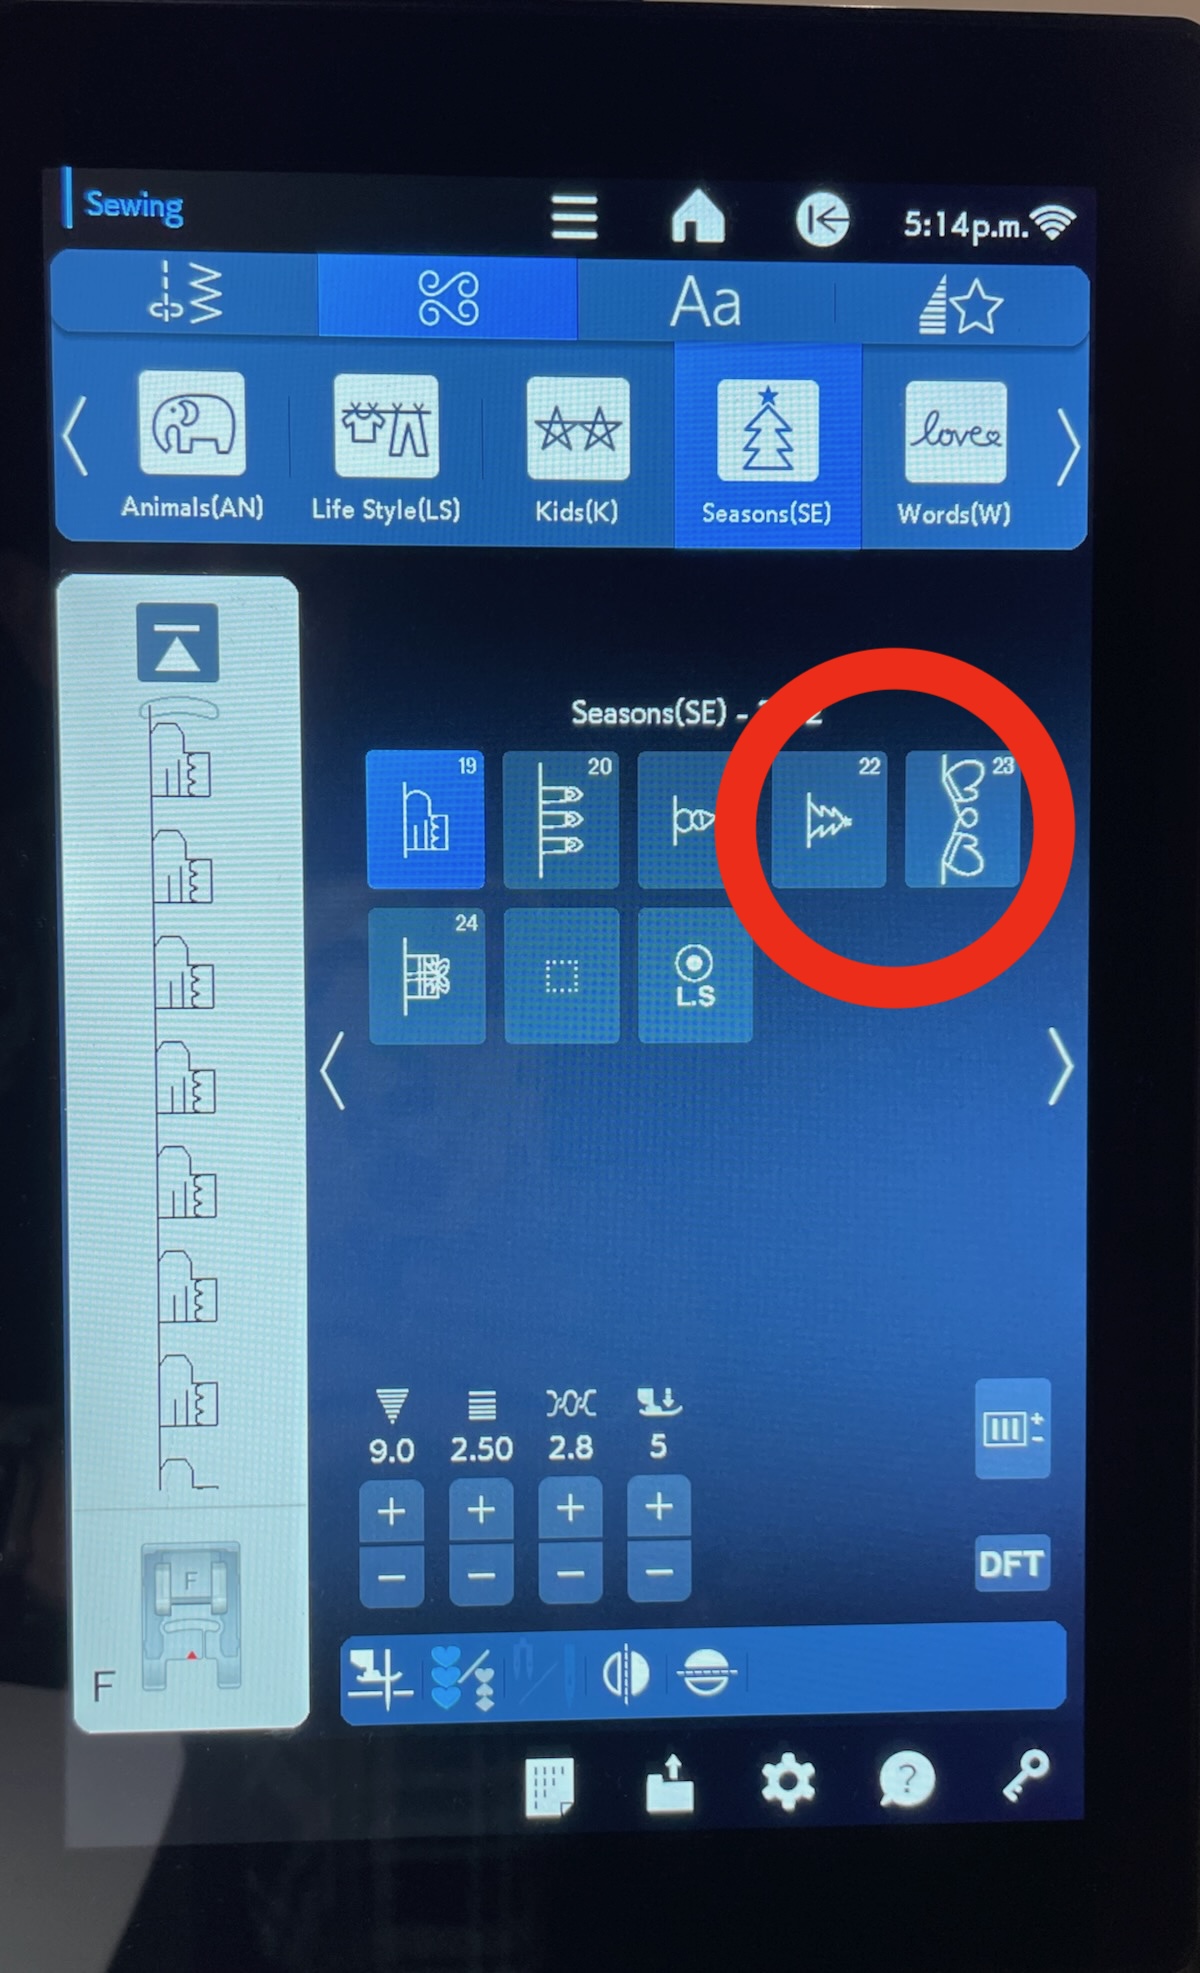
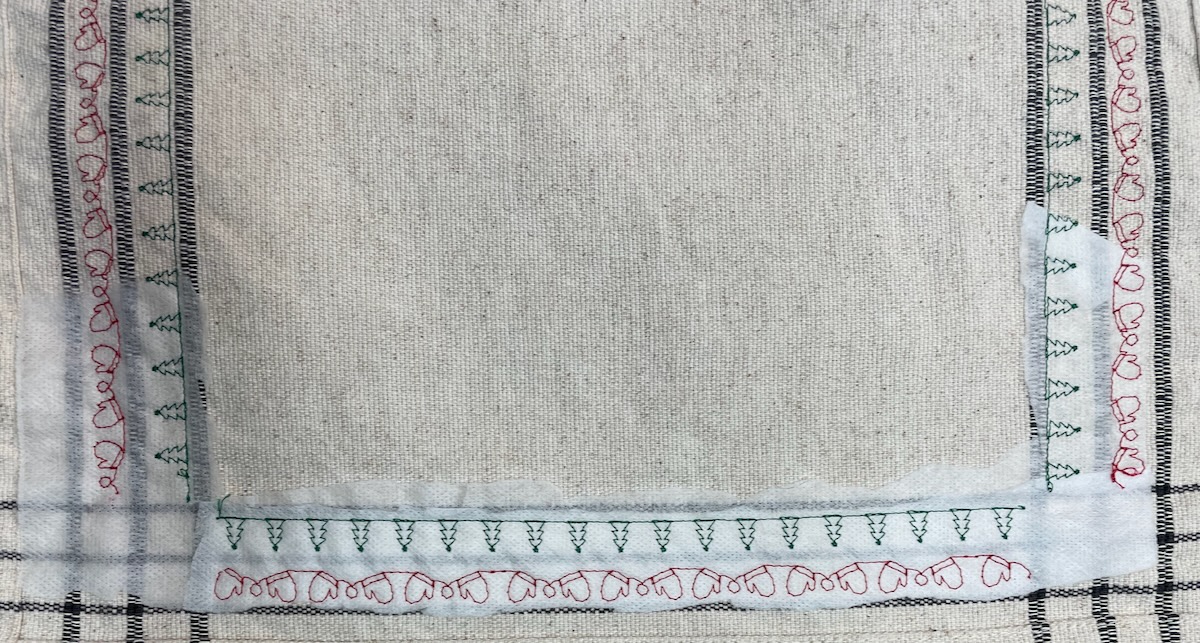
I decided to choose two different decorative stitches: a mitten garland (Seasons stitch 23) and a row of pine trees (Seasons stitch 22).
To find these stitches, I chose the Ordinary Sewing Mode from the home screen
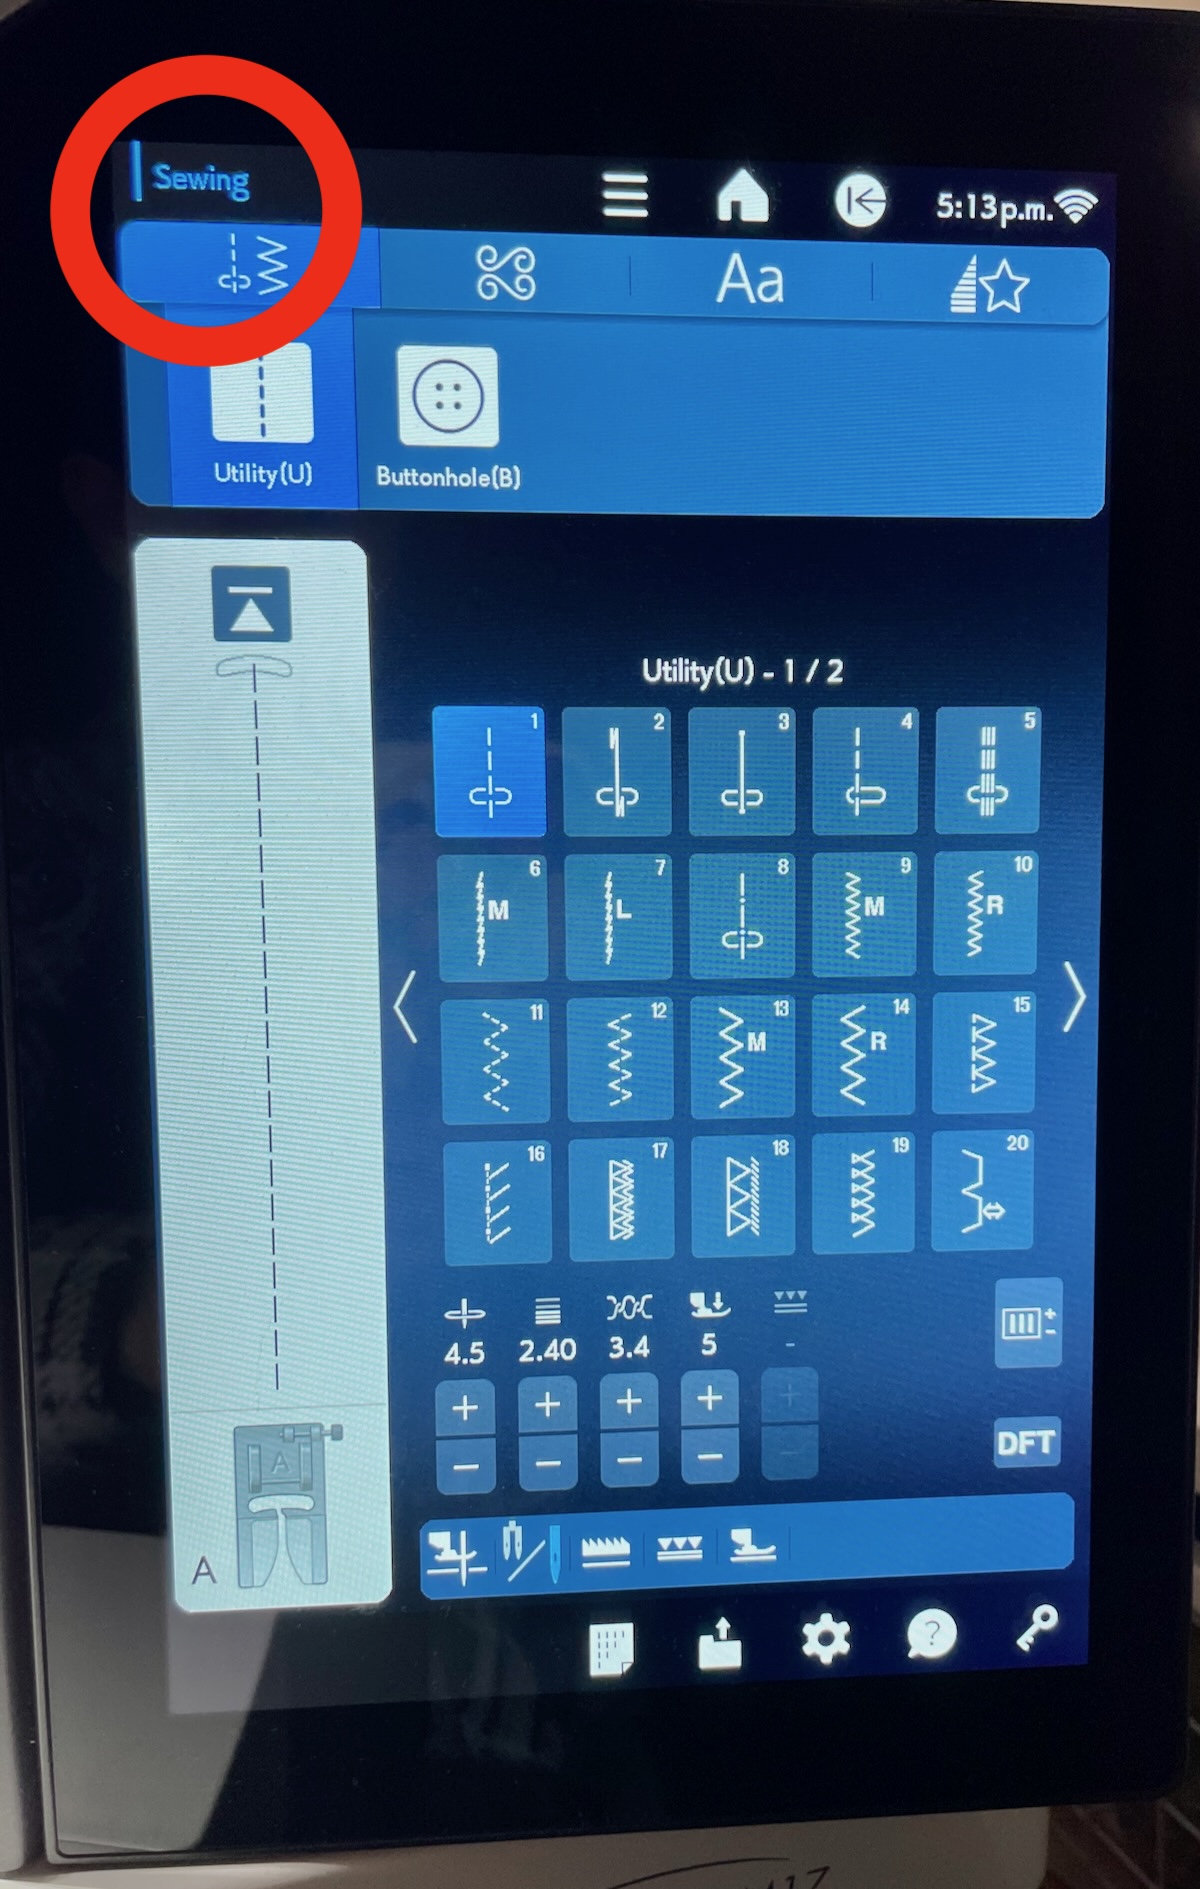
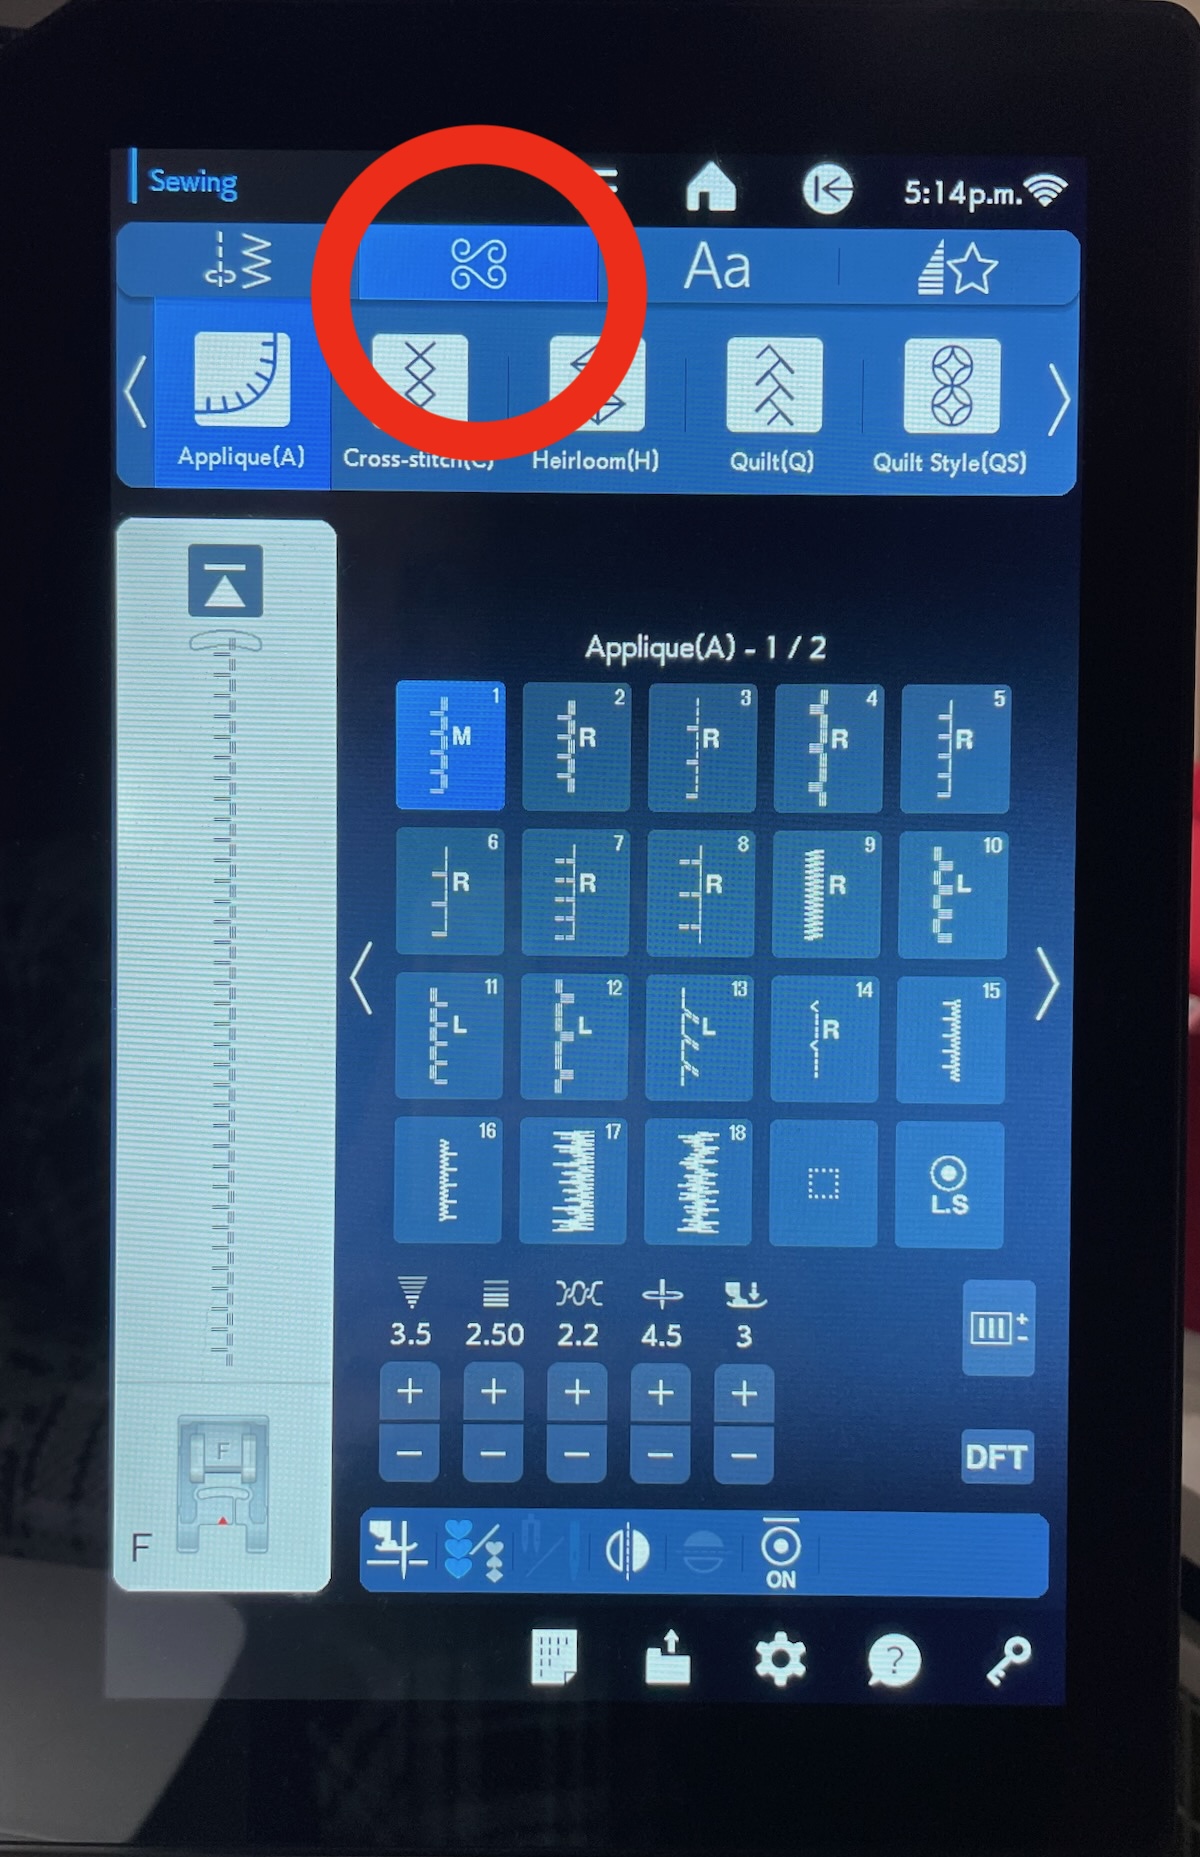
and then clicked on the Decorative Stitches icon.
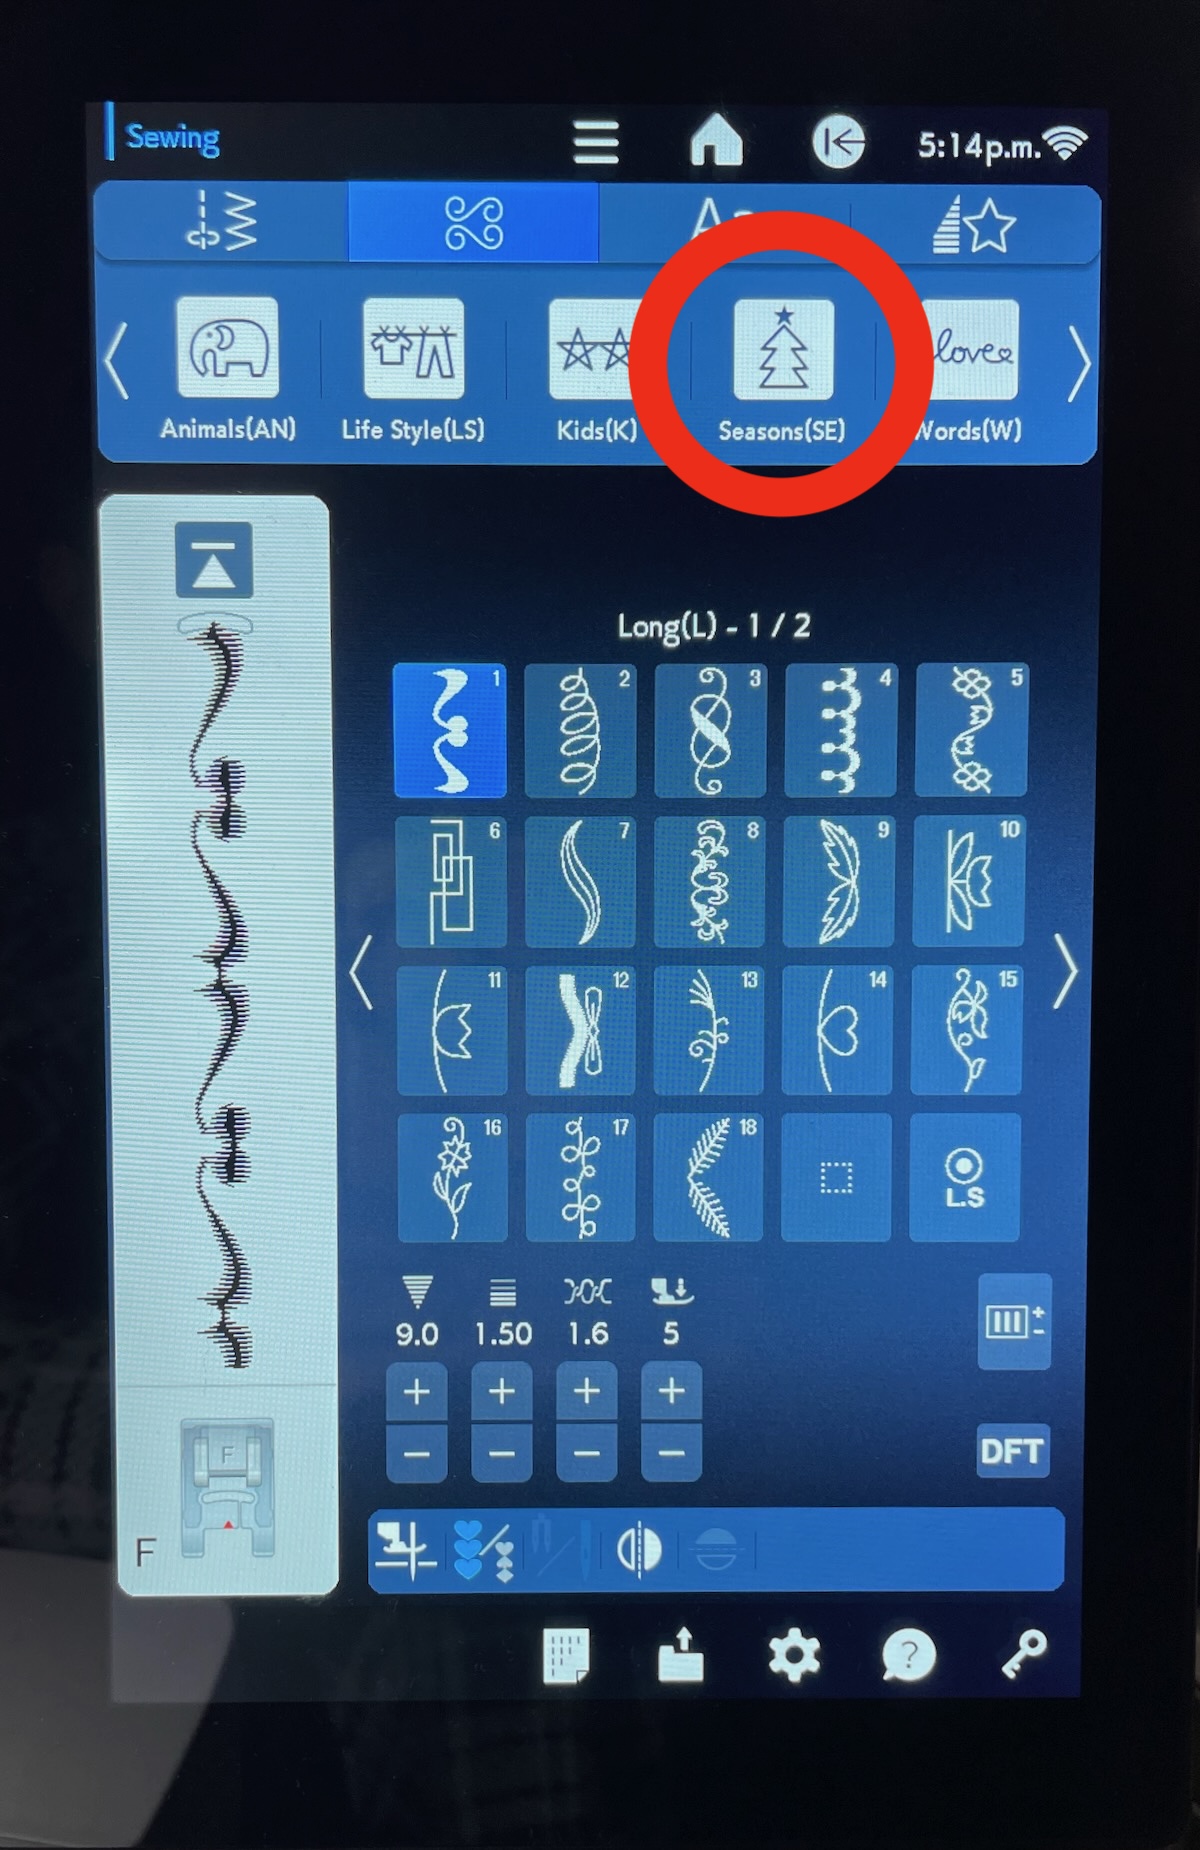
Scrolling through the various pages, I found the Seasons stitches and this is where I discovered the two stitches I wanted to use.
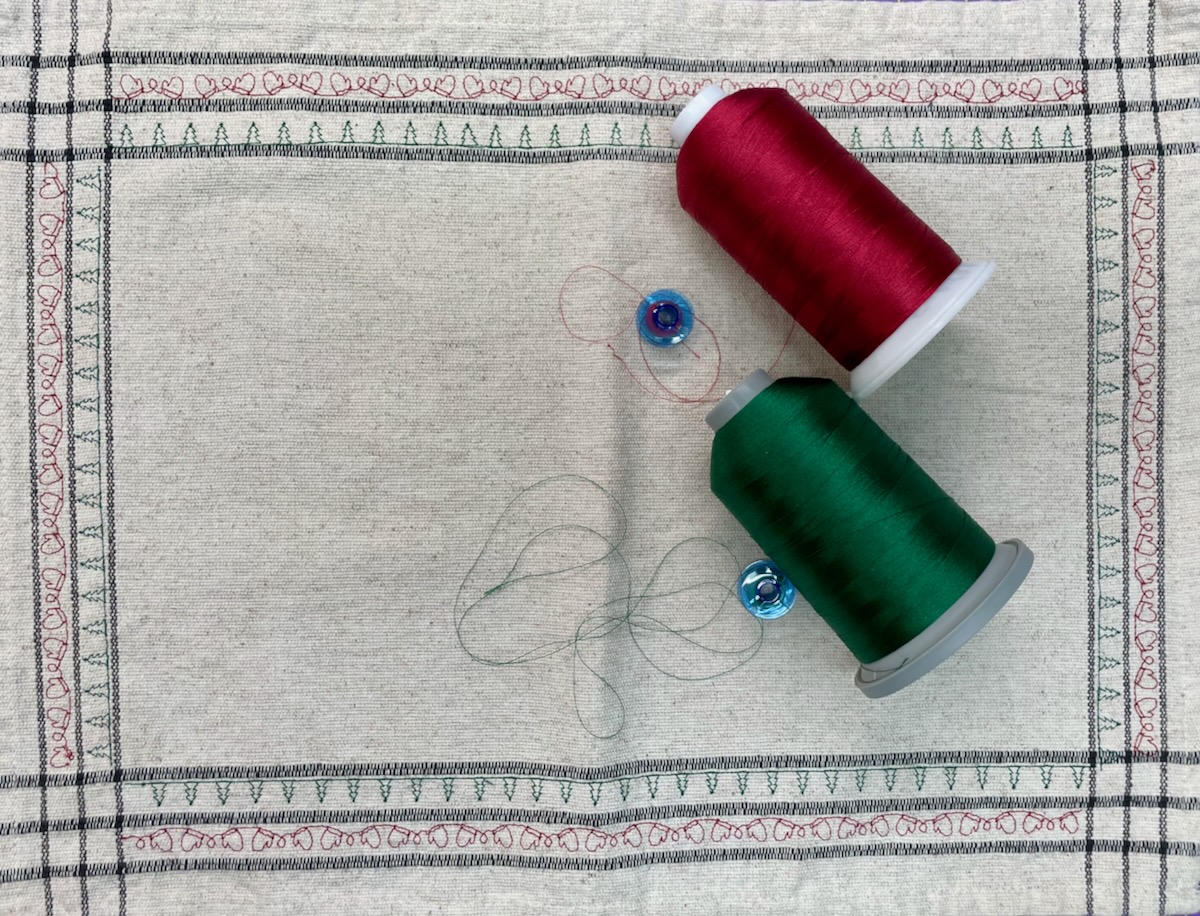
Keeping it seasonal, I chose red and green polyester threads which I thought would show up nicely on the placemats that I had purchased. I inserted a Janome blue tip needle and used the same thread as the top one in the regular bobbin case.
The decorative stitches on the Janome M17 are already set up with the optimum width and length, however you can always adjust these to suit the area in which you’ll be stitching. For my placemats, I used the default settings on the Janome M17 as the stitches fit perfectly in the area in which I wanted to place them. I always suggest that you first stitch out the decorative stitch on a practice piece to check tension and to make any changes to the length and width that you might want to do.
Once you have the settings exactly how you want them, you’re ready to stitch them onto your placemat. The stitches I used on the Janome M17 are not very dense however I put some water soluble stabilizer behind the area where I wanted to stitch to provide support. If you have ever used decorative stitches and had your fabric pucker up around them, it would have been because you didn’t have sufficient stabilizer behind the area to be stitched.
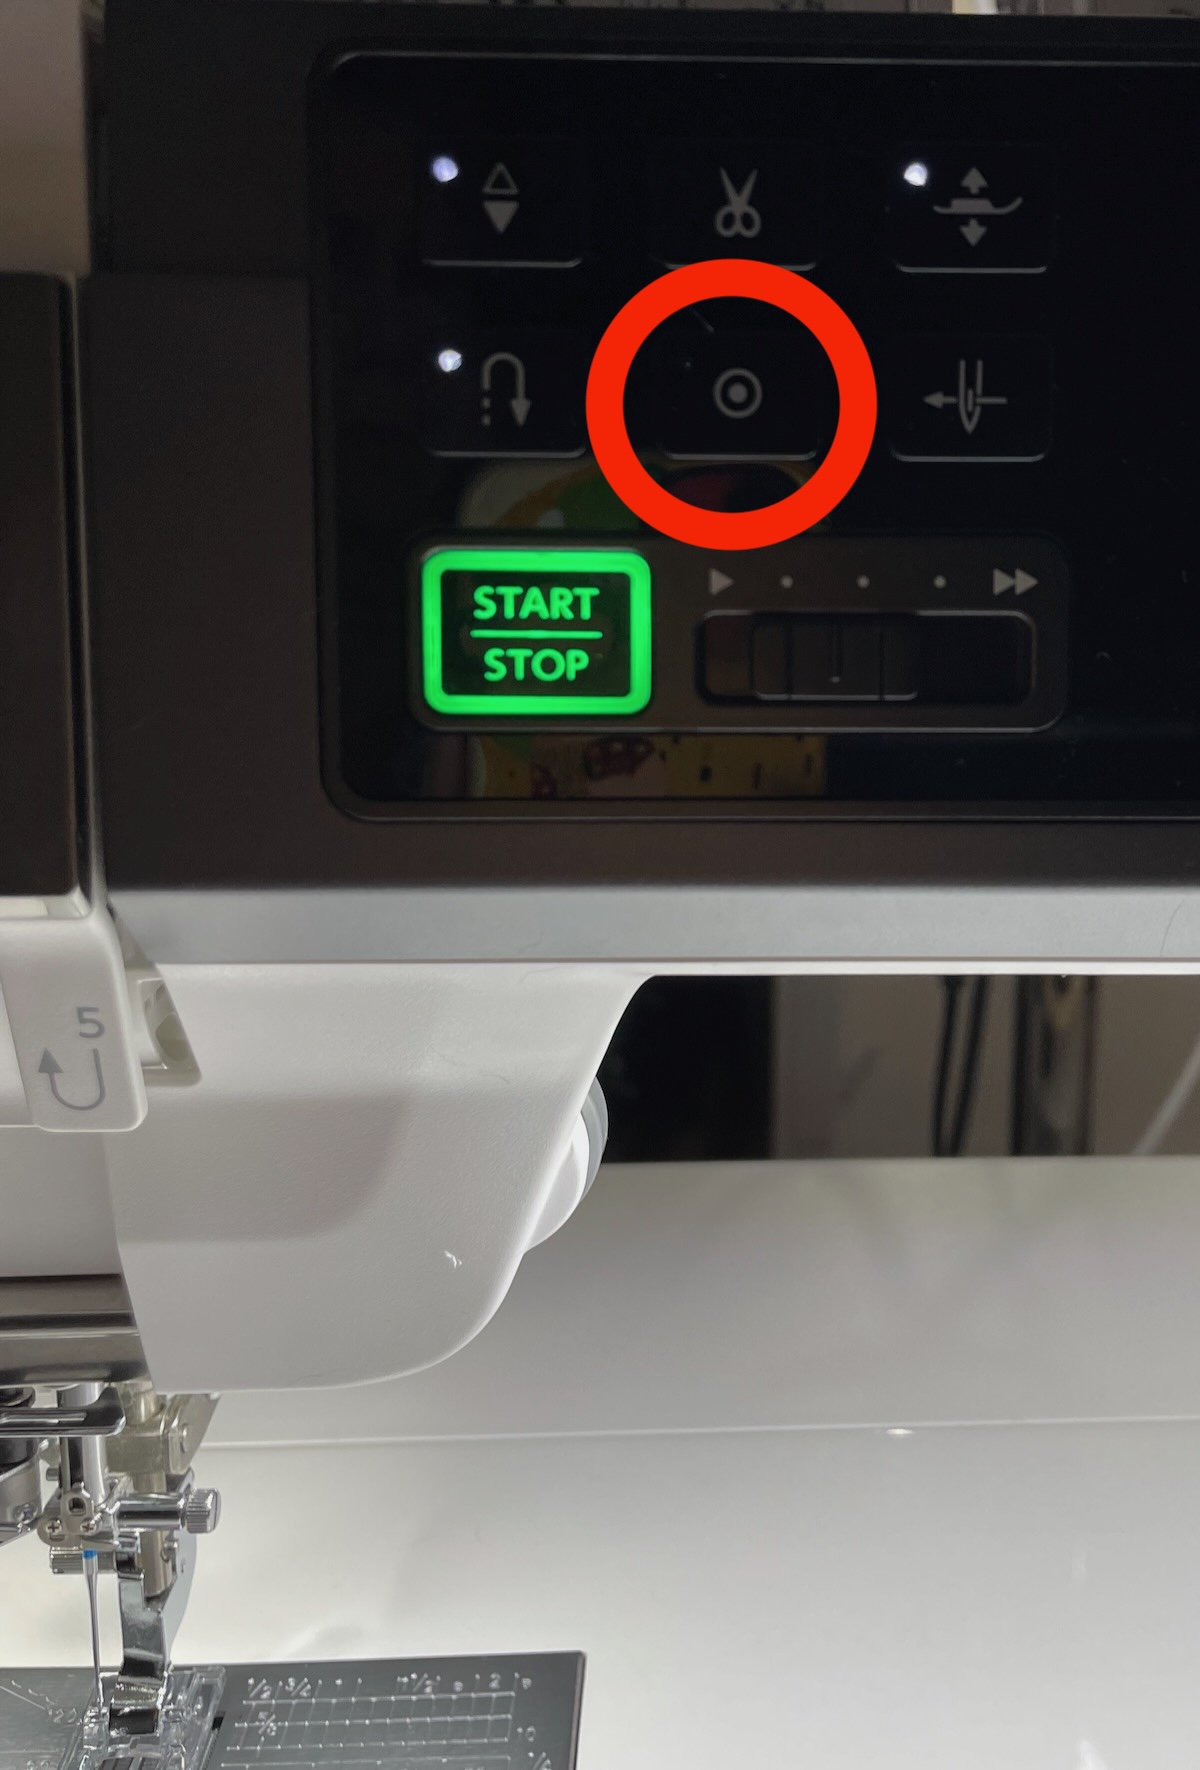
When stitching decorative stitches on the Janome M17, you can press the auto lock button and the machine will finish that iteration of the stitch and then stop. This creates a complete stitch pattern rather than having it stop partway through the stitch motif.
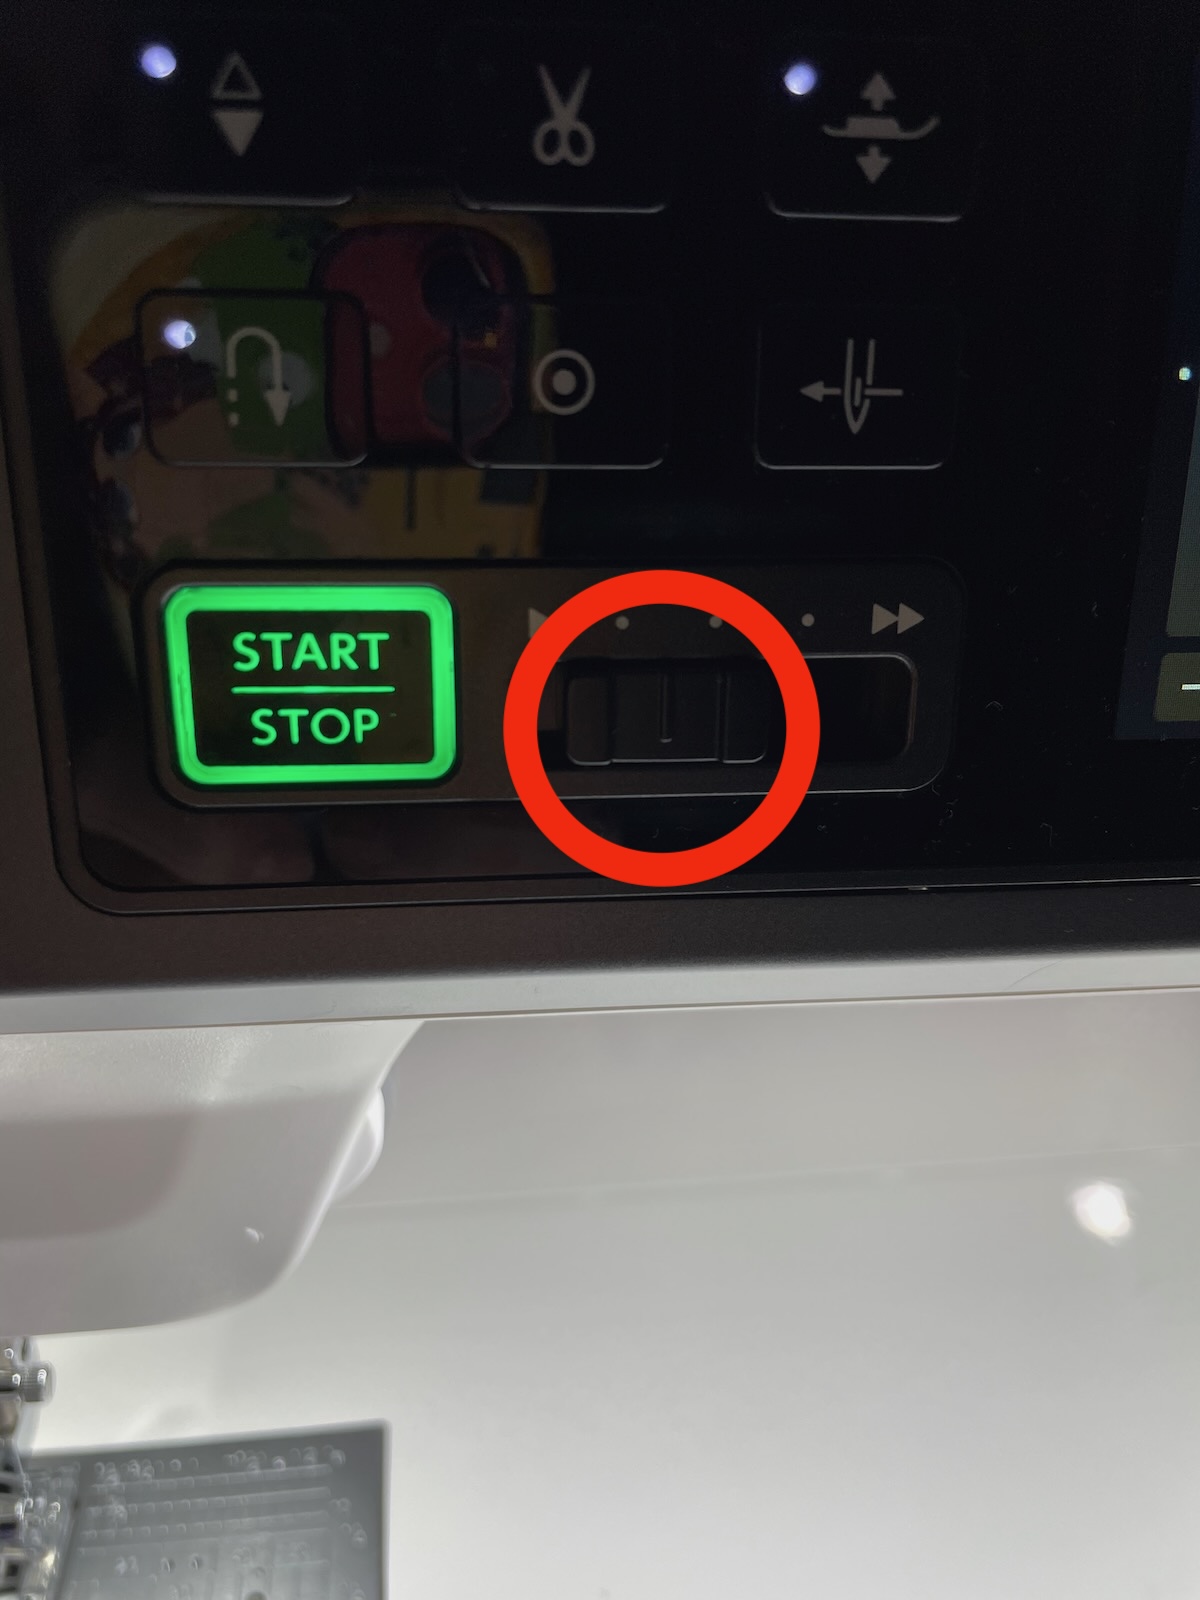
I first stitched all the mitten garland in the red polyester thread and then switched to the green thread for the pine trees. Whenever I’m working with decorative stitches on the Janome M17, I like to reduce the machine speed to get the best result.
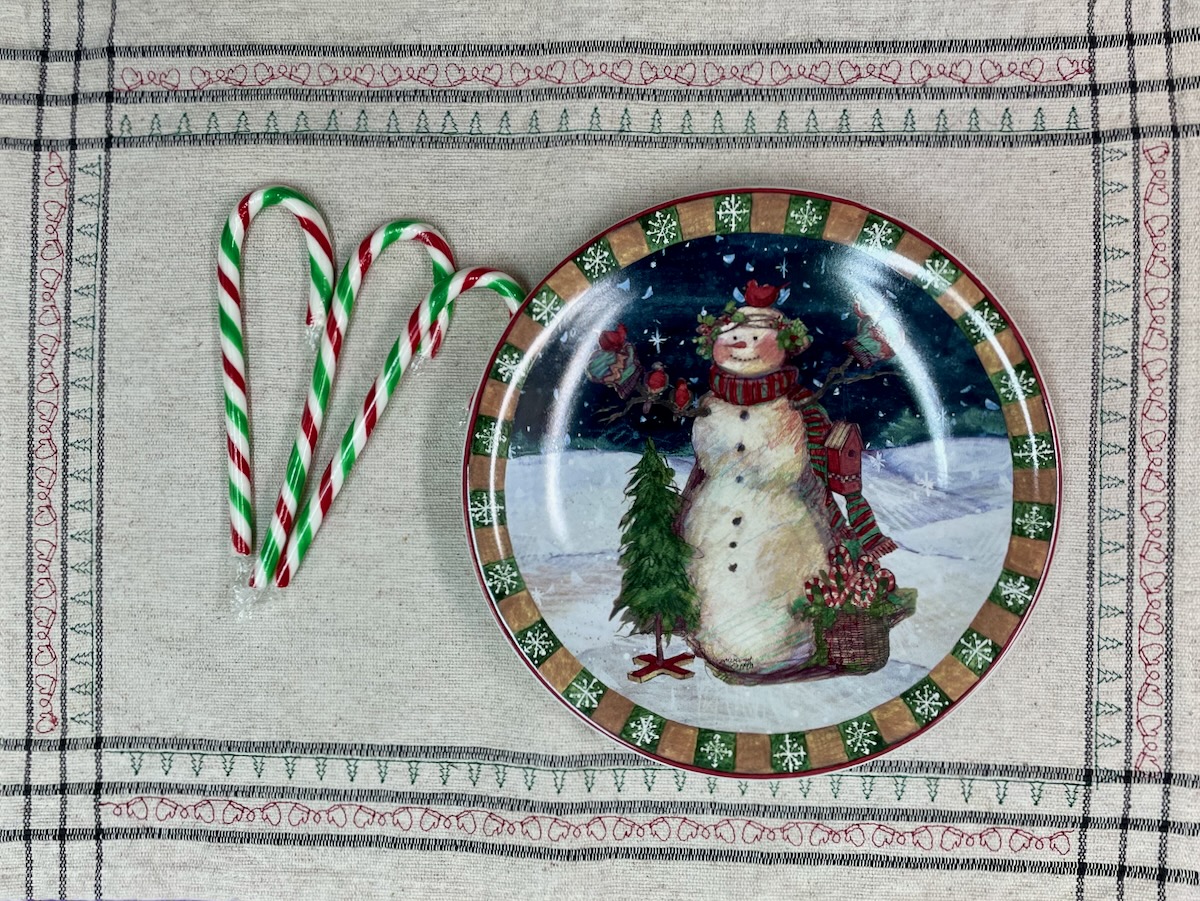
I stitched both of these designs all along the perimeter of the placemats to give them a personalized, festive look.
I was really pleased by how the placemats turned out and, with the help of the Janome M17, I was able to finish these in about 15 minutes for each one. Now I’m investigating other decorative stitches on the Janome M17 to make more placemat sets for gift giving!
If you’re looking for a personalized yet quick gift this season, pick up some placemats and have fun using the decorative stitches on your Janome sewing machine! 🎁
Kim Jamieson-Hirst of Chatterbox Quilts, a Janome Canada Artisan in Calgary, Alberta.