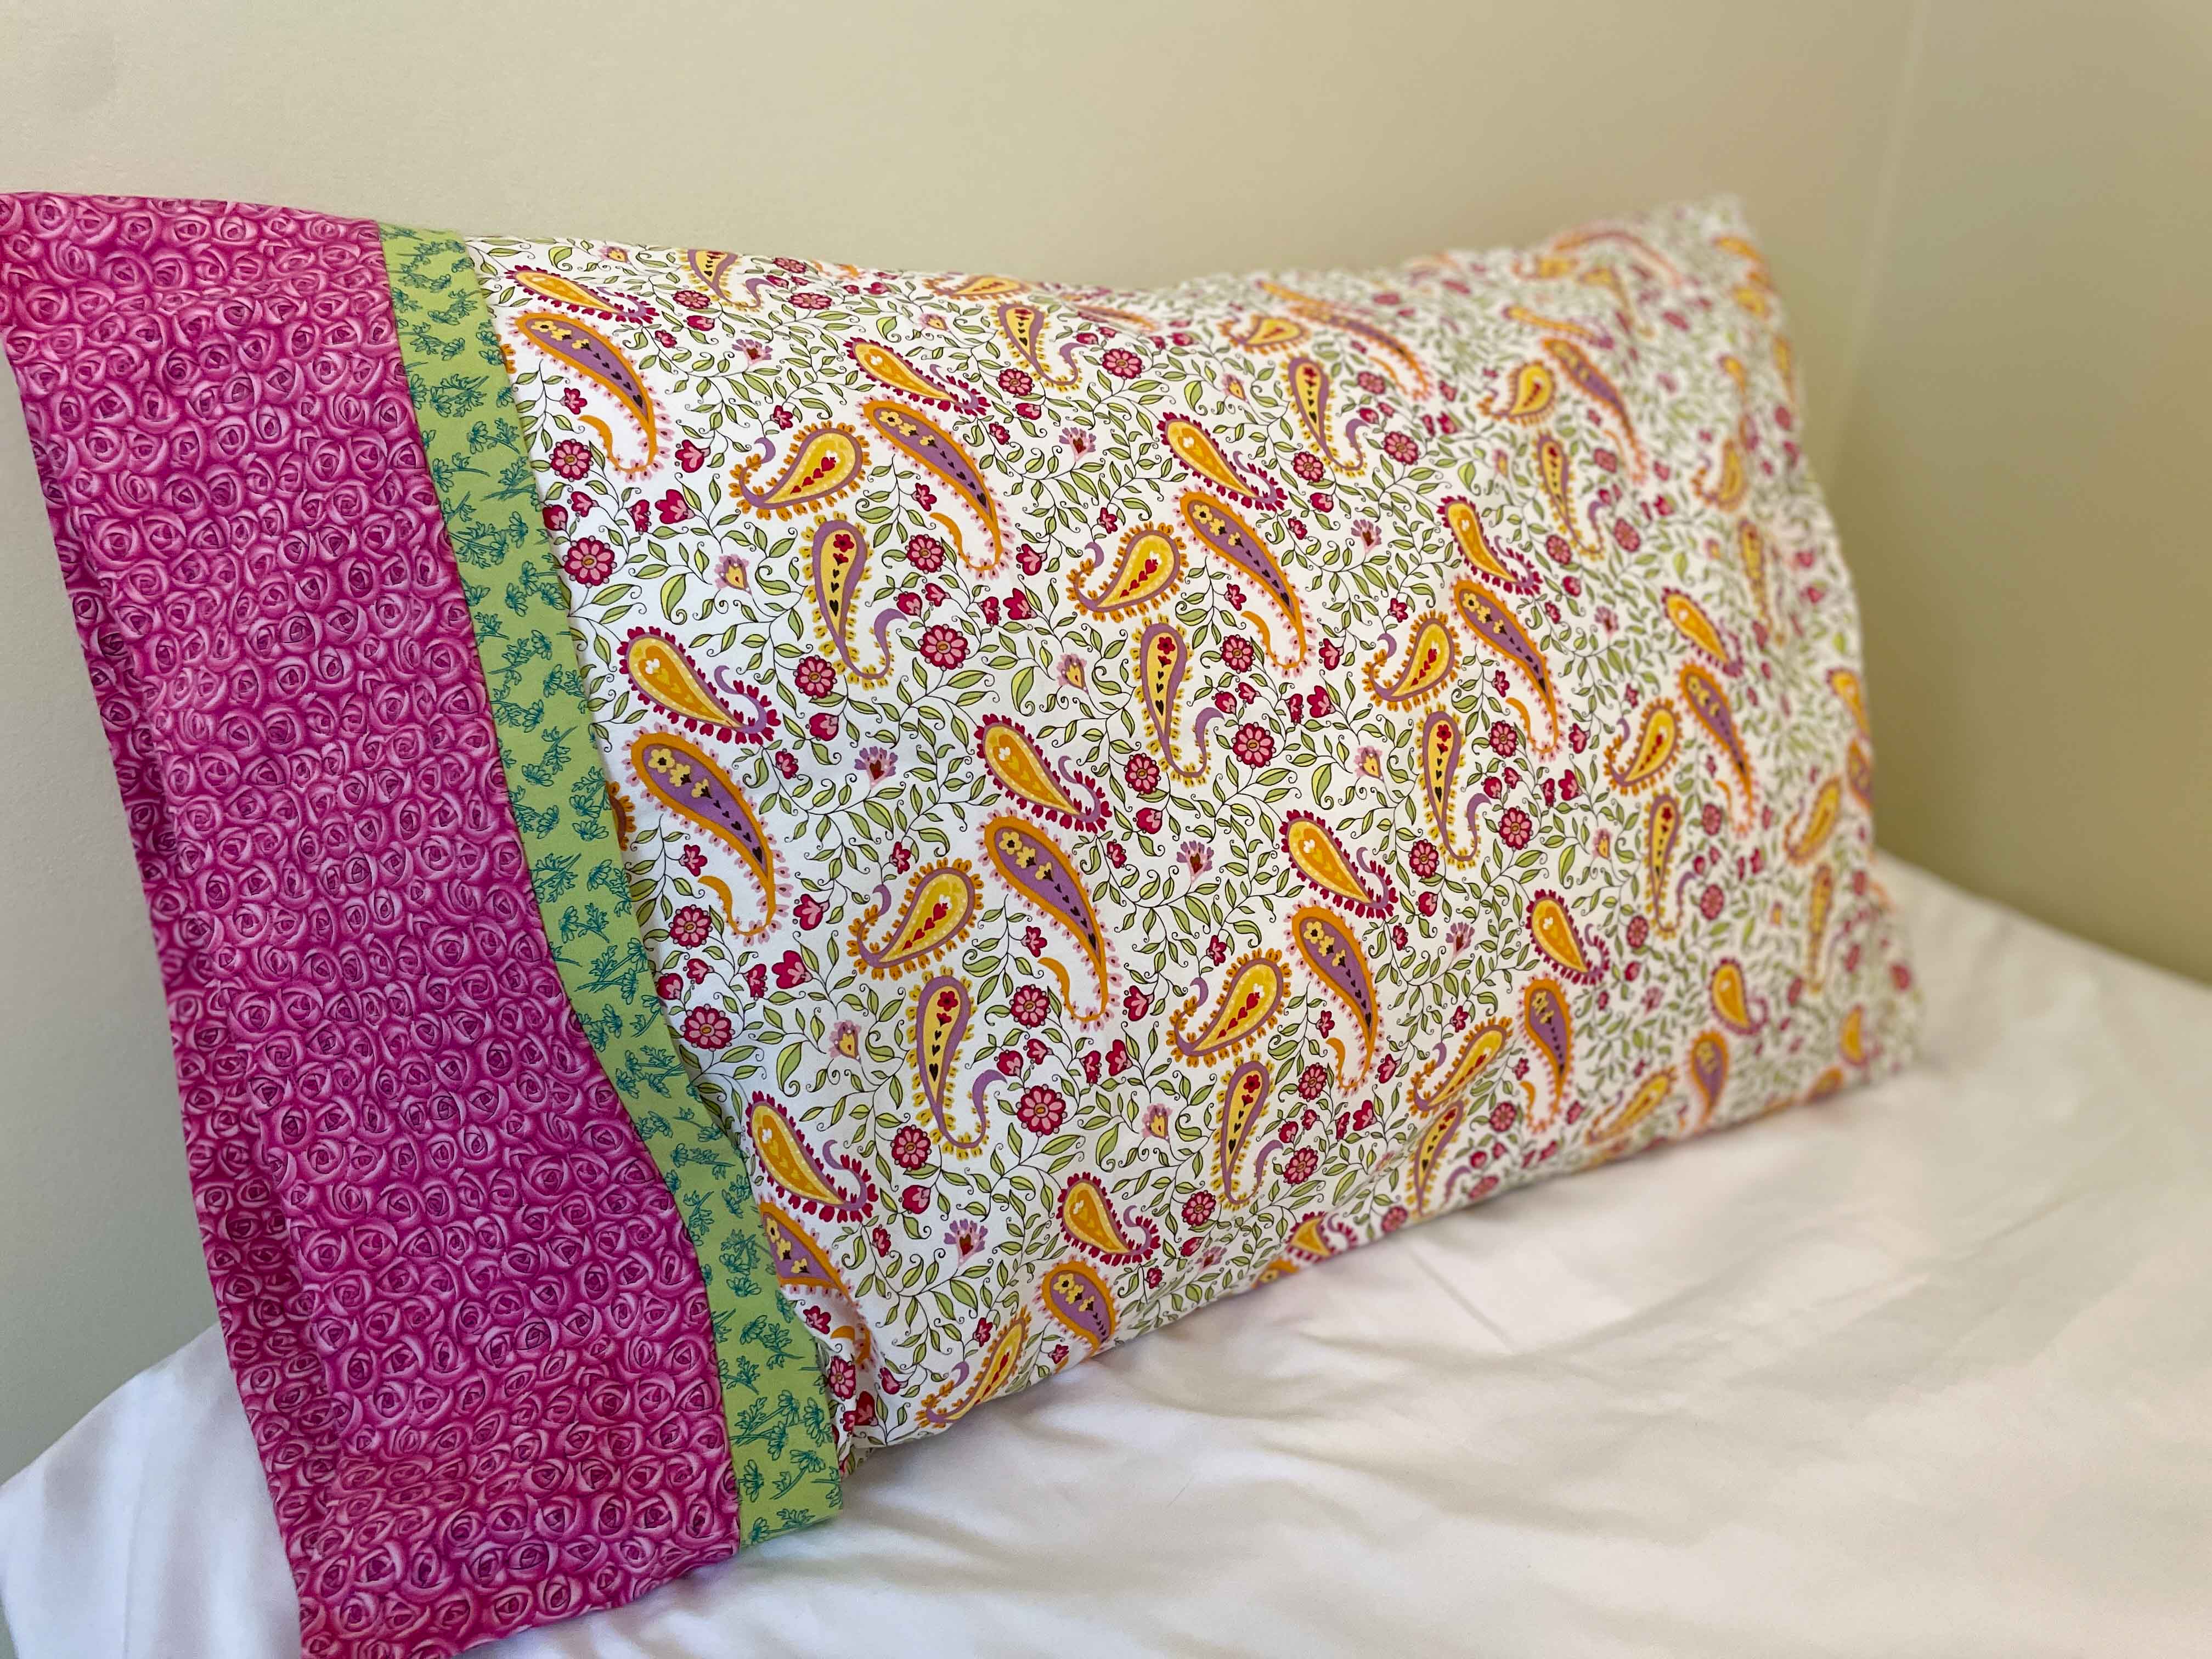
Nothing freshens up a bedroom like a new pillowcase! In fact, I love my pillow so much that I take it with me when I travel. Of course, I always have to remember to make sure it doesn’t get left behind when I leave – which I why I always travel with a bright and colourful pillowcase on my favourite pillow!
I recently needed to make a few new pillowcases – they are so easy to make and by using your own fabric you can really customize it however you want. While I’ve sewn many a pillowcase on my sewing machine, for this project I had my Janome Airthread 2000D handy and it made a quick little sewing job even faster – probably something to do with its maximum speed 1,300 spm (and the serger finished all my edges at the same time!).
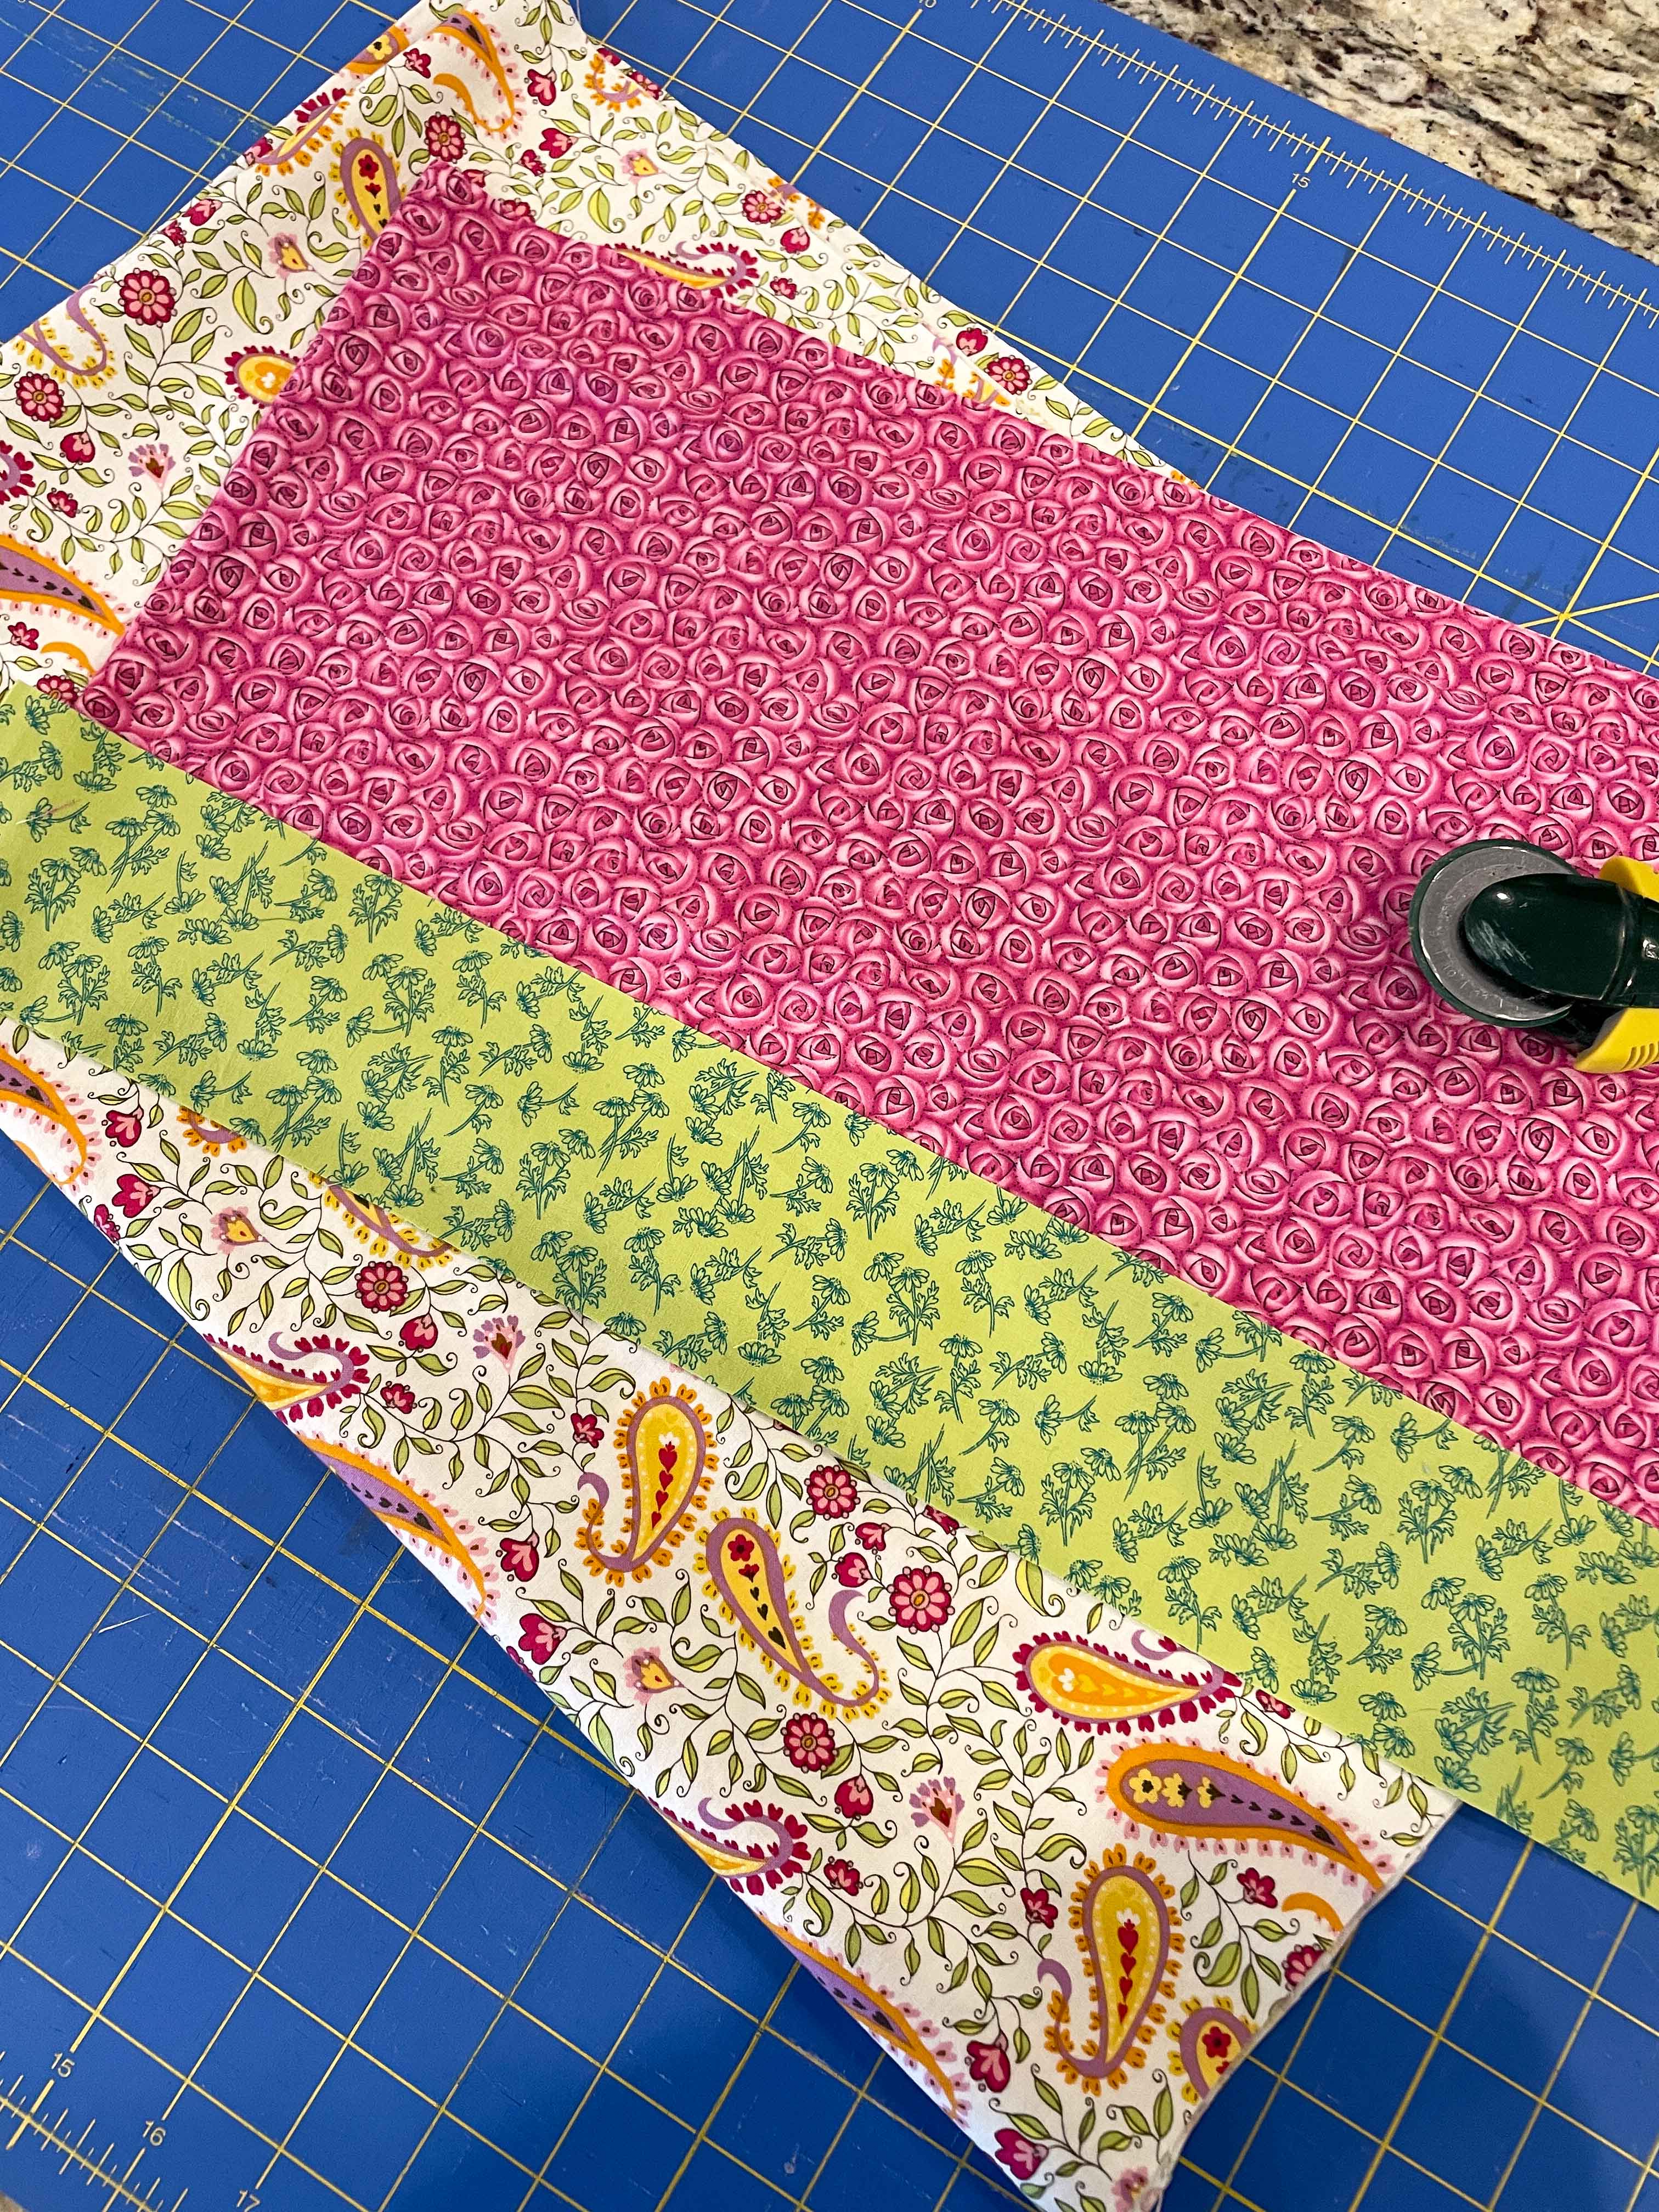
I was digging through my stash and found some fun fabrics to play with. You do need to have some decent size pieces of fabric (at least for your main fabric) for pillowcases. I made mine the following size:
- Main fabric piece: 26.5 inches by 42 inches
- Top accent fabric: 10 inches by 42 inches
- Secondary accent fabric: 3 inches by 42 inches
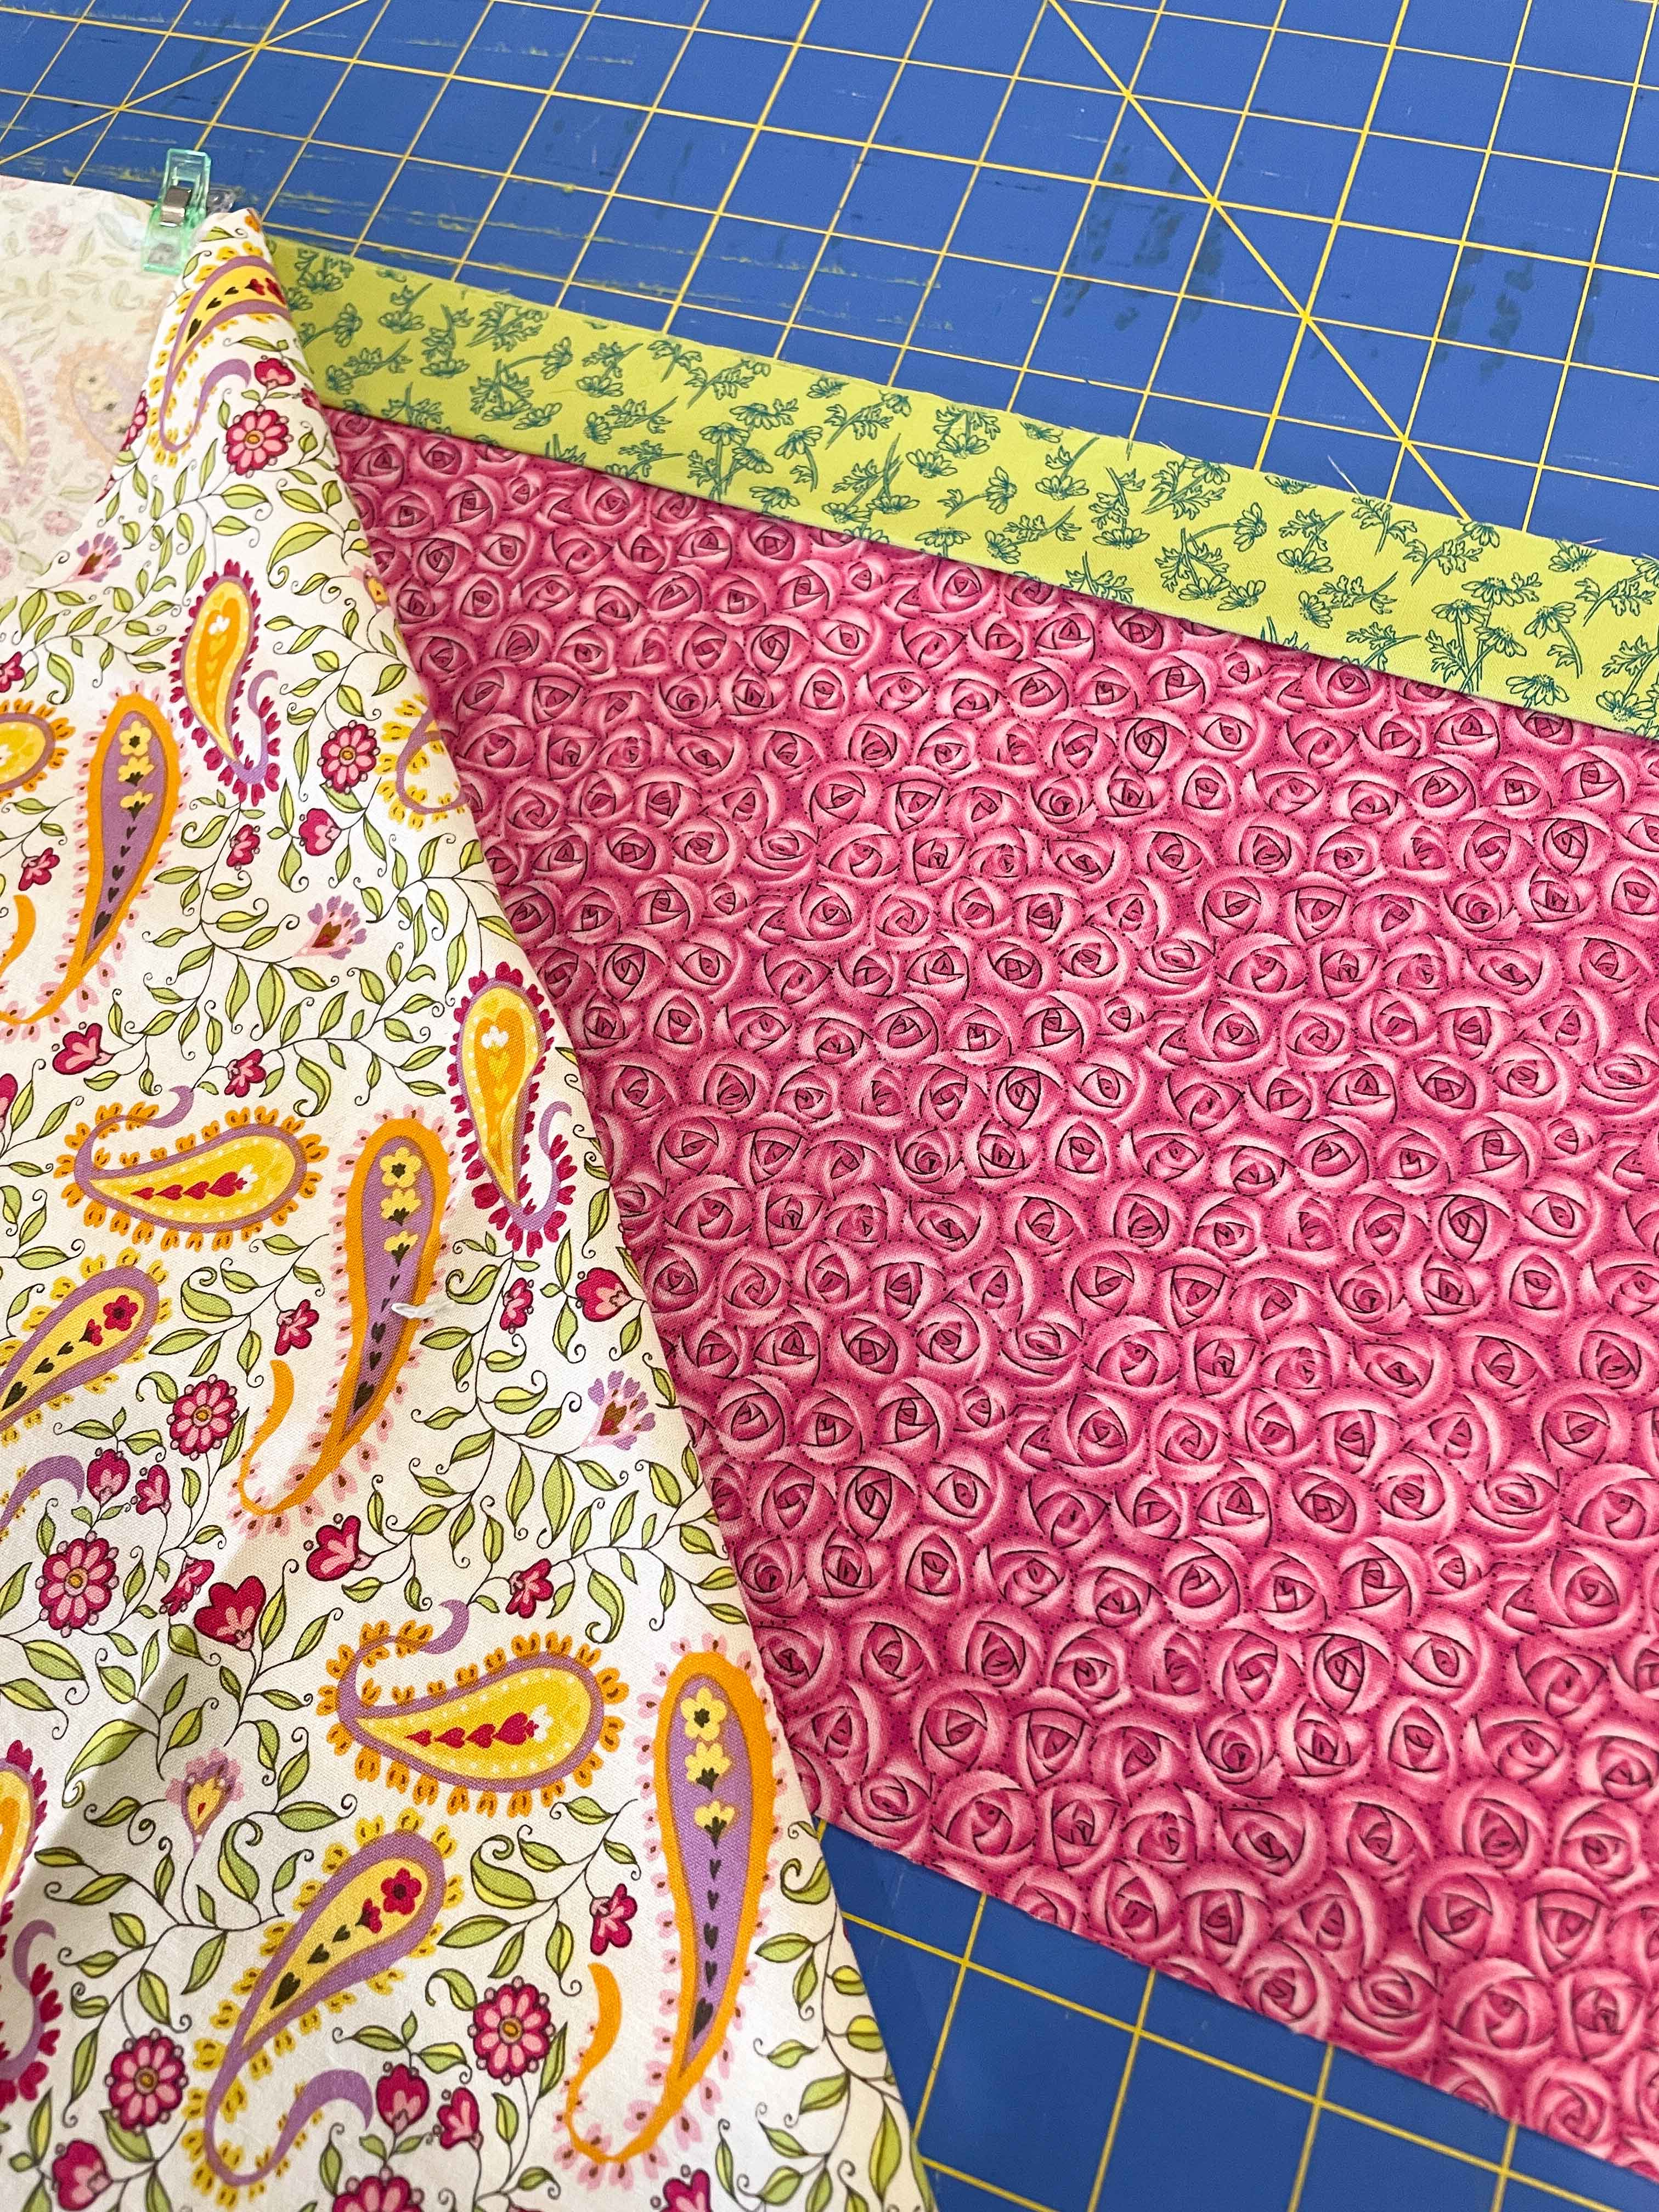
This method of making a pillowcase is called the burrito method. You can easily adjust the sizing to suit your favourite pillow size. What’s really nice about the burrito method is that it gives a nice finish on the opening.
To assemble, place the top accent fabric right side up and with the long side (42 inches) across your work surface.
The secondary accent piece is ironed, wrong sided together along the length of the fabric (42 inches) so that it is now 1.5 inches by 42 inches. Place the open edges to the top of the top accent fabric along the length of the fabric. Finally, place the main piece of fabric, right side now and line up along the length of the fabric (42 inches). Pin or clip along the top where your three pieces of fabric line up.
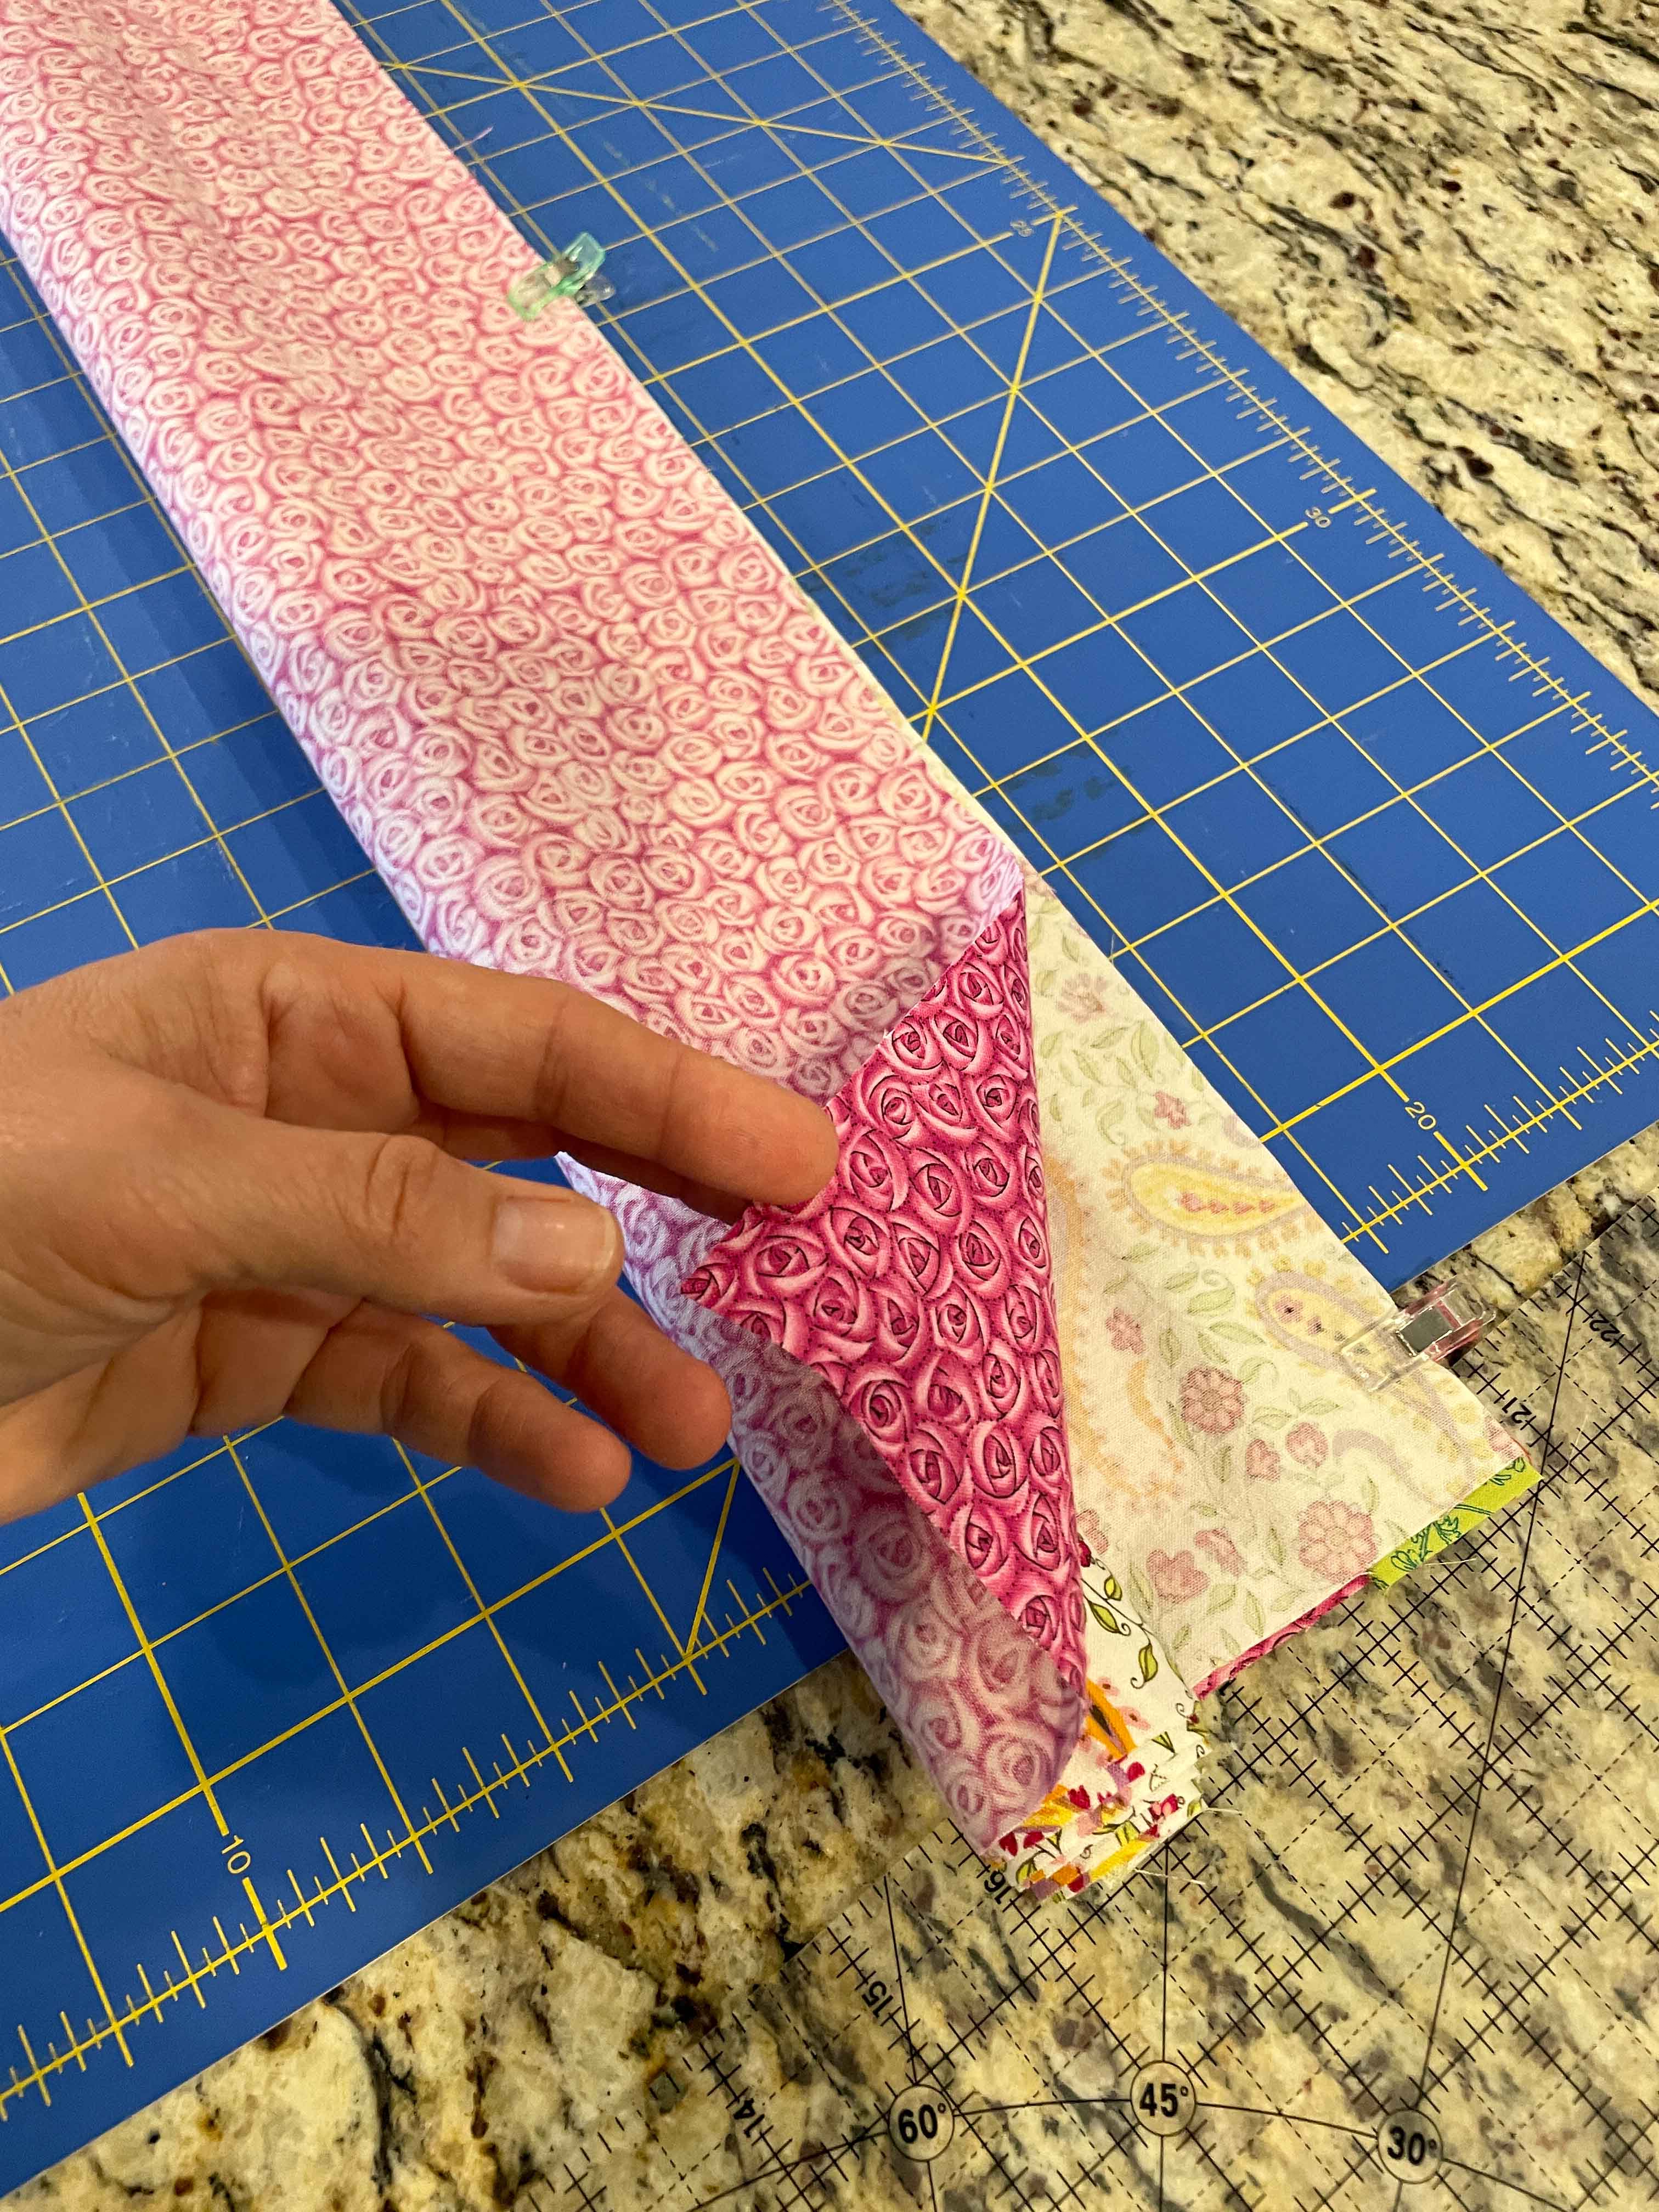
Roll up the main piece of fabric from the bottom, towards the top, until you are in the centre of the top accent fabric.

Wrap the top accent fabric piece over the section you just rolled up and line across the top. Pin or clip all along the top. This is your pillow burrito.
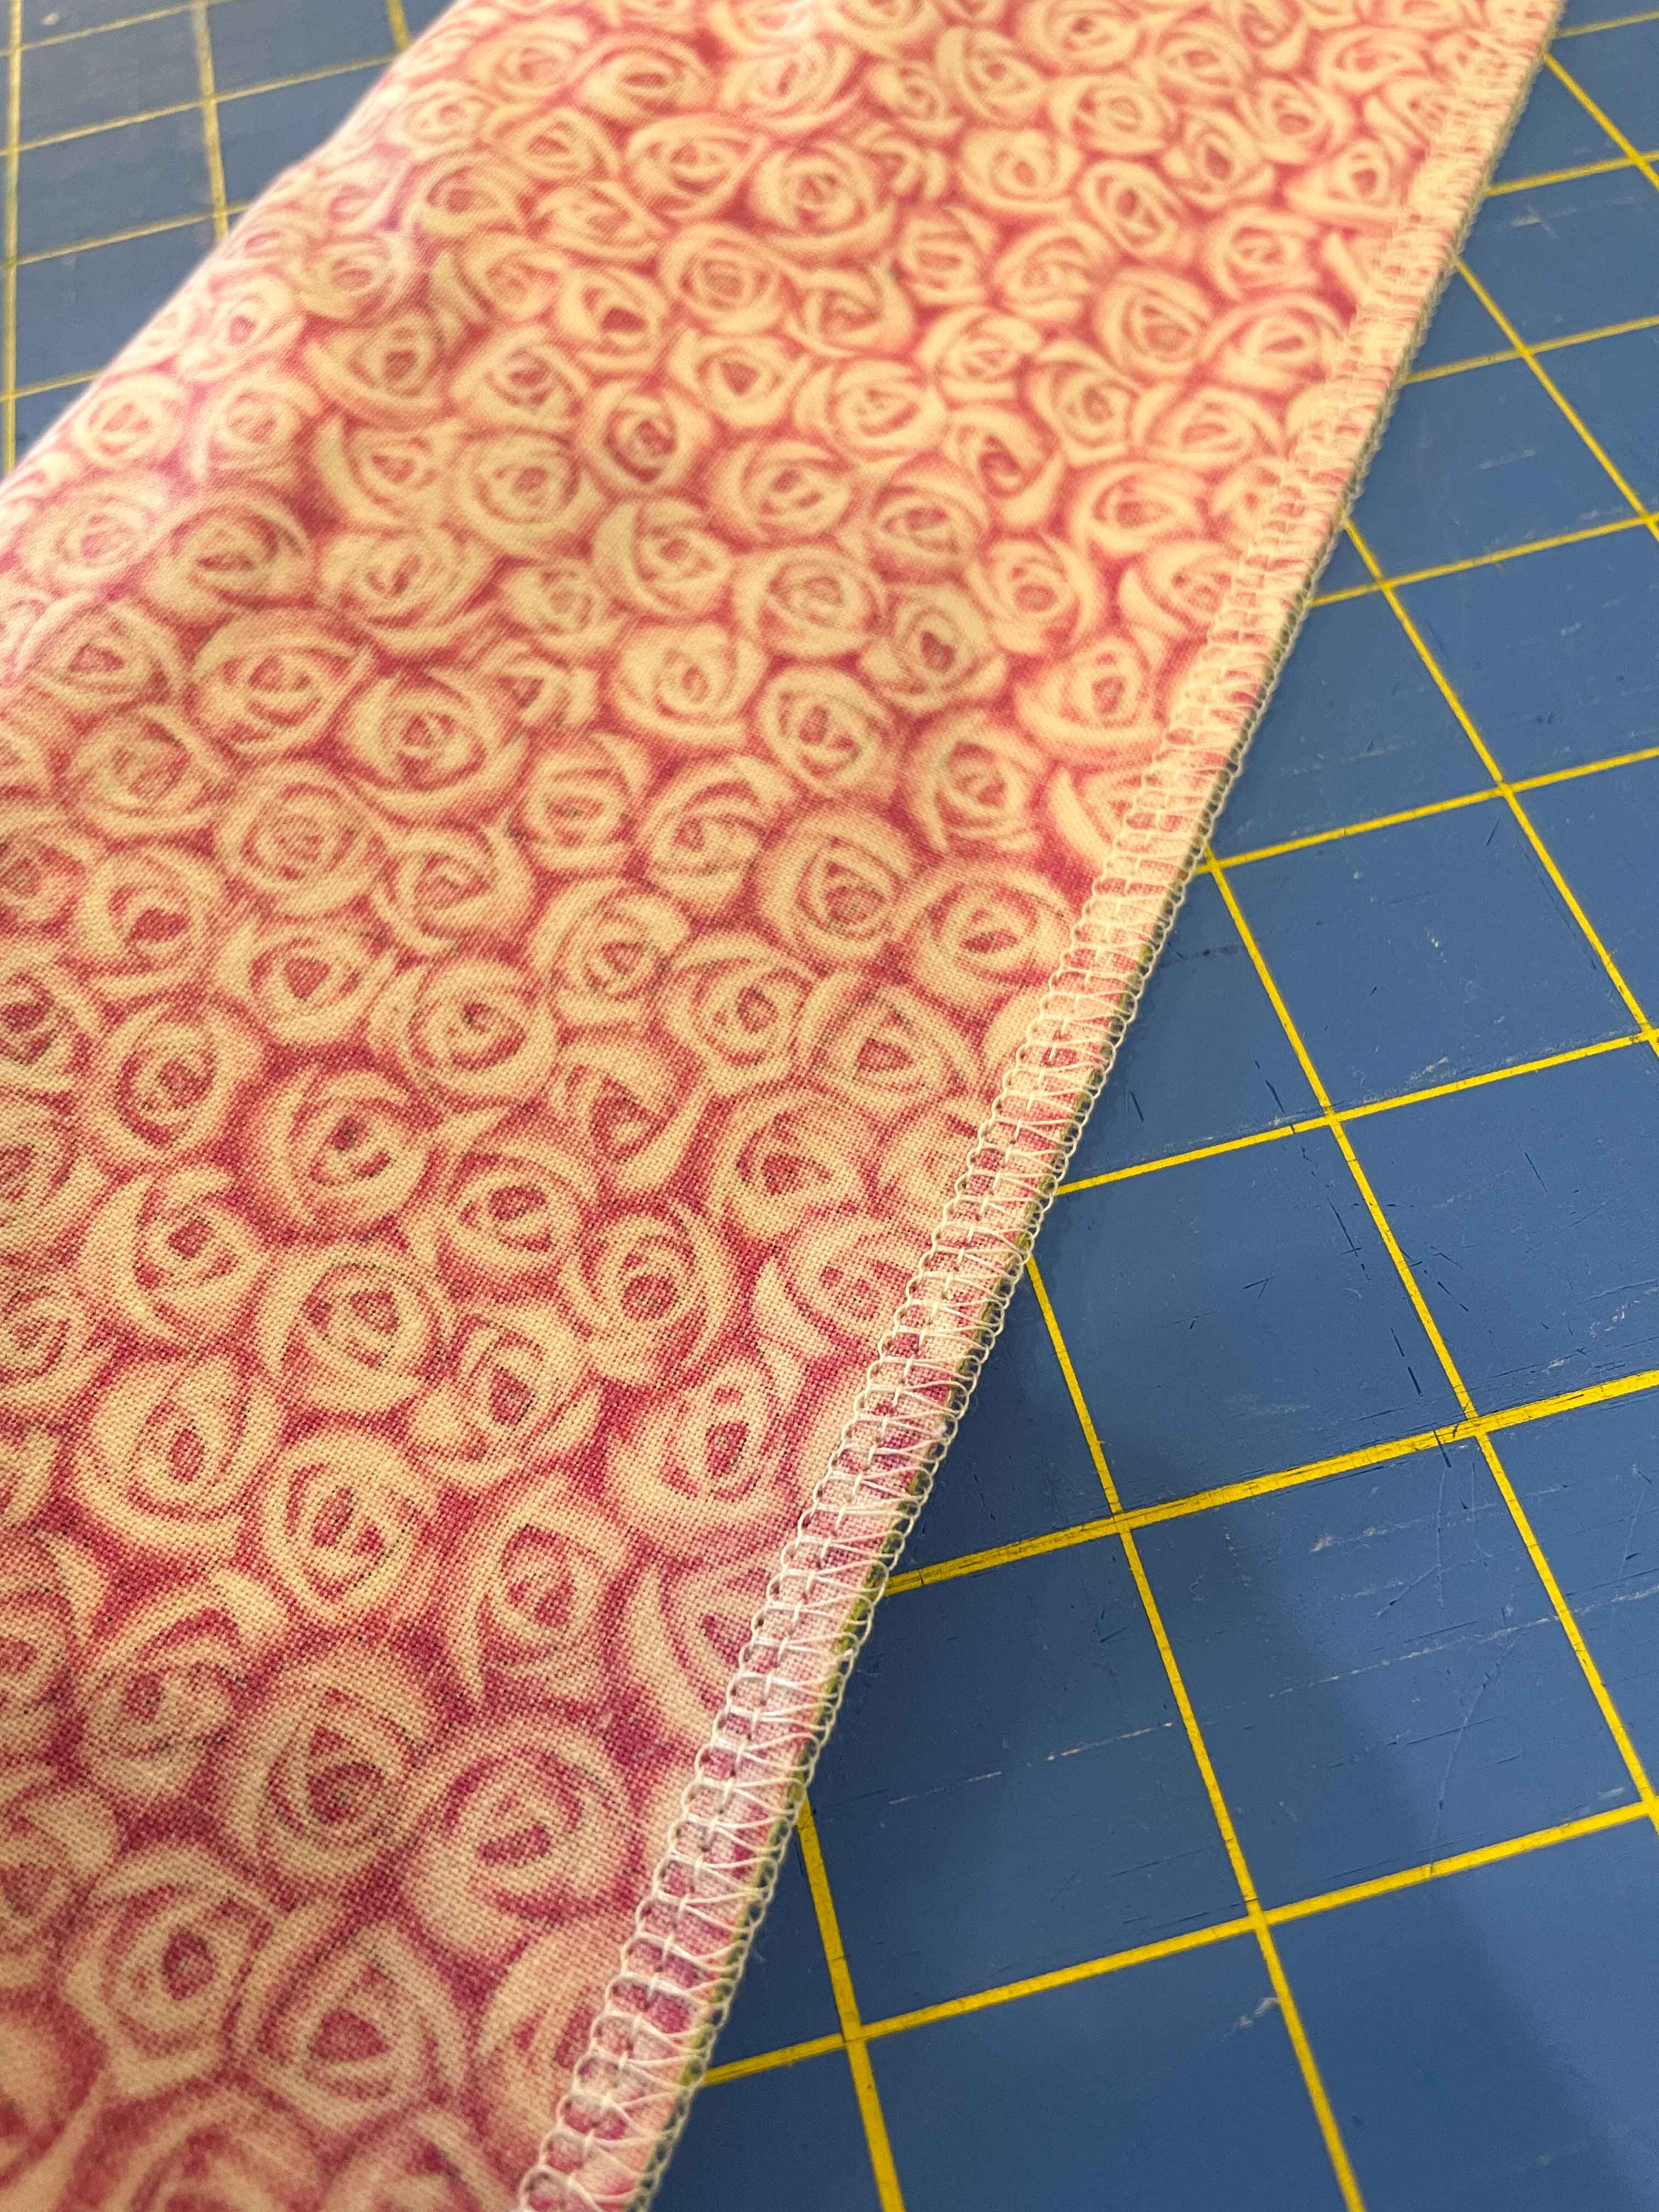
Serge all along the top length of the fabric.

I love the low profile waste chip box on the Janome Airthread 2000D. It is also detachable so it’s easy to empty.

Look at that beautiful serger stitching!
From here you turn your burrito inside out (actually right side out) and then finish off your pillow case by sergering (with right sides together) the side and bottom of your pillowcase.

Of course with a serger, you are left with these little tails. There are several ways to finish them. If you can serge over tails, that’s the easiest. That’s what I did in one corner of the pillowcase. But that still left two tails – the start and where I ended my serging. I like to just grab a large headed needle and weave in the tails. It’s quick and easy and really finishes off the ends nicely. You can also unravel the tails and tie them in a knot.
I figure pillowcases get washed a lot, so I chose this method to keep those ends as secure as possible.

My new pillowcase feels quite cheery – and of course, my daughter snapped it up right away and claimed it for herself (so I had to make another one).
What quick sewing projects do you find even quicker on your serger? What is your favourite method for finishing off serger tails? When you travel, do you bring your own pillow?
Trina Gallop
Janome Canada Artisan