
It has happened to all of us. We go to start a project and realize we don’t have the right zipper, and worse yet, the sewing centre is already closed! In some cases, you can shorten a zipper using special replacement pieces. In the end, you can’t tell that its been altered!

First, we’re going to shorten the zipper from the open end. We will be using needle nose pliers, and zipper stops (little black pieces). Most sewing centres have zipper stops in stock, they might be behind the counter in a little bag, you just have to ask for them!
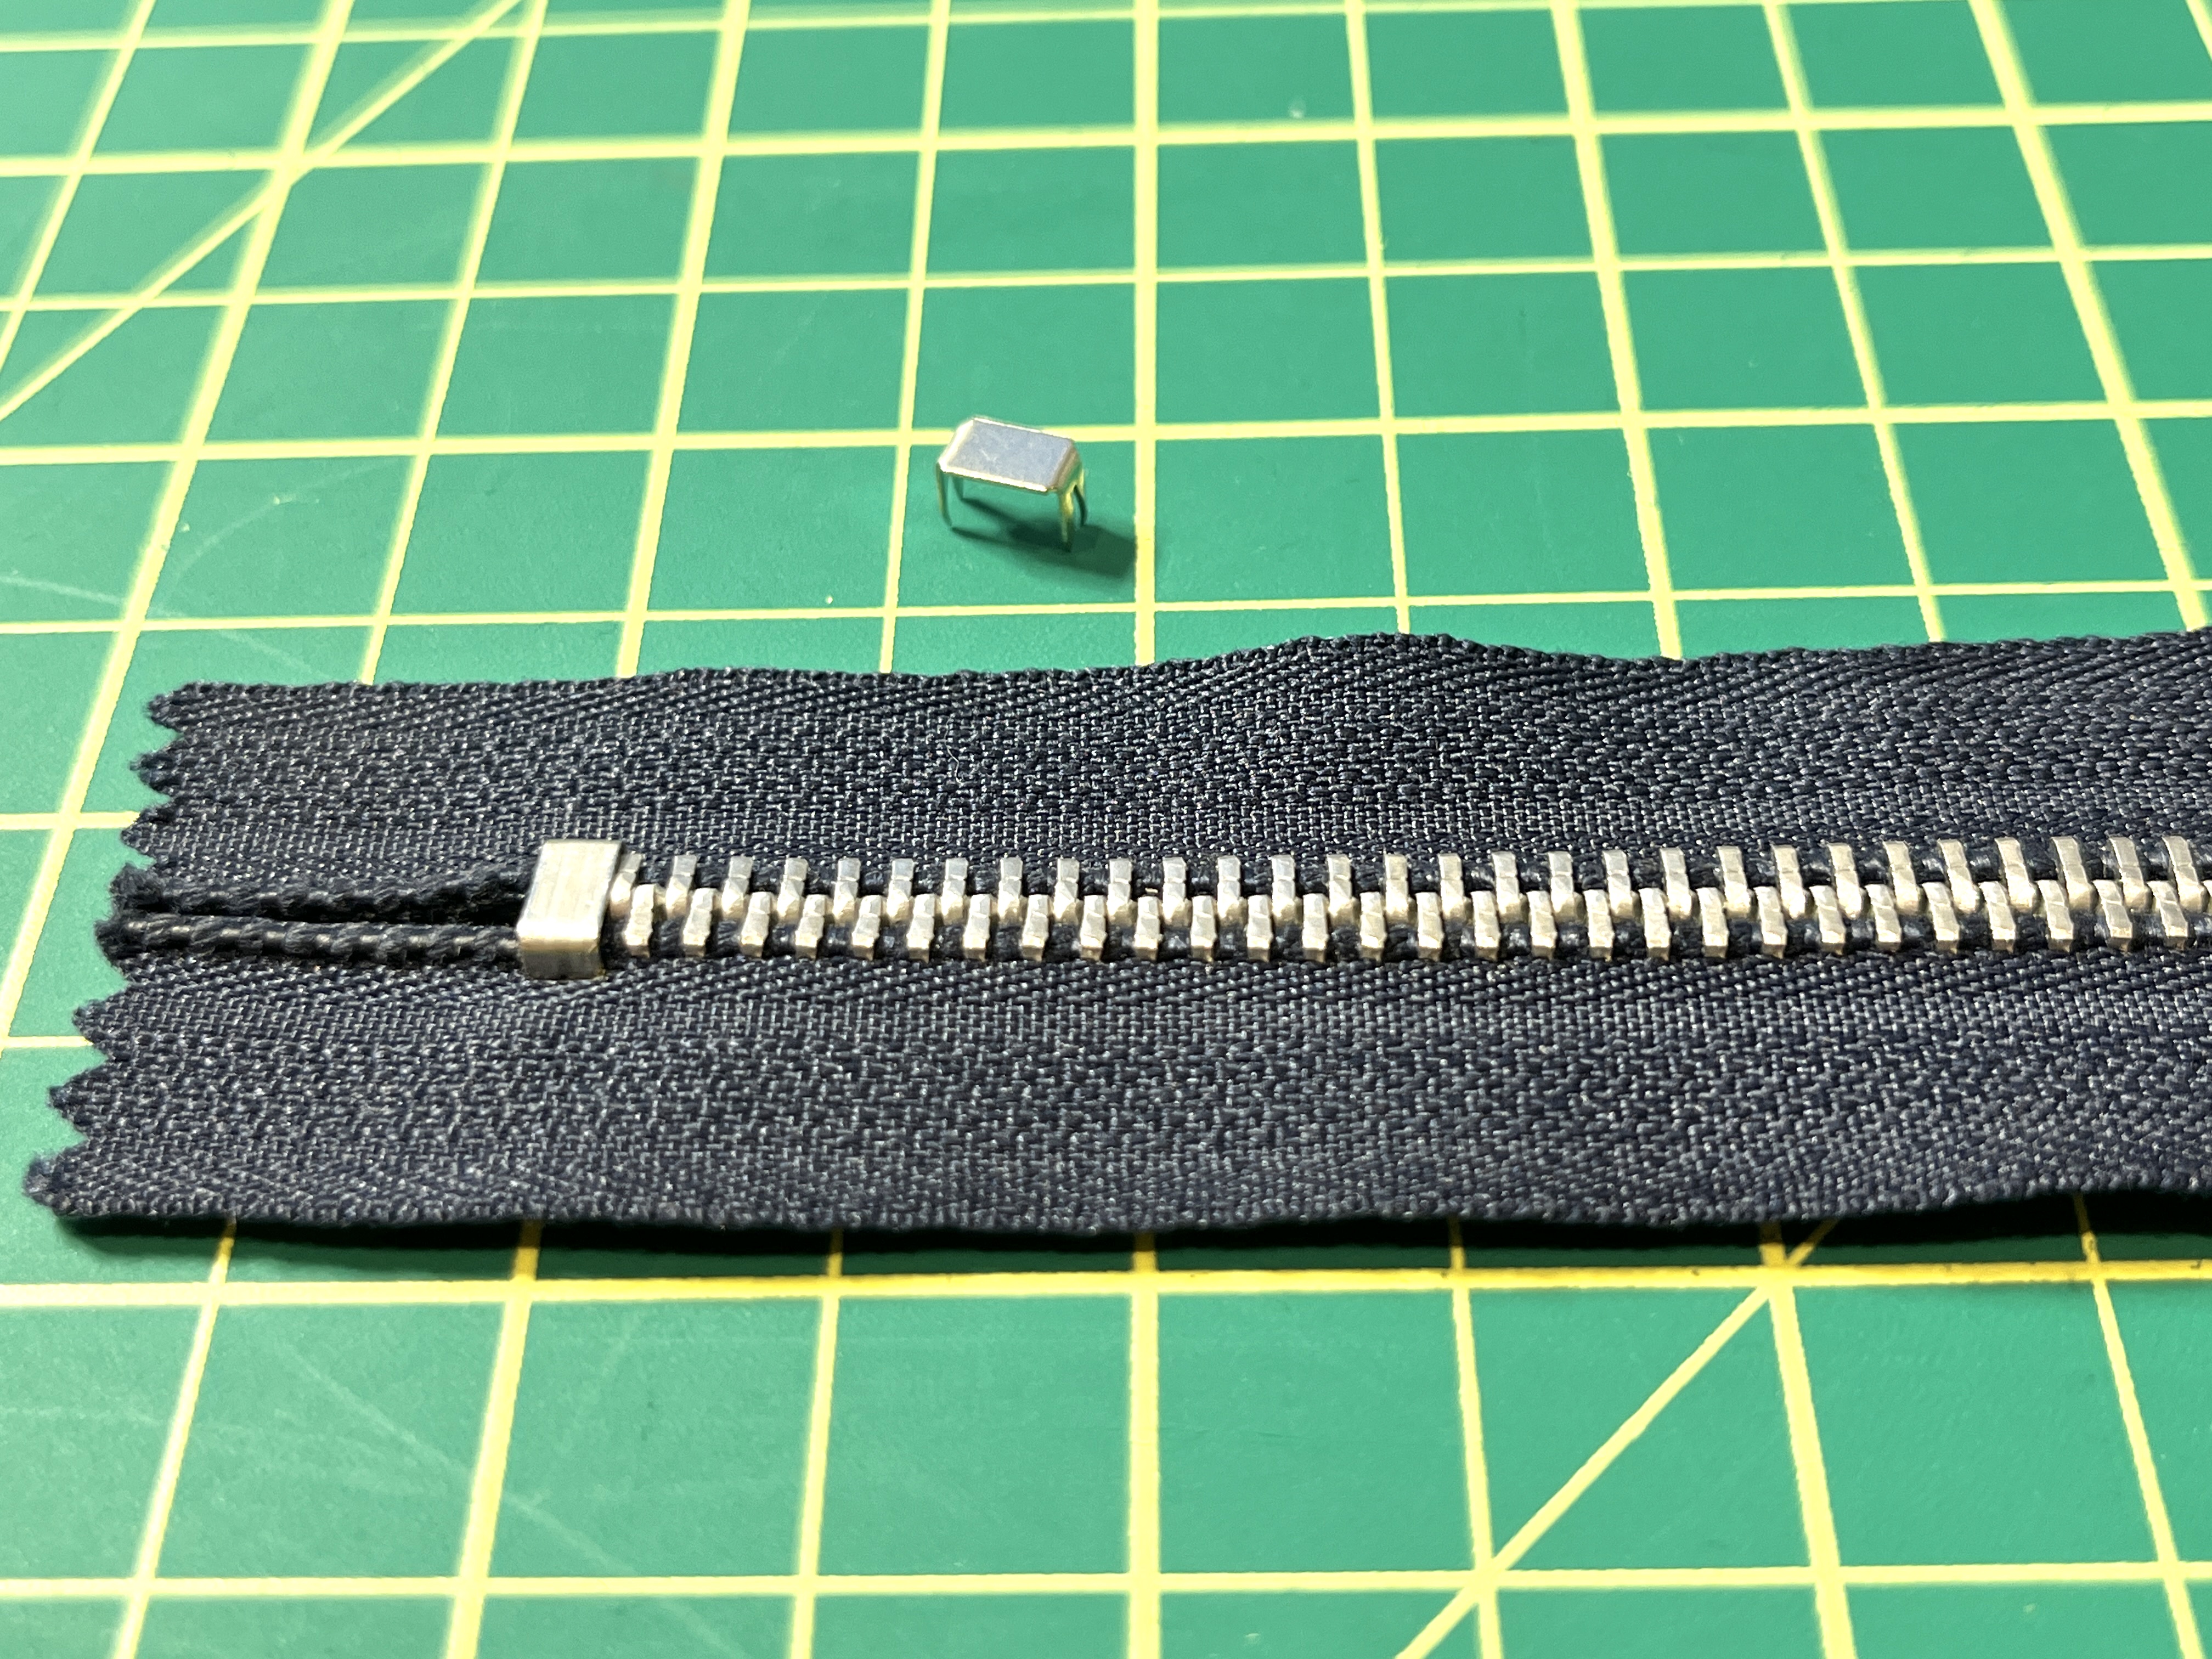
Step 1: Removing the teeth
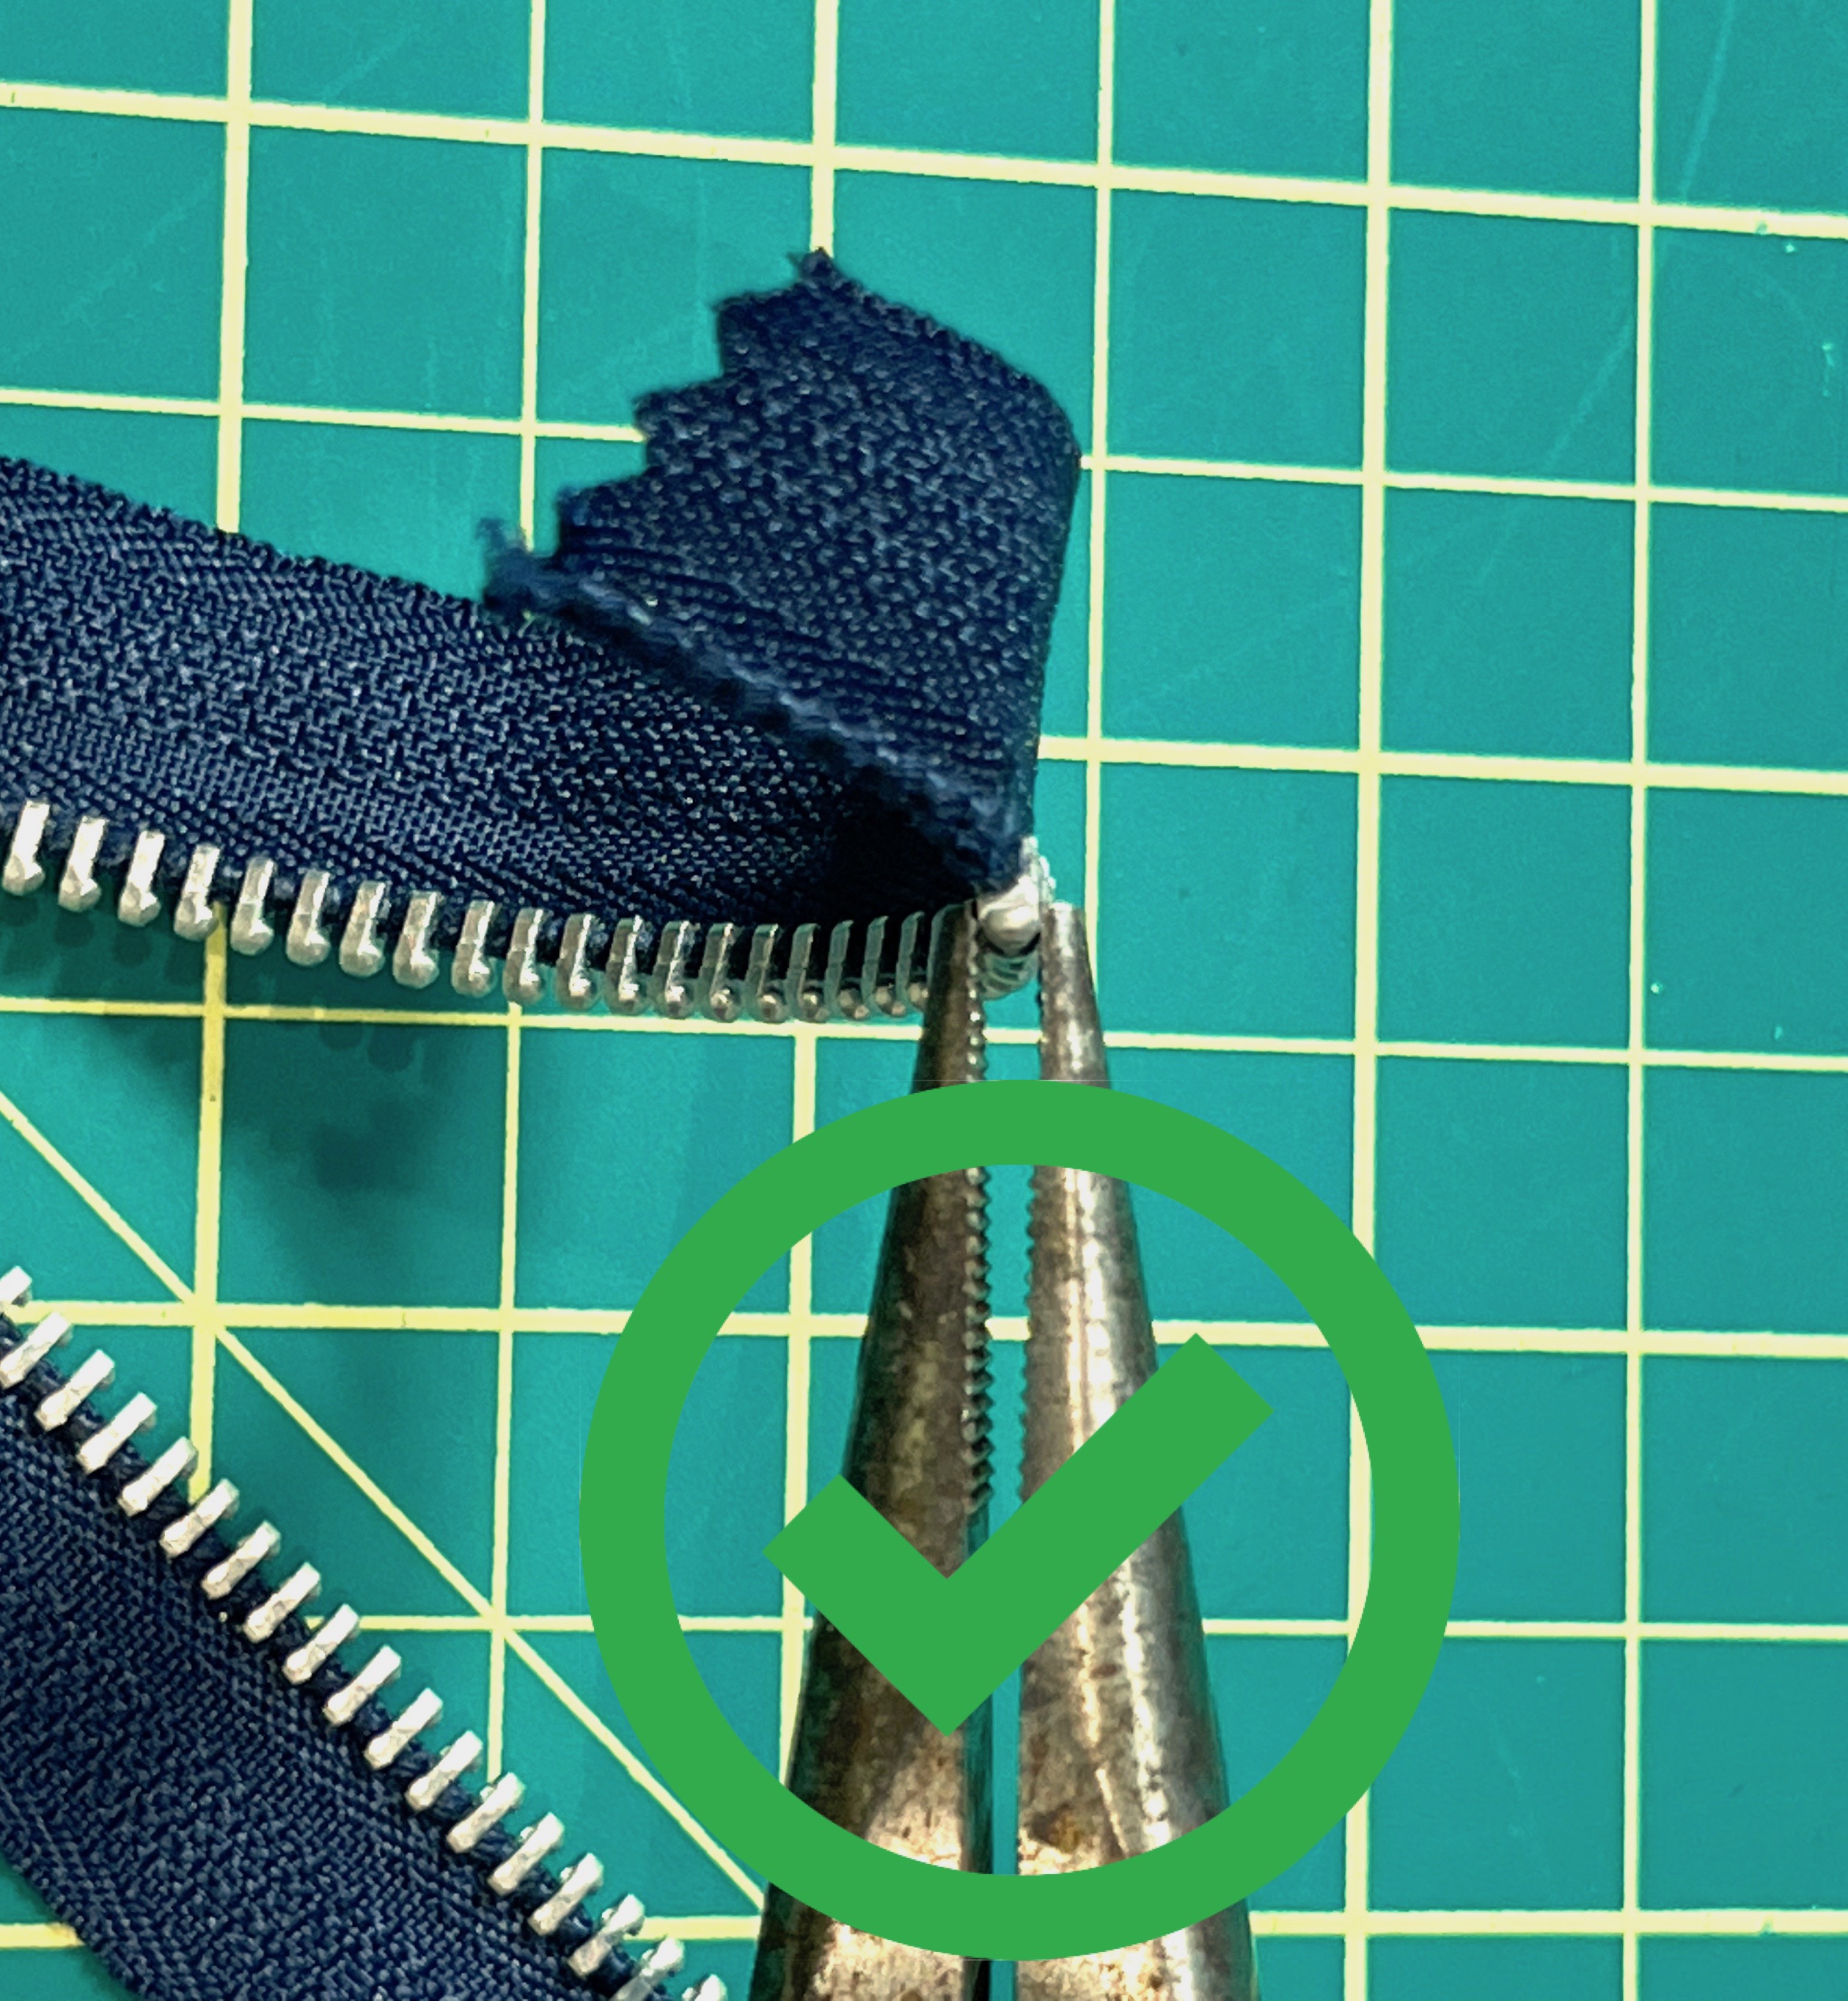

Using needle nose pliers, pry off the top stopper and as many teeth needed until the desired zipper length is achieved. Note: the tip of the pliers should only squeeze on the edge of the teeth. if you grip the entire tooth, it will be much more difficult to remove.
In this case I removed the top stopper and 4 zipper teeth, then repeated on the other side.
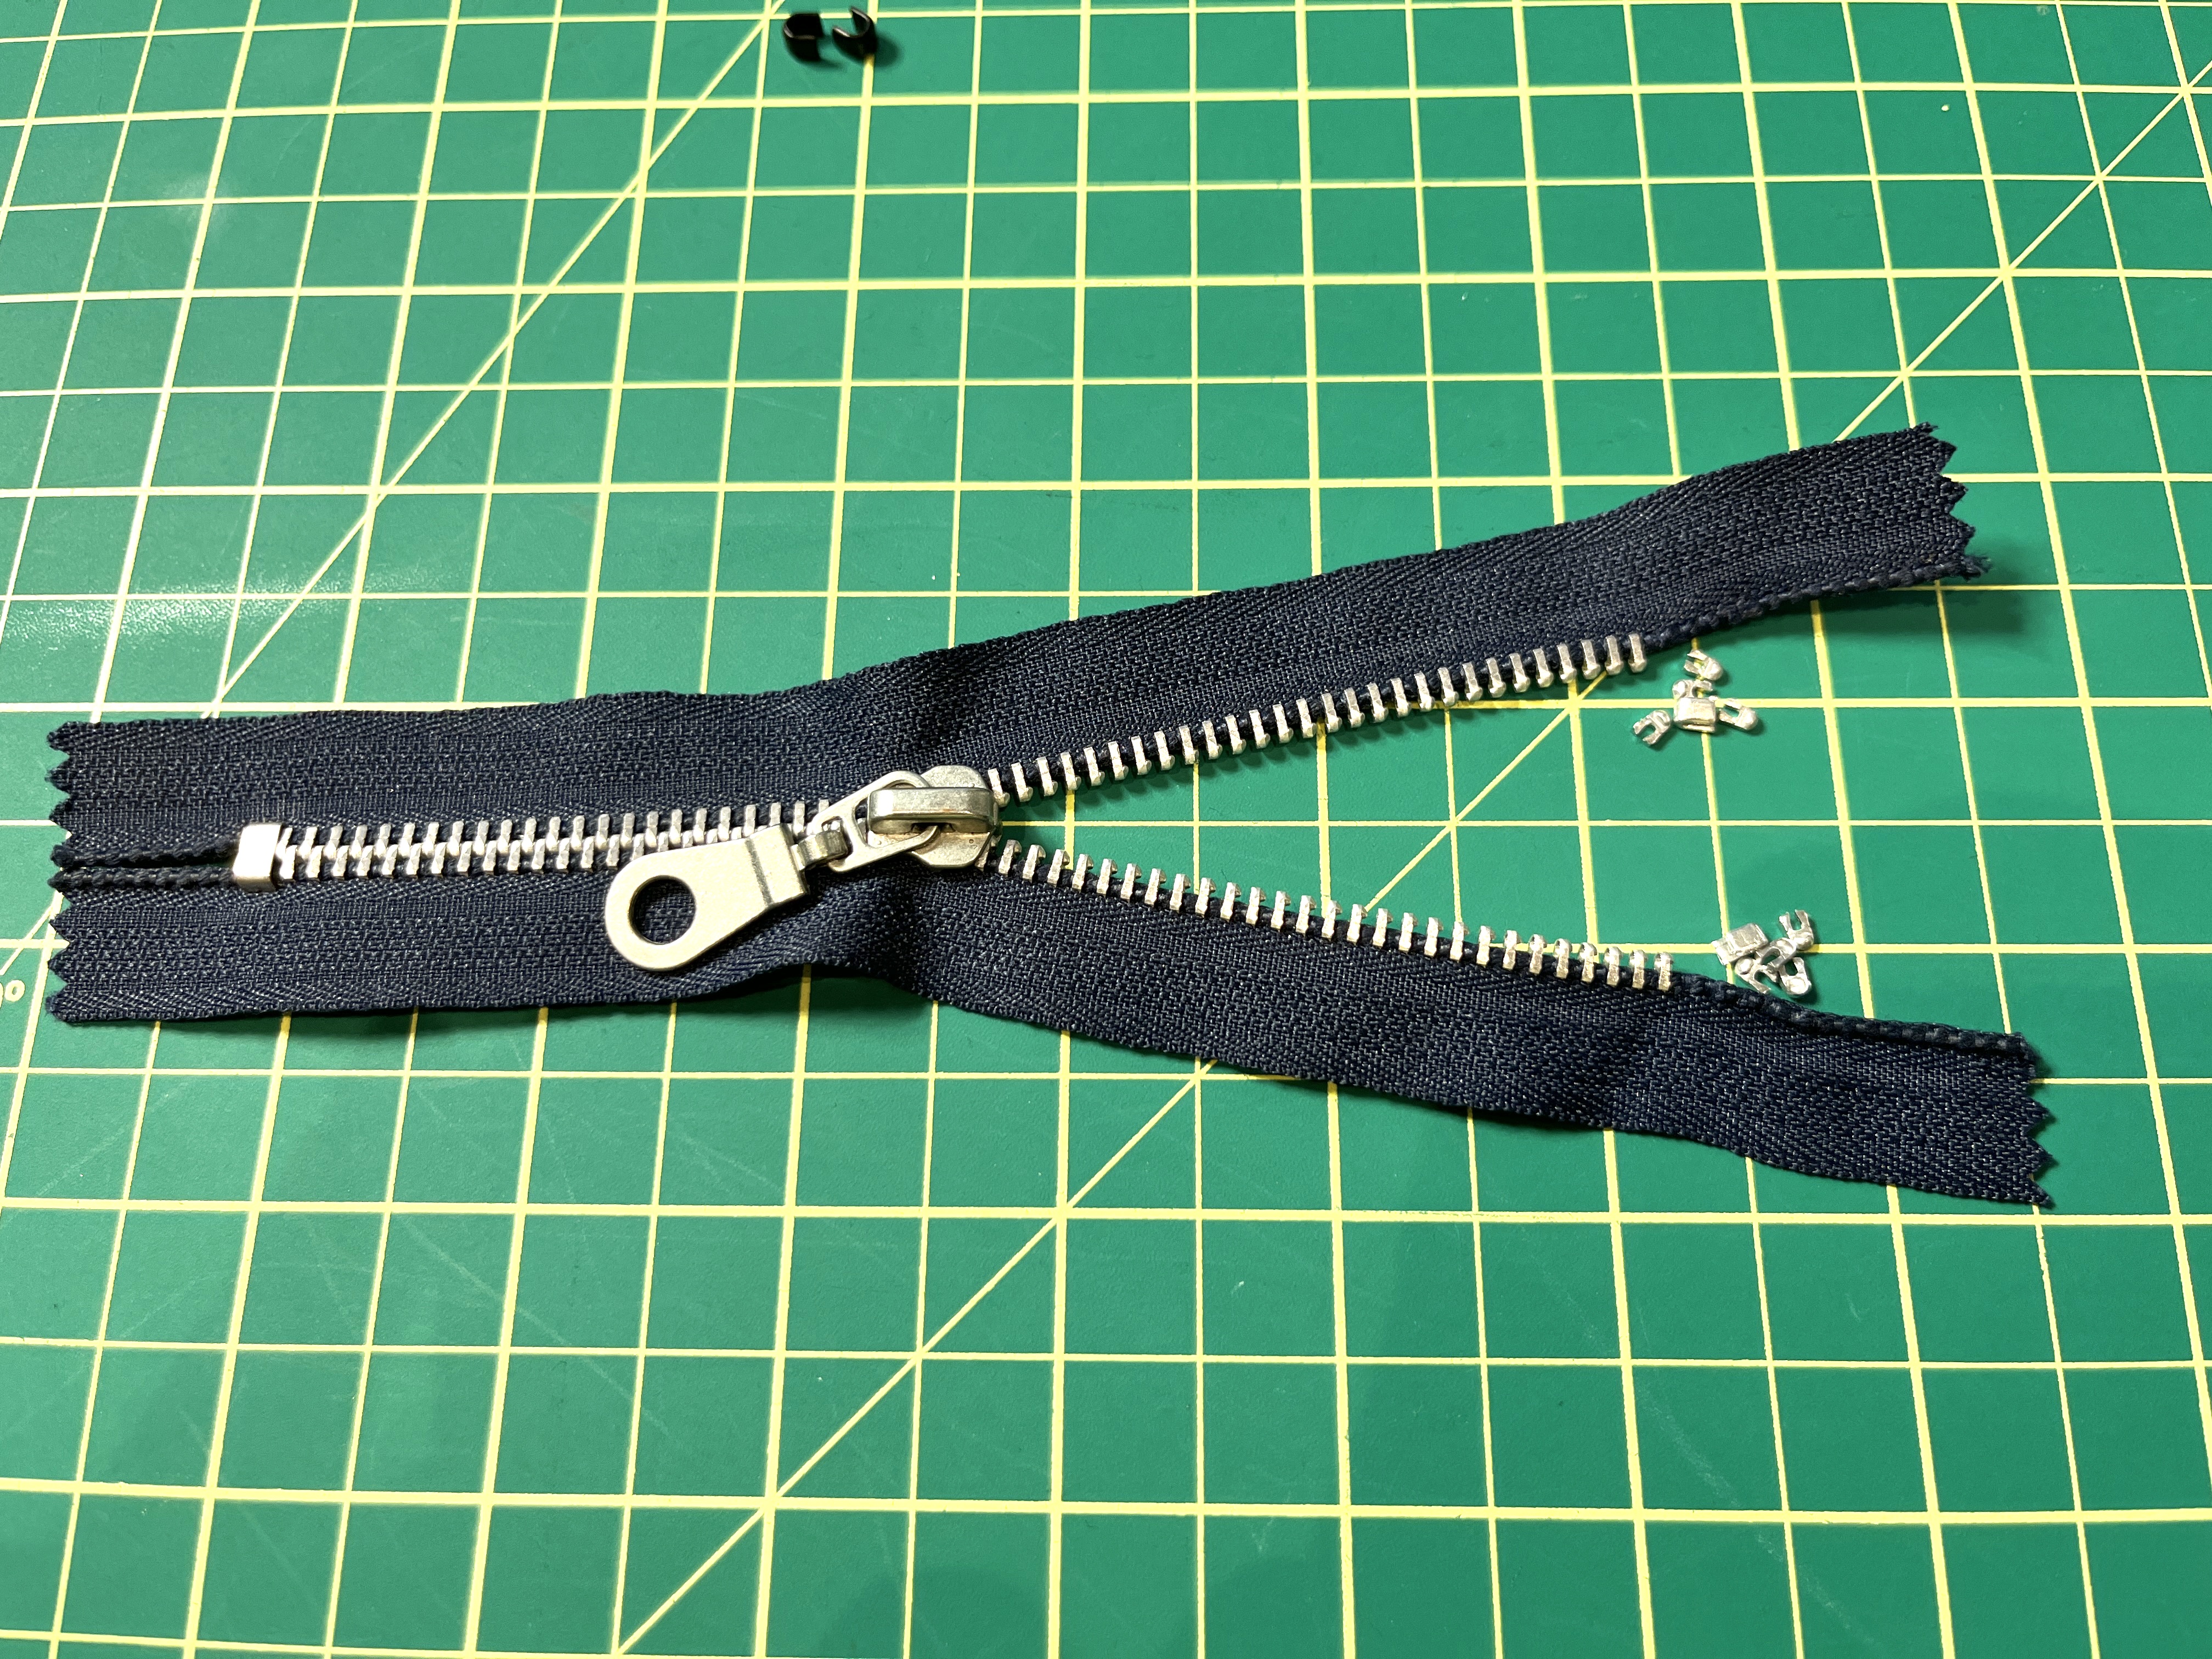
Step 2: Installing the new stoppers

Now comes the fun part! Simply slip the new stopper over the zipper tape and clamp them into place with the pliers. The stoppers I’m using are black, but you can find them in different colours to match your zipper teeth.
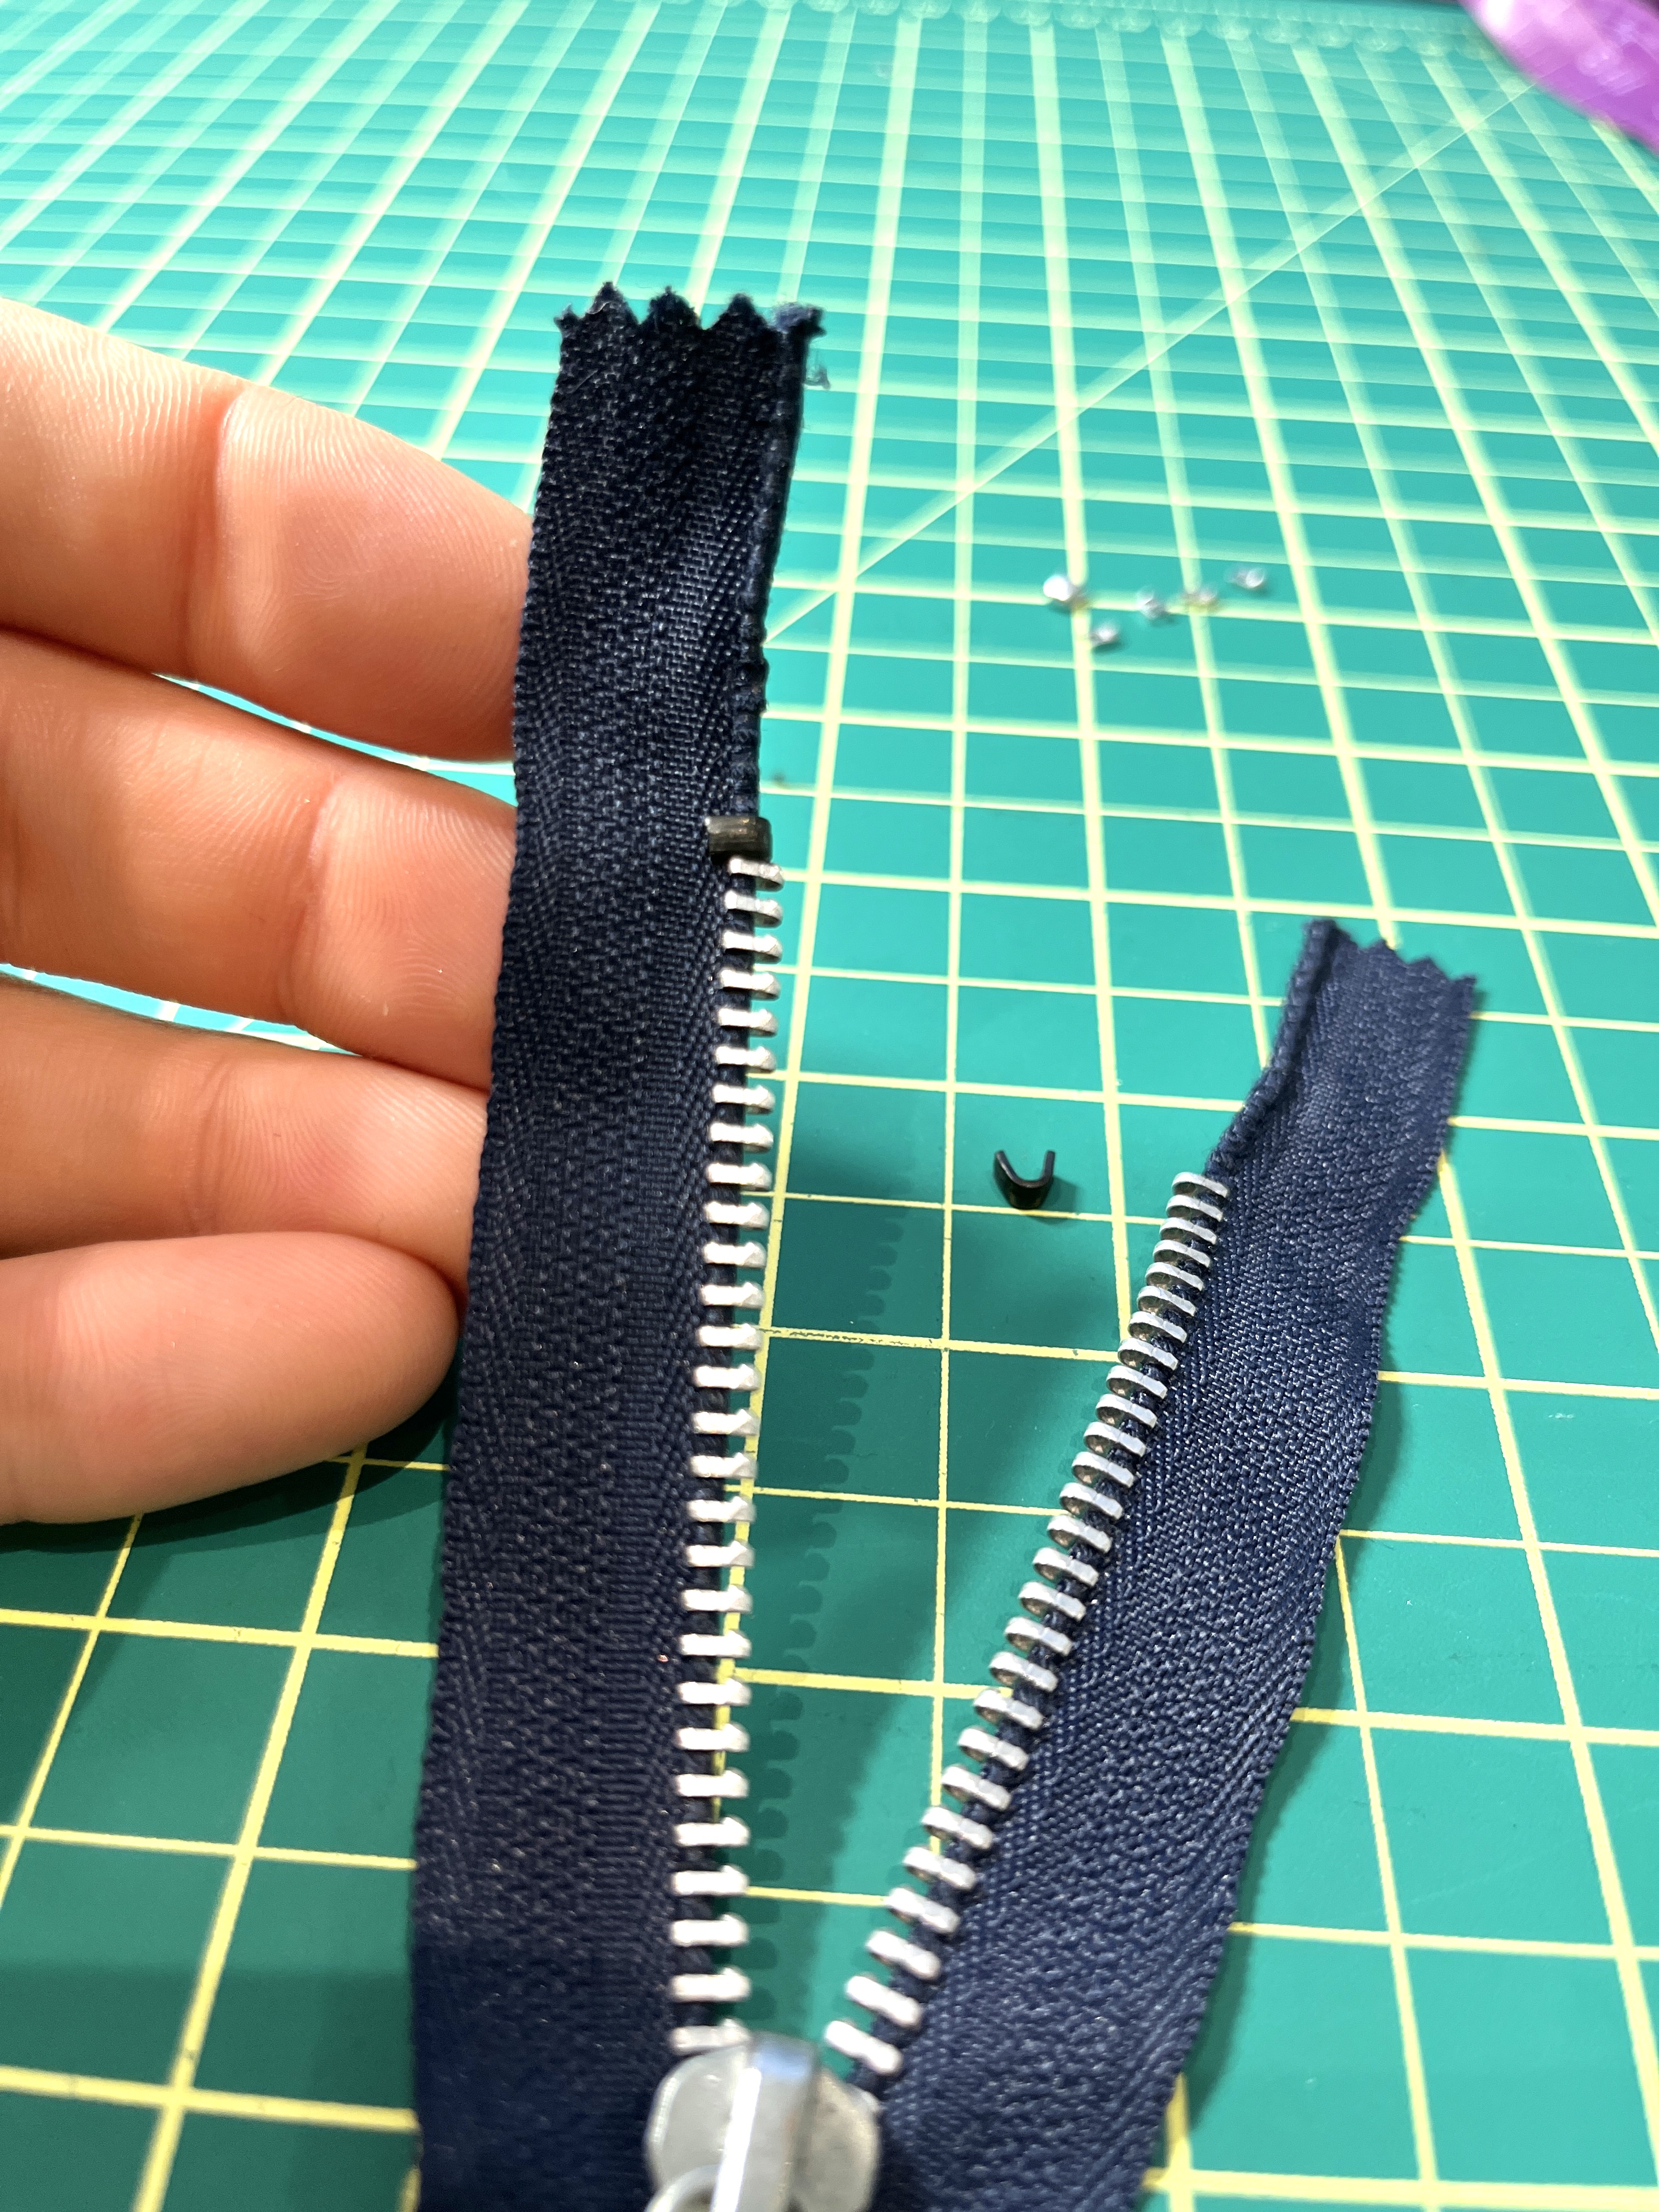
You’ve successfully shortened the zipper from the top! Now, you can trim the excess off with your scissors, or leave it as is.
Part 2: Shortening it from the botton
To shorten a zipper from the bottom, we’re going to need a ‘bottom stopper’, needle nose pliers, and a mini flathead screwdriver.
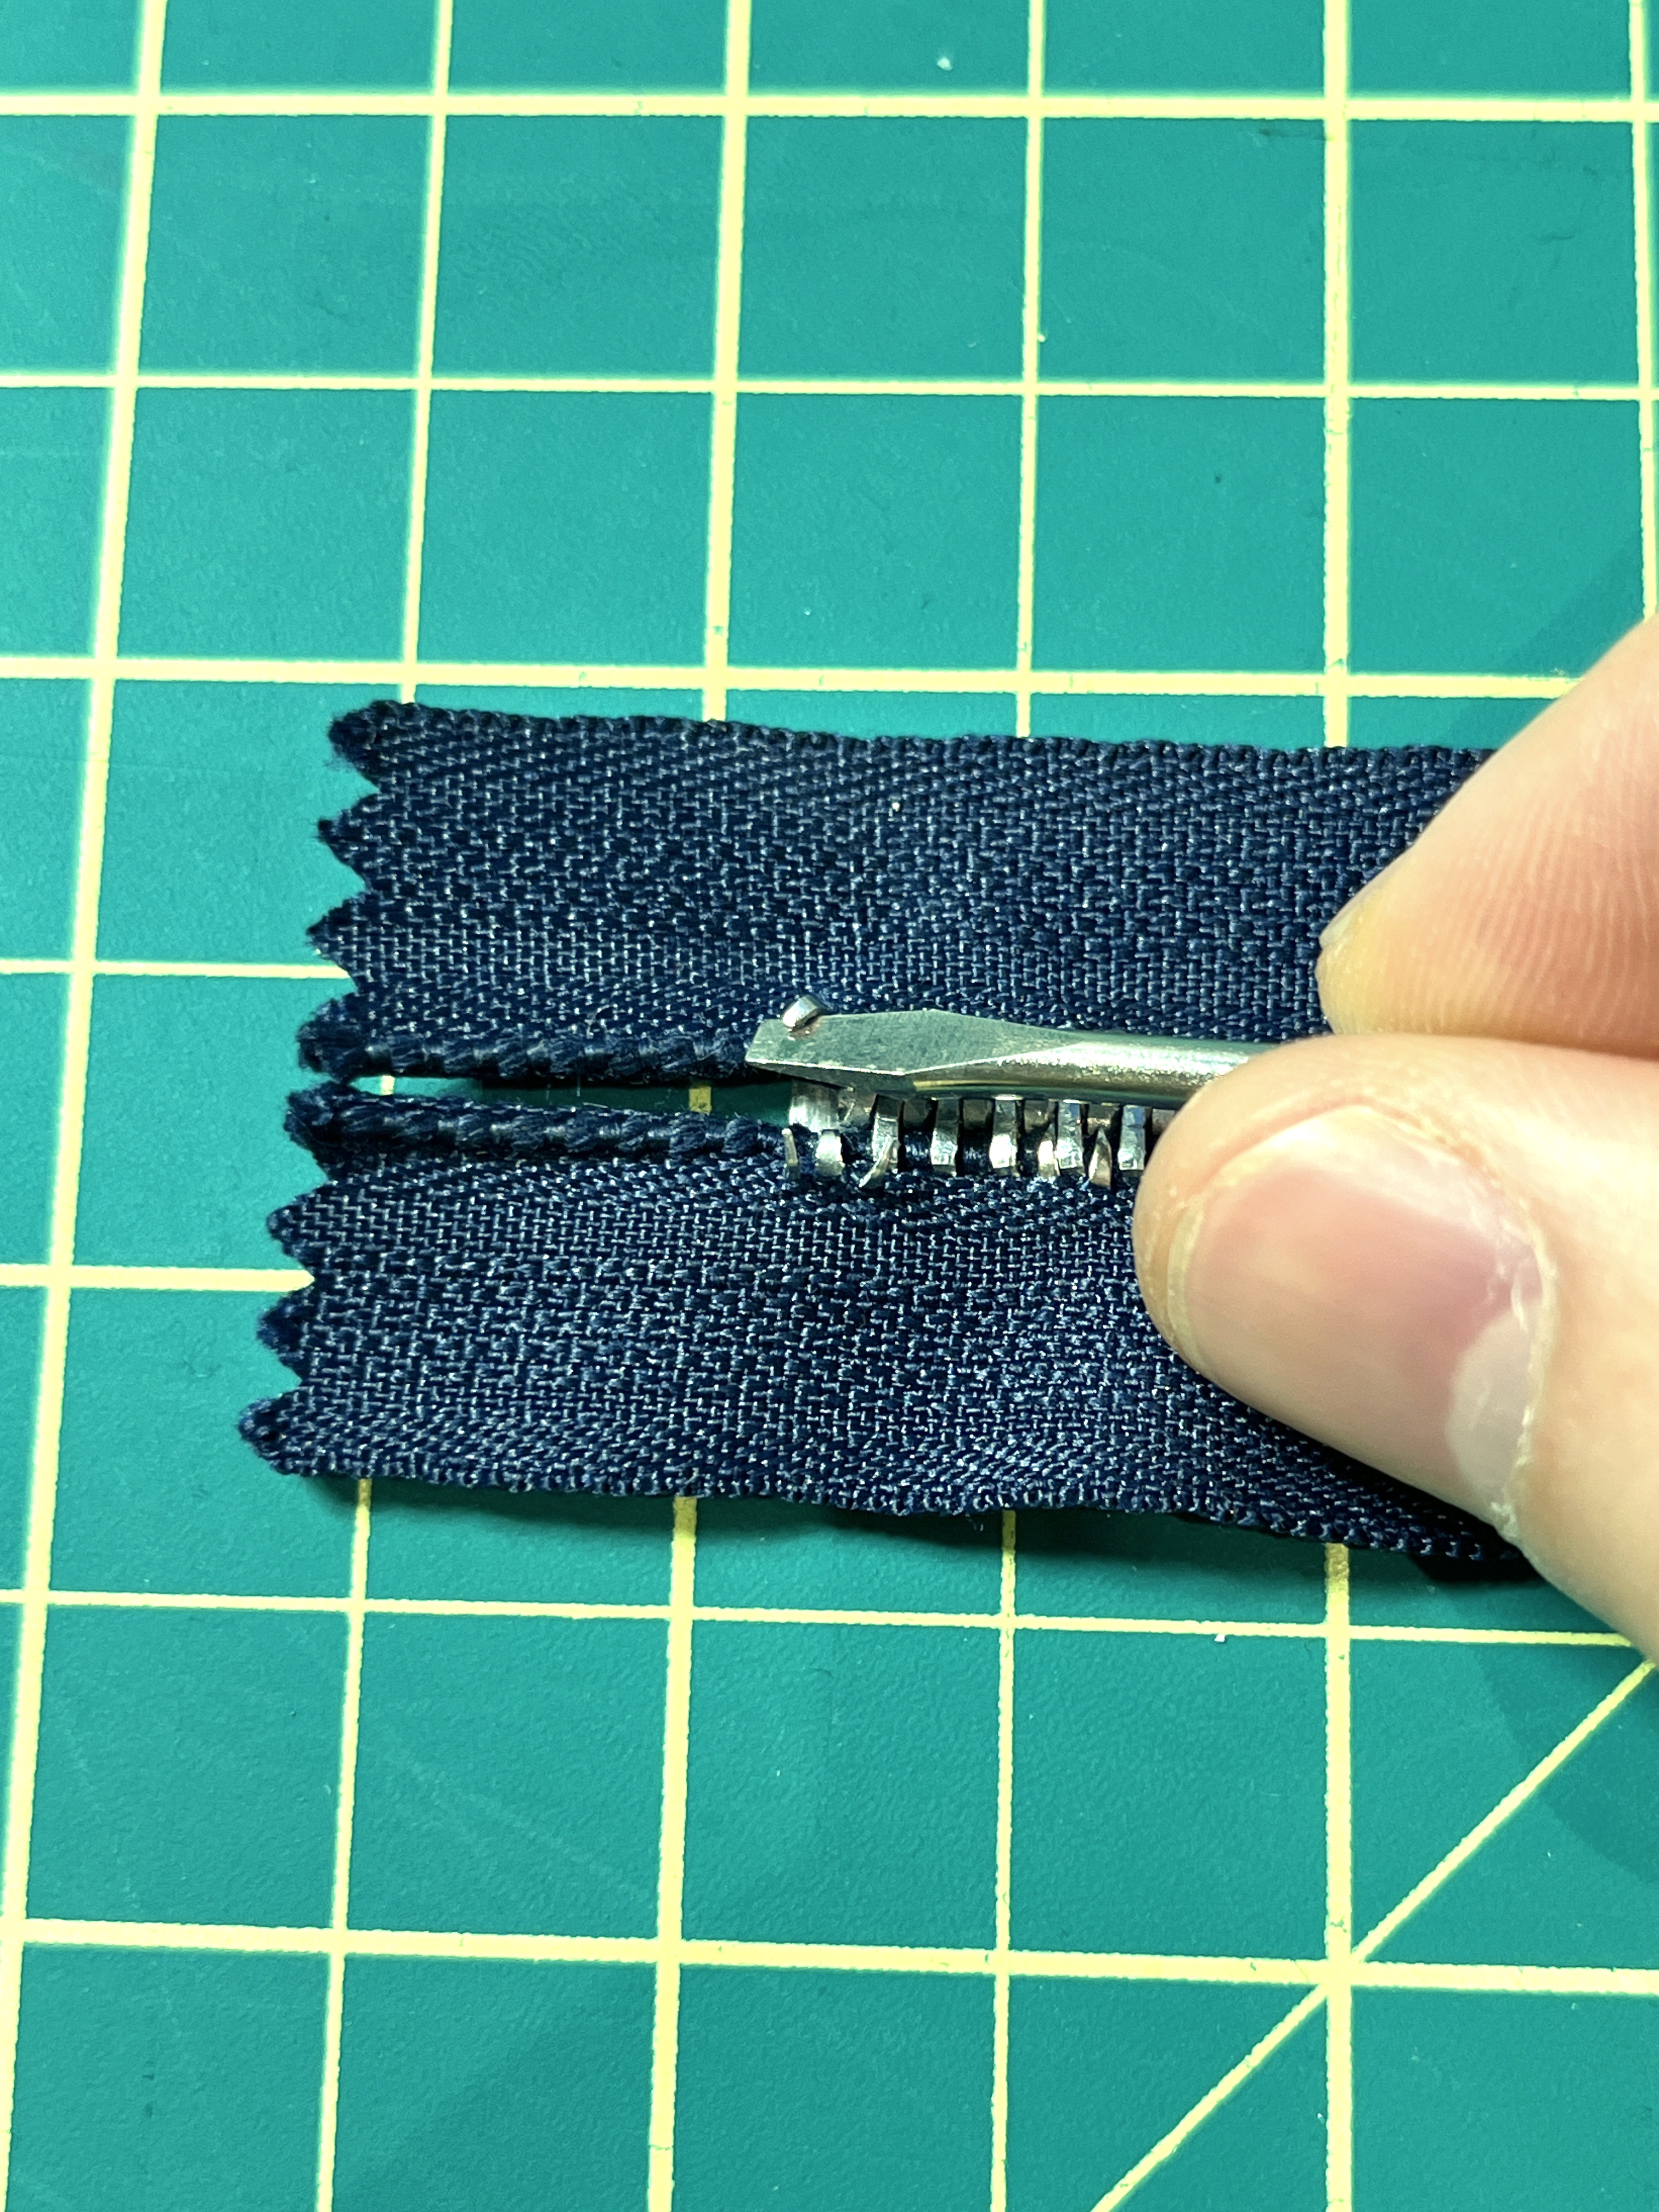
Step 1: Install the new bottom stopper

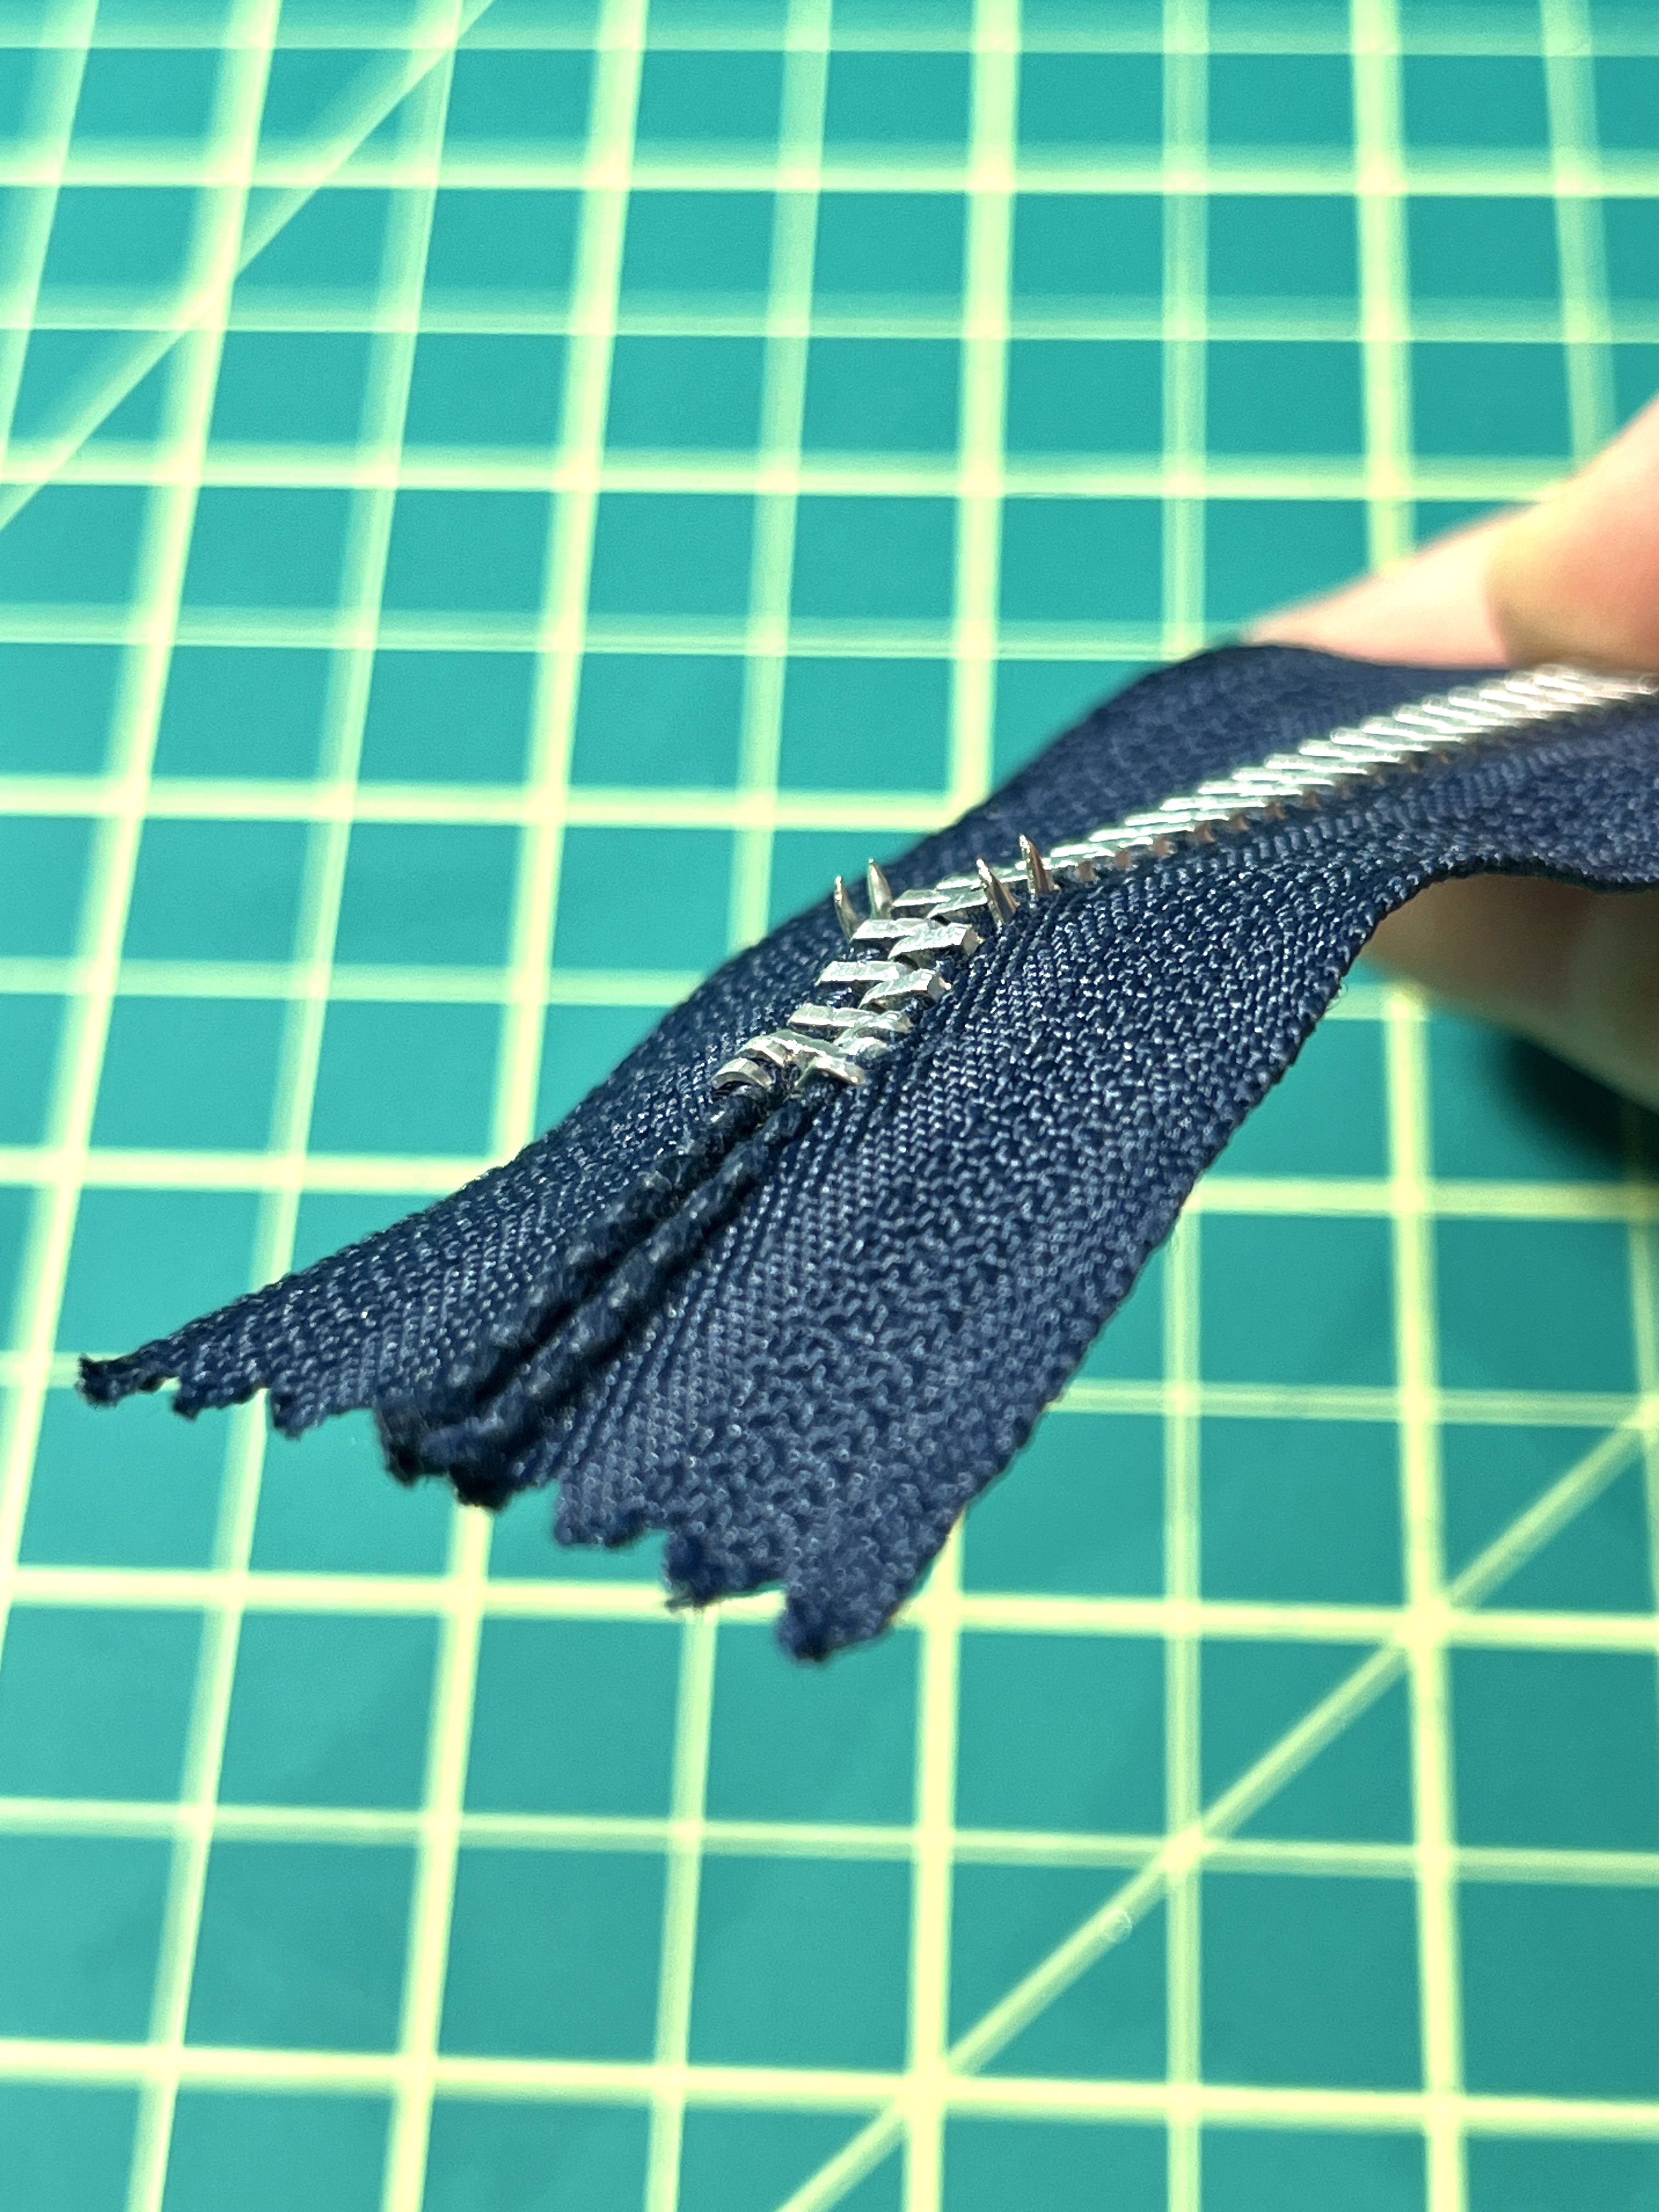
Find the spot where you want the zipper to stop, and firmly push the new bottom stopper through the zipper tape, covering the teeth. Make sure the 4 ‘pincers’ of the stopper are all protruding on the other side.

Using a small flathead screwdriver, bent each ‘pincer’ down and position them between zipper teeth to secure the stopper.
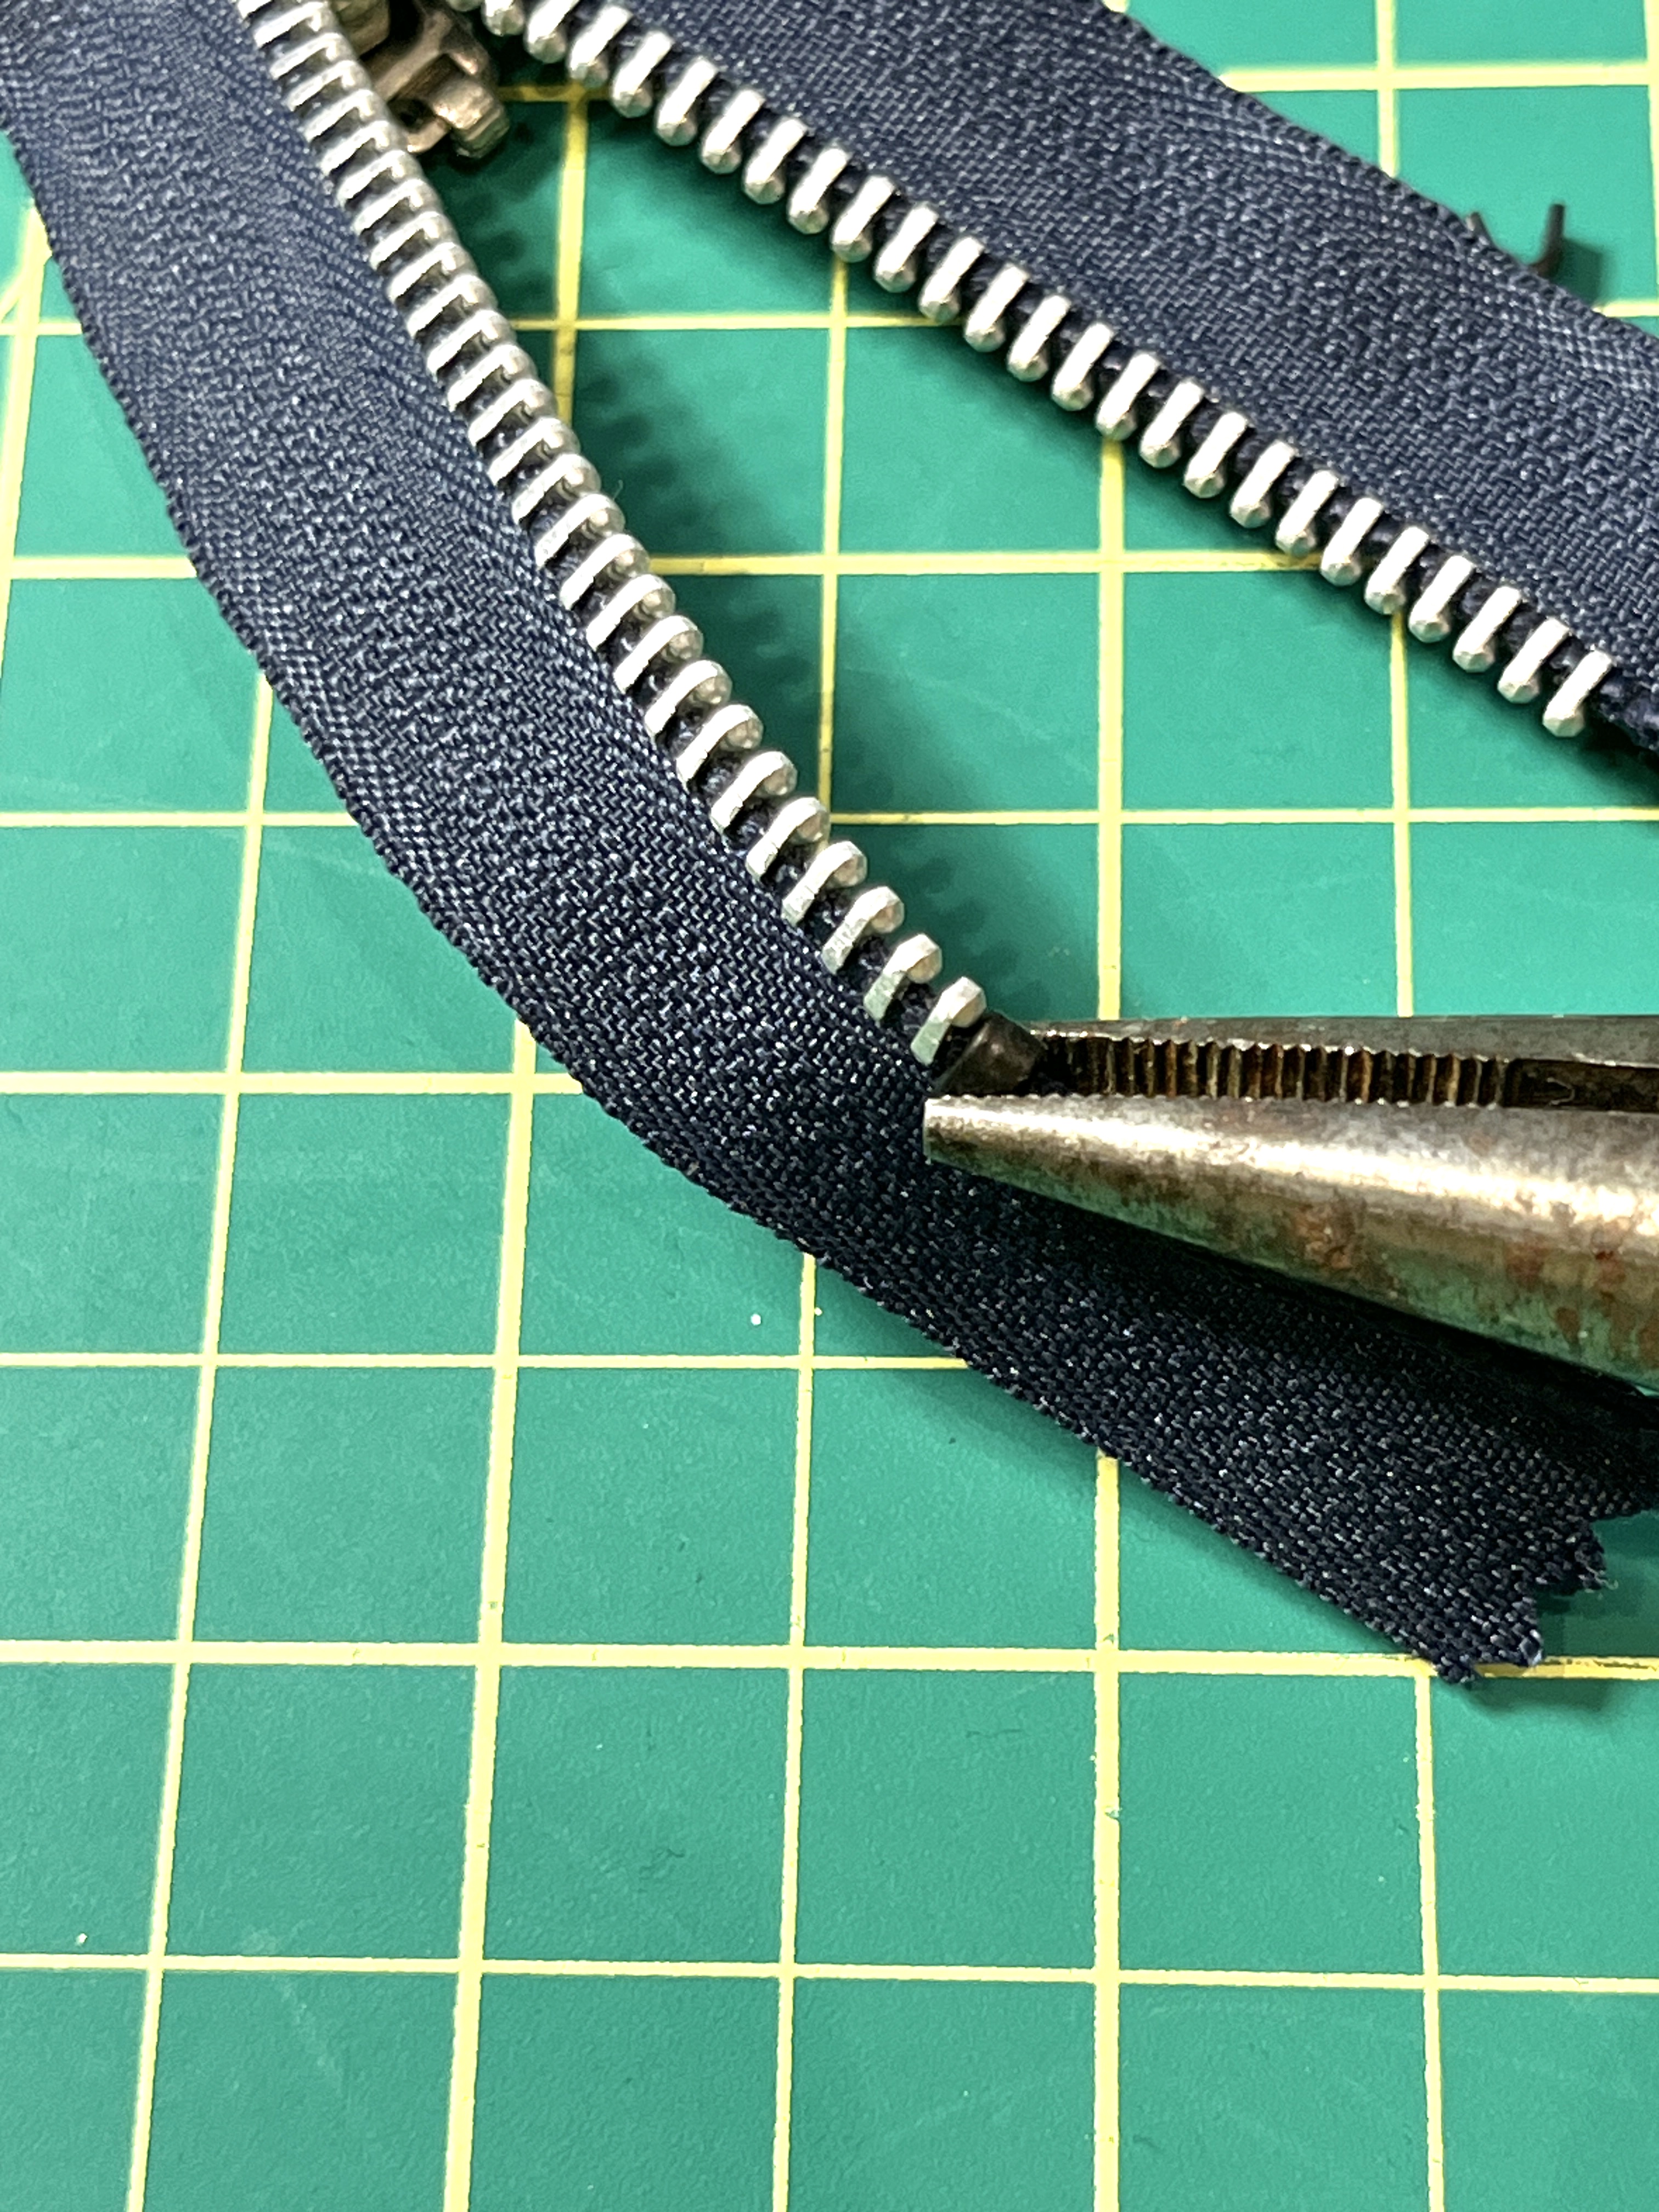
Step 2: Remove old stopper and teeth
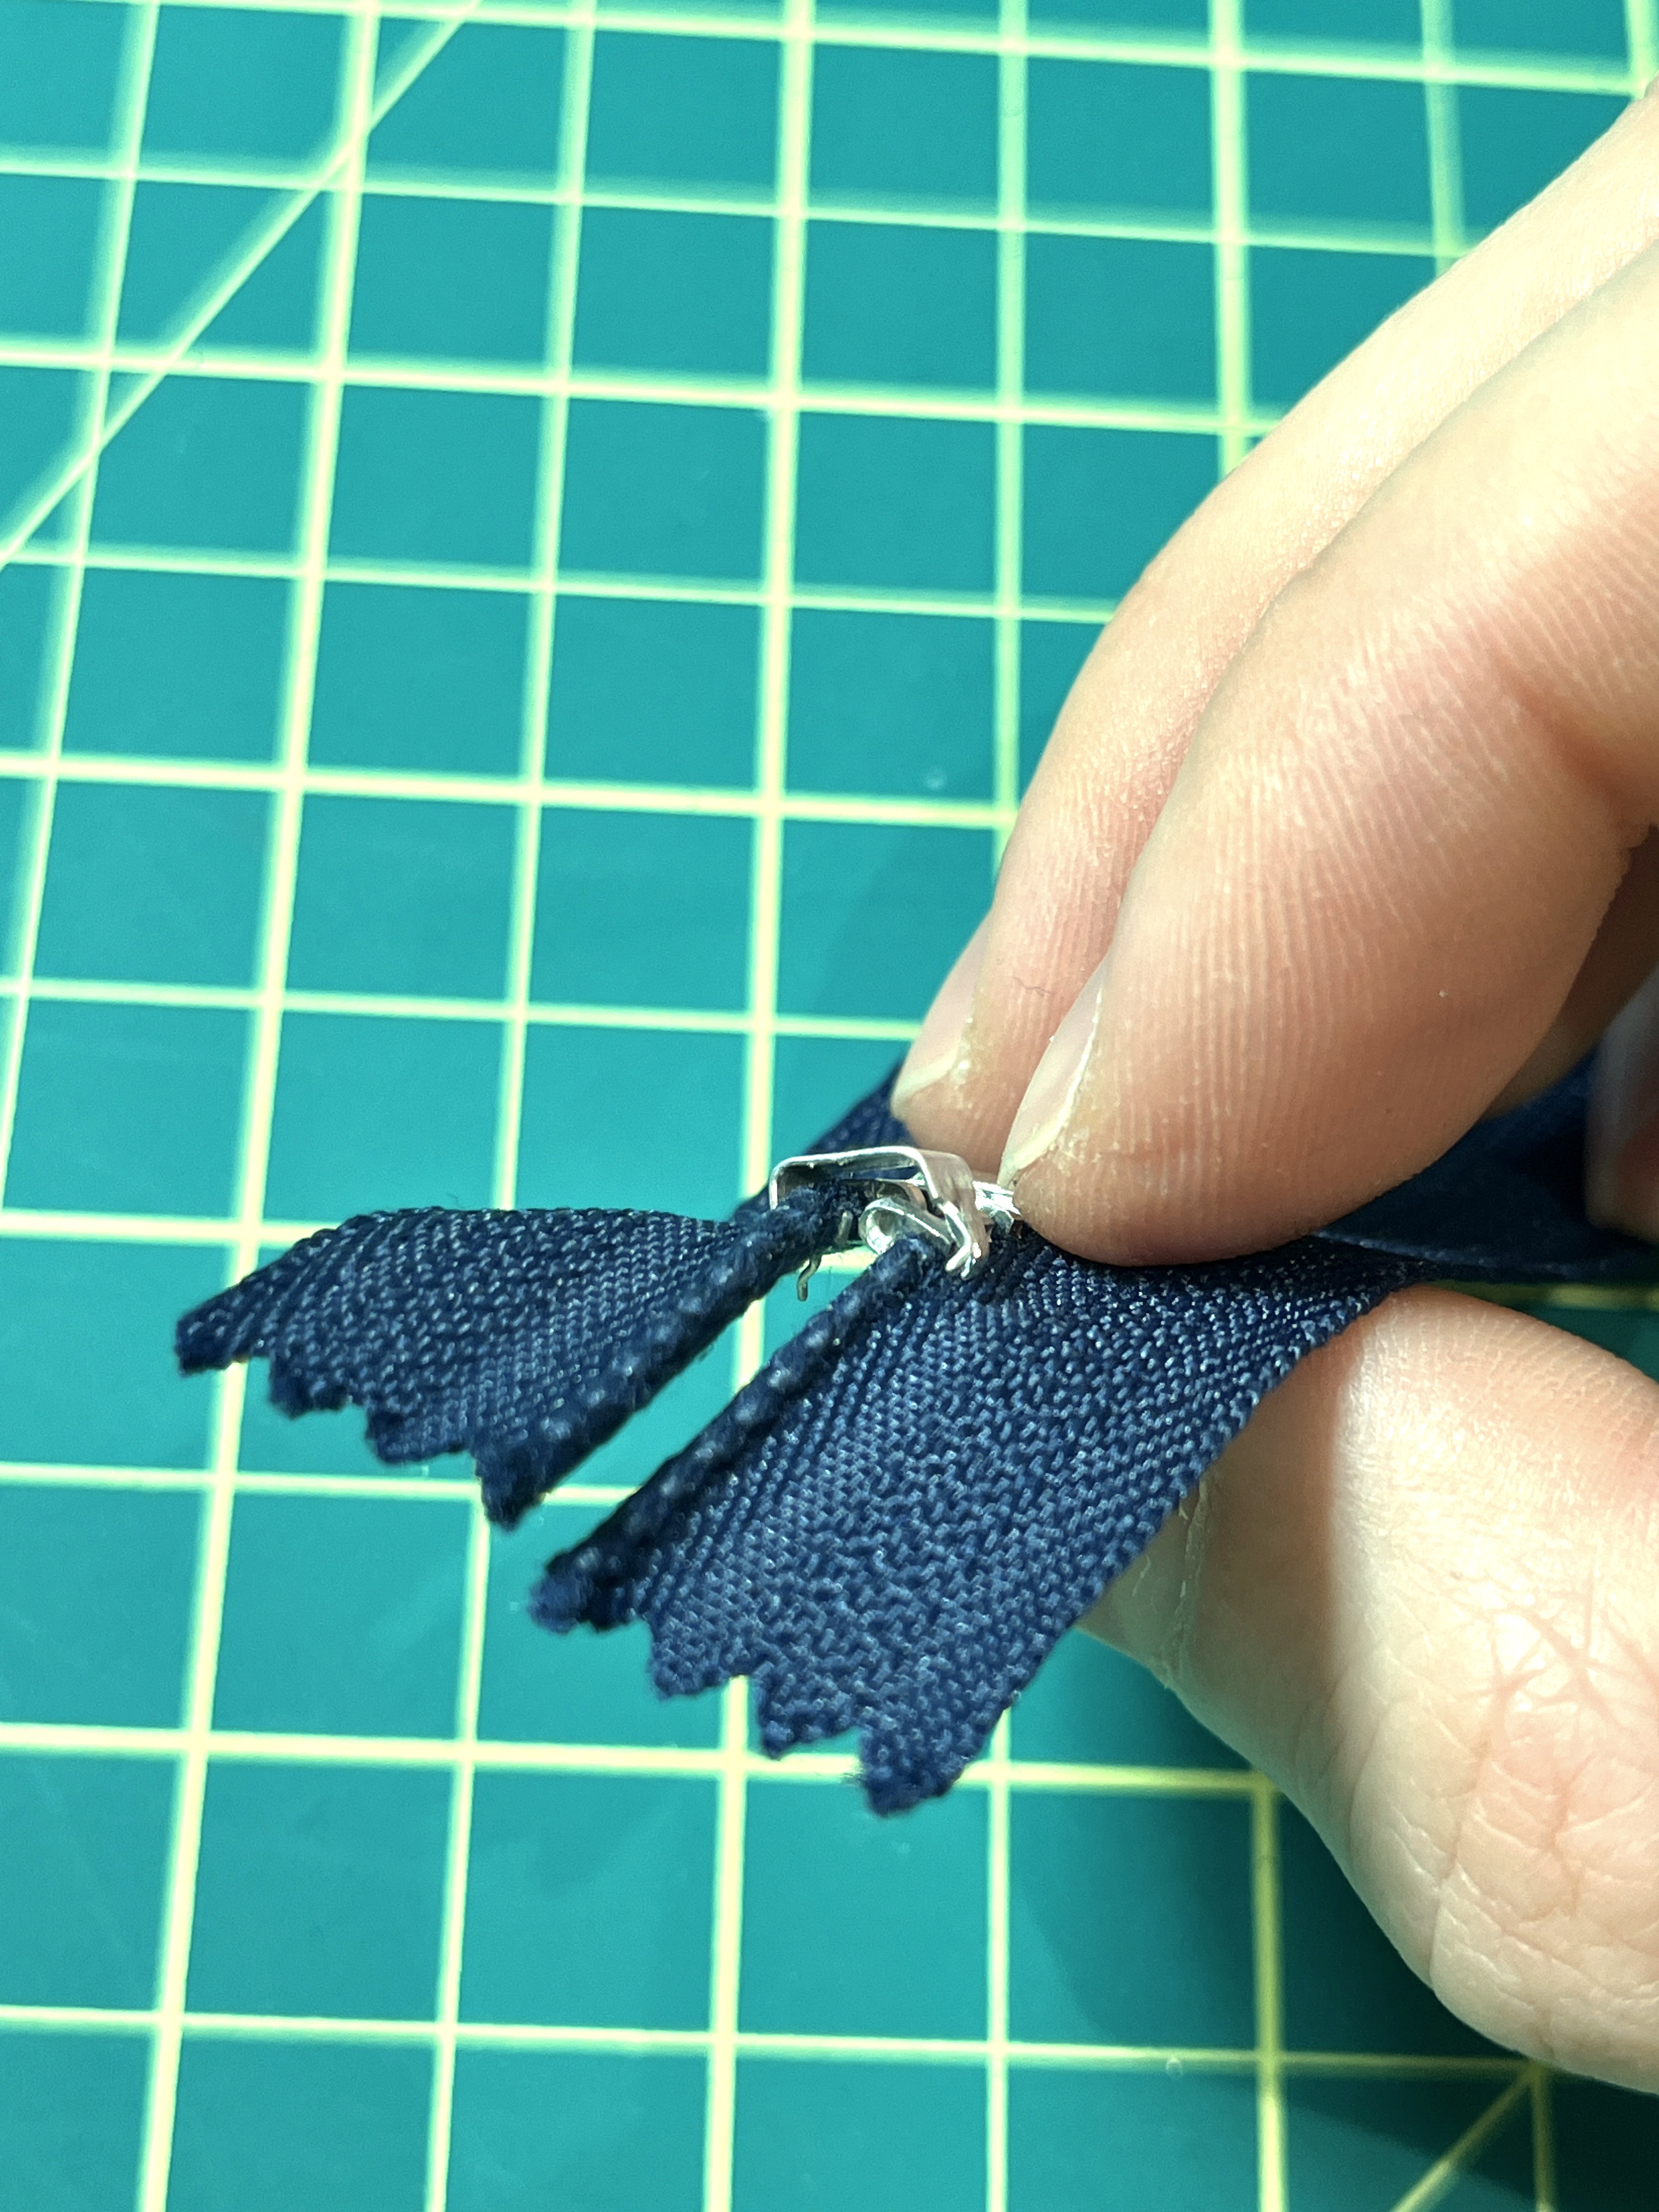
Now we’re going to remove the old stopper, by basically doing the reverse! Bend each ‘pincer’ up with the screwdriver, and then pry out the stopper. It might not come off easily, so you may have to use the pliers to get it out.

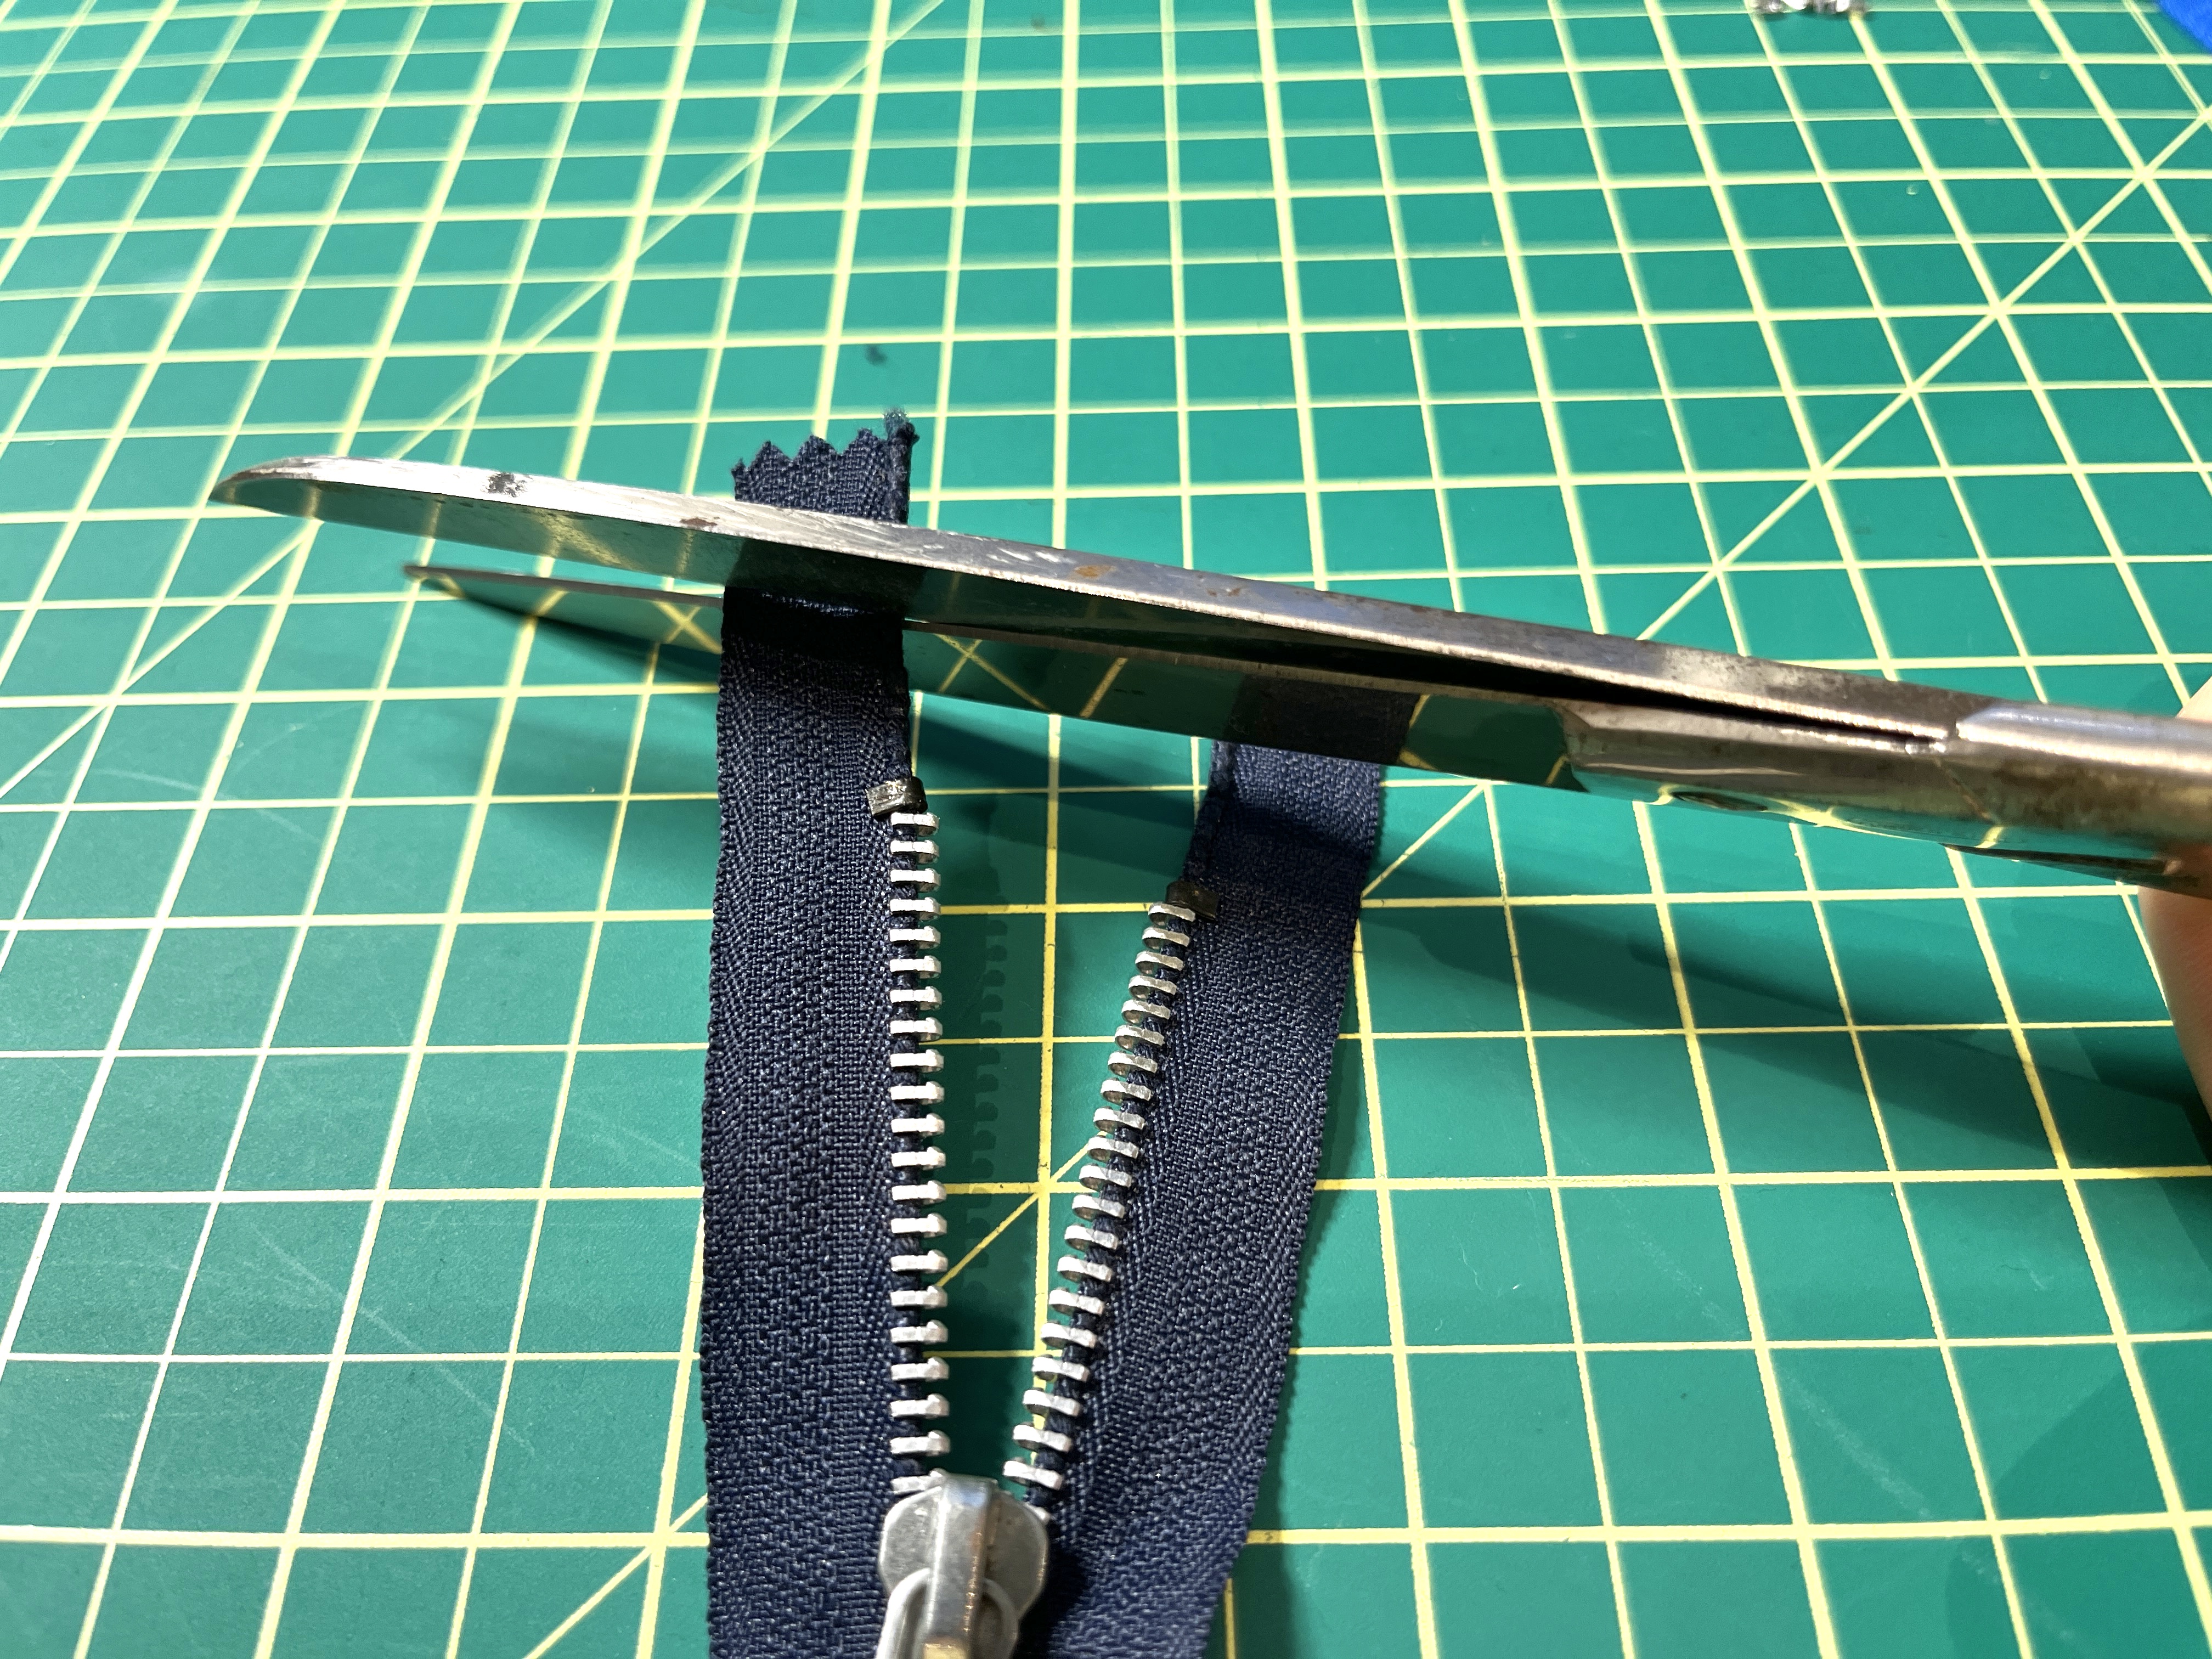
Finally, we’re going to remove the teeth below the new stopper. Repeat the same method we learned for the teeth at the top of the zipper!
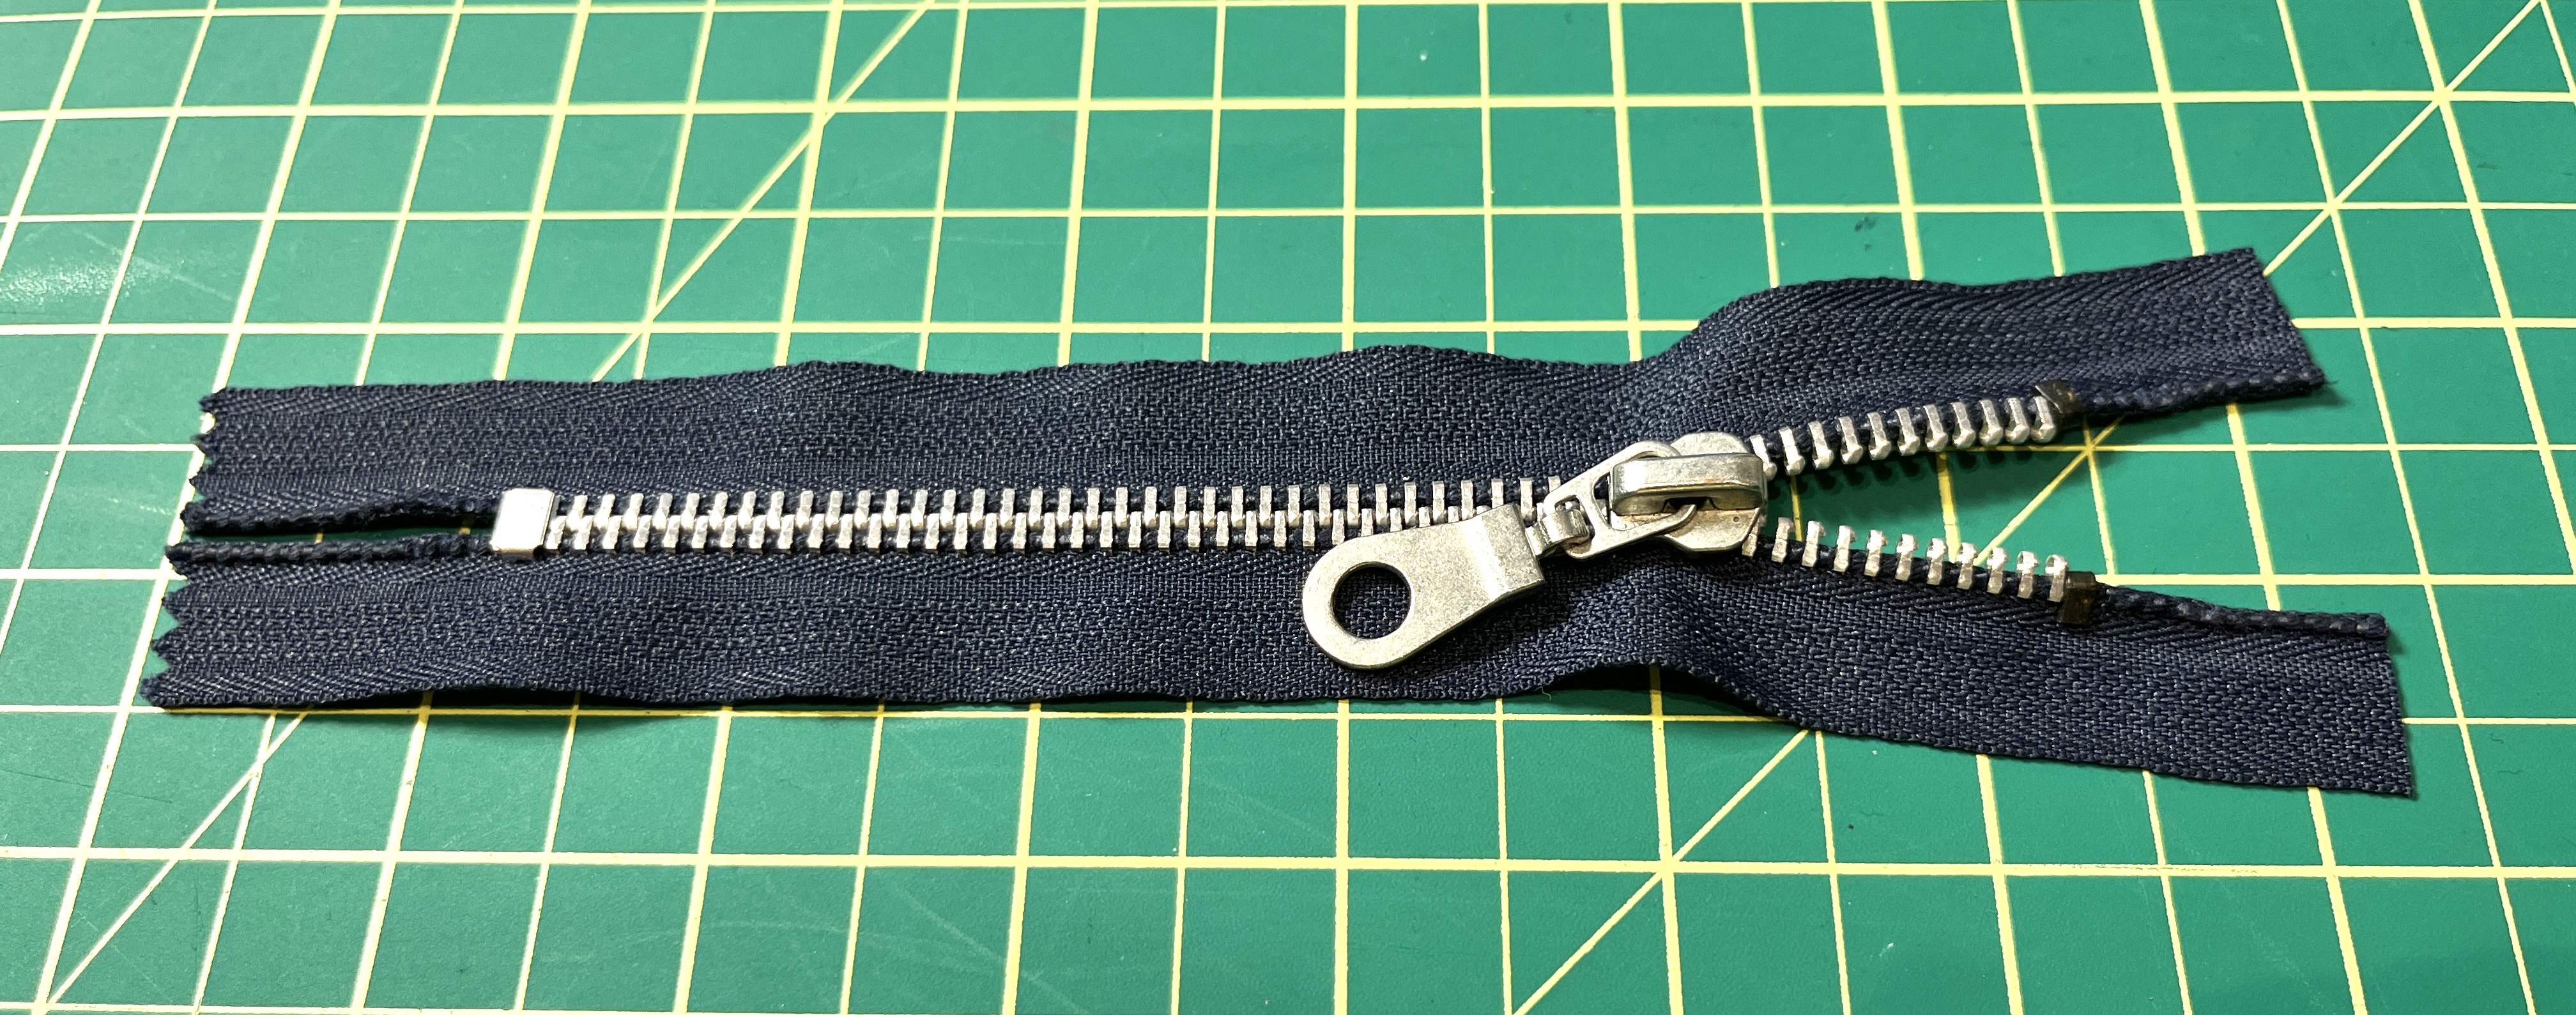
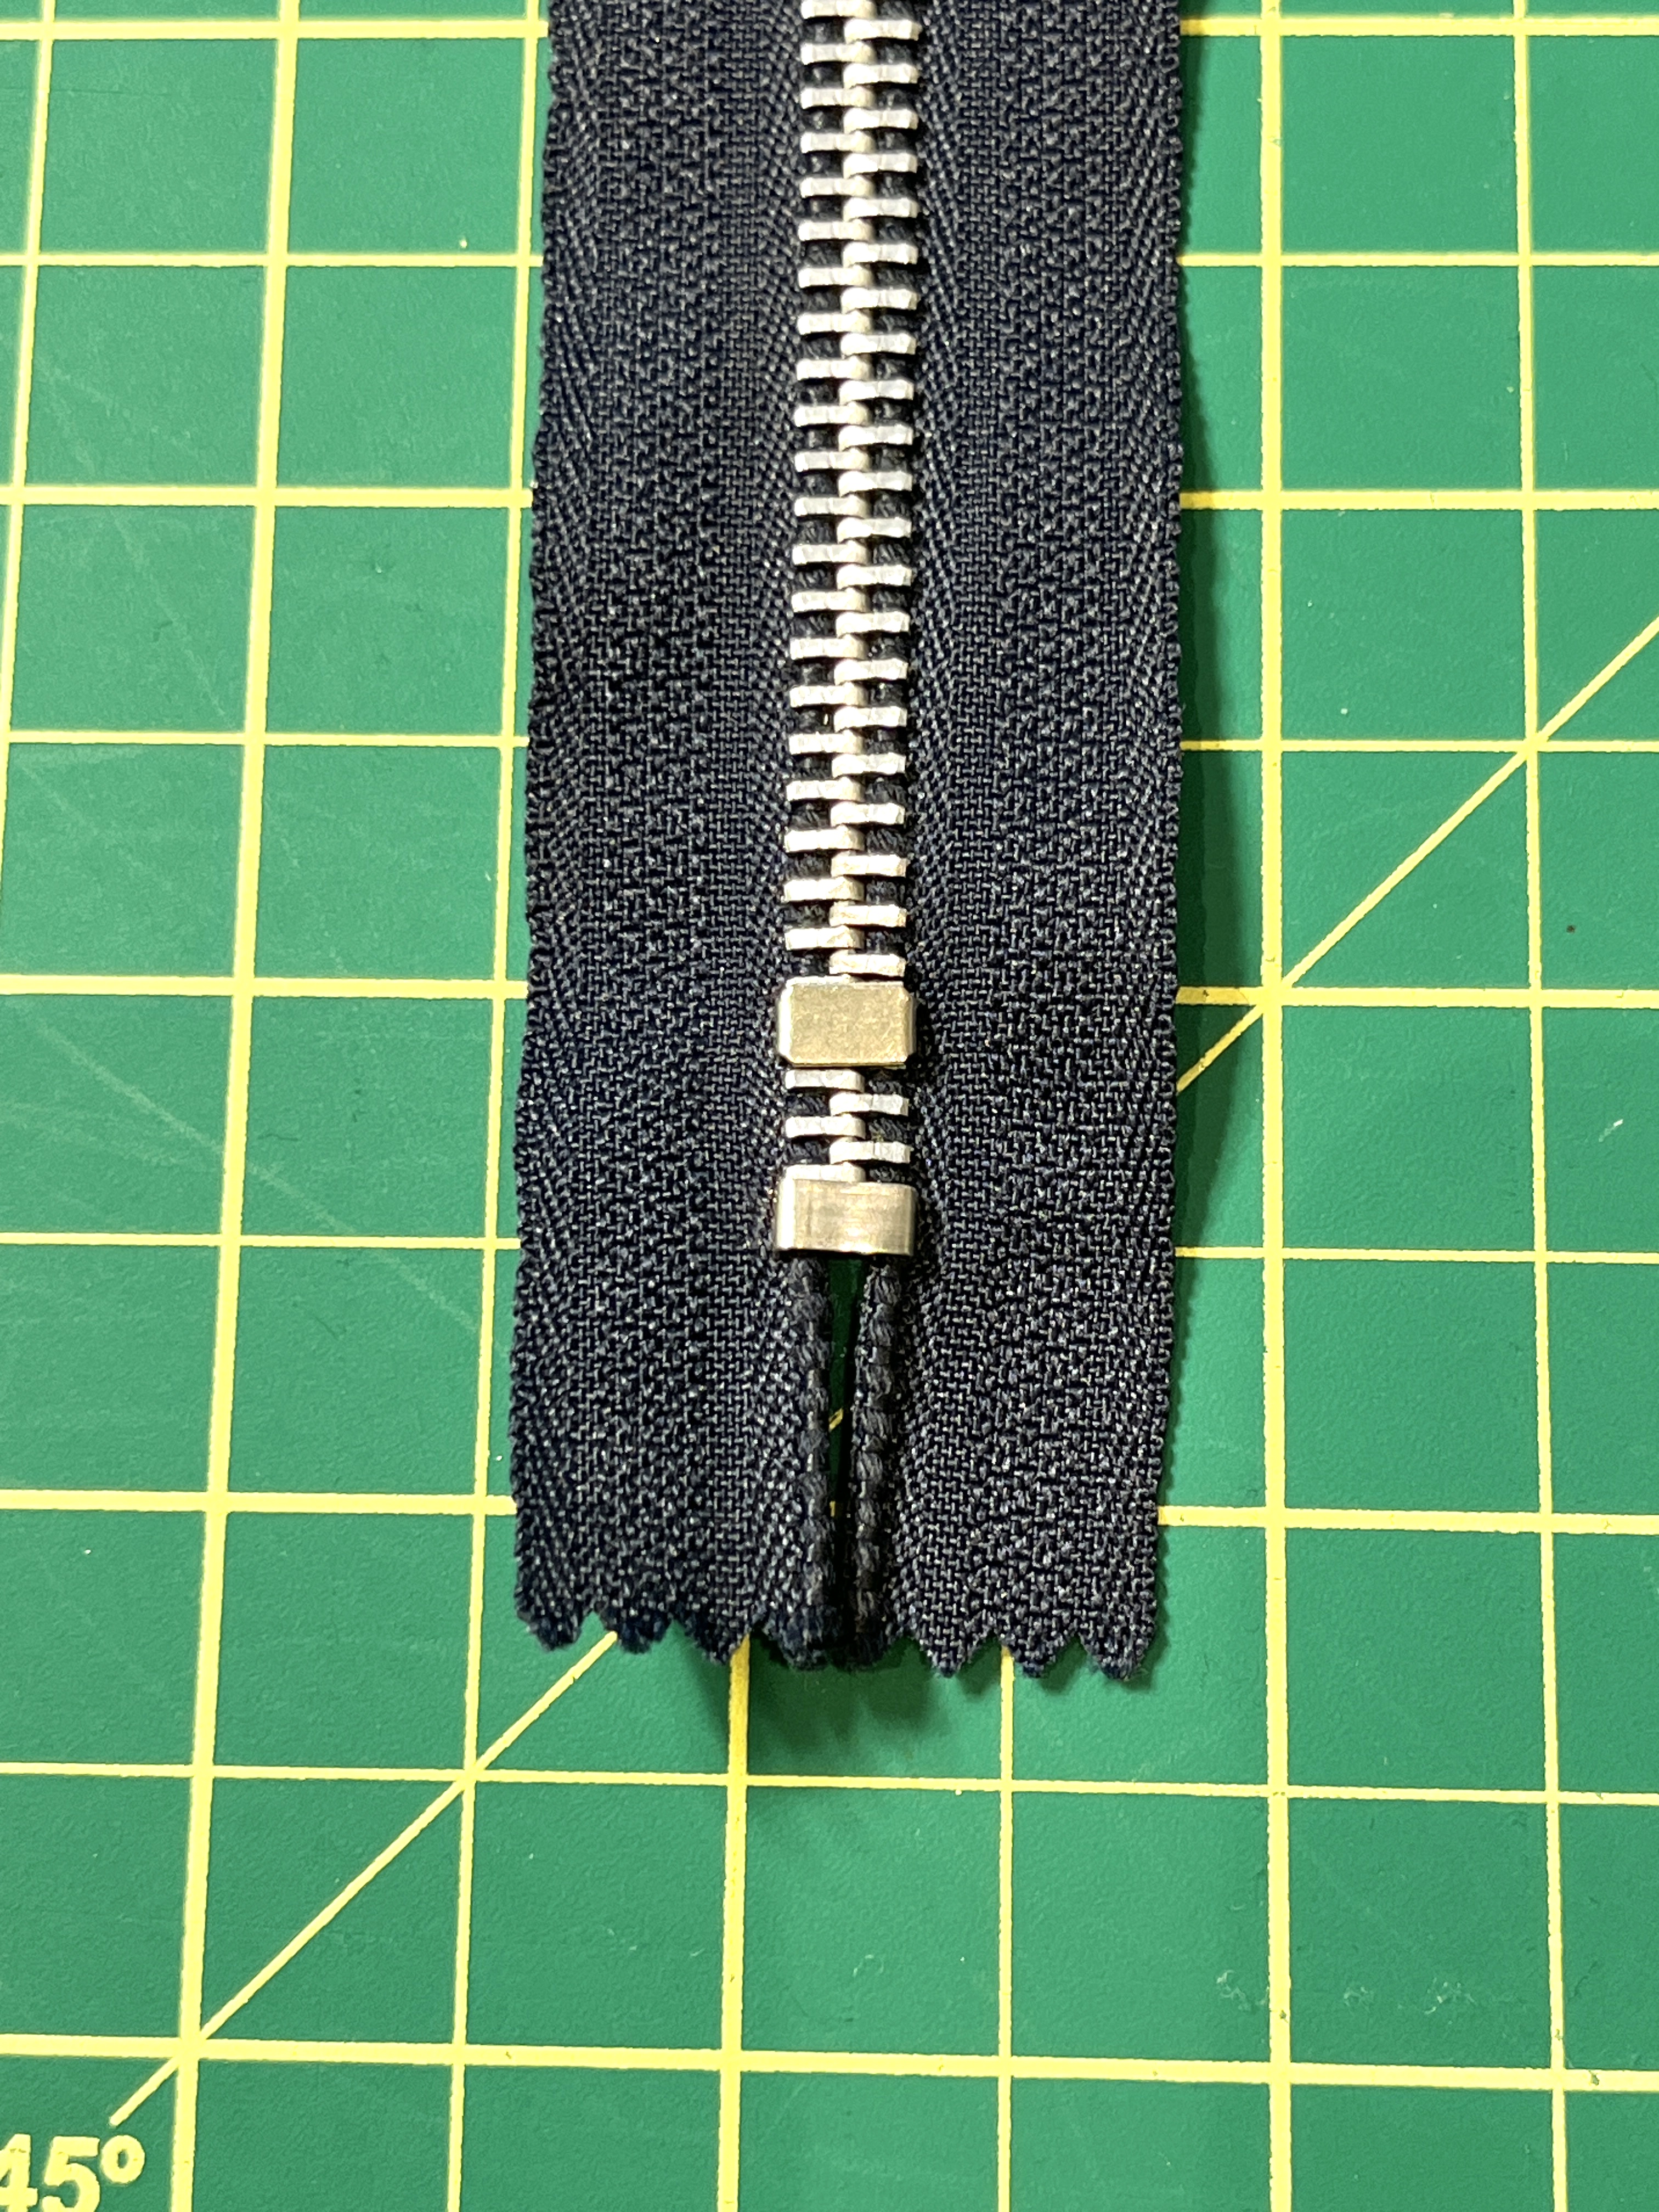
Here is the final result! Looks pretty good, and the best part? You can do the exact same thing with plastic tooth zippers.
I hope this will come in handy if you can’t get your hands on the right zipper in time. Stay tuned for more tips and tricks like this!


This was a good explanation for how to shorten a metal zipper. I didn’t know how to do that. But just wondering, do you use metal zippers for a special reason? I’ve only ever purchased plastic zippers and they are easy to shorten. You just use a pair of scissors to cut to whatever length you want and sew it into your project.
LikeLike
Great question! I like to use metal zippers on hard wearing items like trousers and bags. It feels more durable and has that classic ‘high end’ look to it. In most cases, it’s just a preference!
LikeLiked by 1 person
Thank you for this. I knew it in theory but your explanation and photos really help. I had a plastic zipper to shorten but wasn’t sure how to go about it because I thought the teeth were fused on! I bought a shorter zipper!
Nancy Cawood
LikeLike
You’re most welcome! I’m glad this helped you out.
– Tobias
LikeLike
Do you need plastic stops for plastic
zippers?
LikeLike
Hi Sherri,
Not necessarily! You can use metals stoppers for plastic zippers.
– Tobias
LikeLike
Thank you
LikeLike