With everyone in a time crunch these days, it’s a relief to find ways to speed up productivity and cross more items off that growing To-Do list. Can anyone here relate?
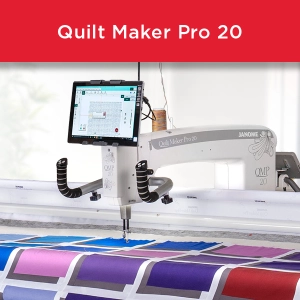
Increased productivity and speed was definitely something the amazing designers and engineers at Janome had in mind when they looked at the needs of quilters and released the fabulous Janome Quilt Maker Pro18 long-arm quilting machine. http://janome.com/en/products/machines/quilt-maker-pro/

At 2200 stitches per minute, it’s nearly twice as fast as our fastest domestic sewing machine, the fabulous new Janome Memory Craft 6700P

http://janome.com/en/machines/sewing/mc6700p/, which is the fastest domestic sewing machine on the market.
If you’re a regular reader of the Janome Life blog, and we certainly hope that you are, (if not, click the subscribe button so you don’t miss a post), you may have read some posts I wrote last fall which delved into various elements of the Janome Quilt Maker Pro18 and Quilt Maker Pro Stitcher computer program. This just in…..UFO invasion!? Gasp! Never fear, Janome to the rescue!
Part 2 of UFO invasion! Janome to the quilting rescue!
Part 3 of UFO Invasion! Janome to the Rescue!
Part 4, UFO Invasion! Janome to the Rescue!
Janome’s Quilt Maker Pro18 quilting machine and Pro Stitcher software program you to get your quilting done quickly and easily, and definitely puts the FUN back into quilting. But don’t just think “Quilts”. Use your fabulous Janome Quilt Maker Pro18 to create your own quilted fabric with which you’ll then cut out a garment, construct a tote bag, or, in my case, I wanted to quilt a set of 4 placemats.

Instead of cutting out my backing and batting for each individual placemat, I decided to make the most of the space, tools and time I had available to speed up productivity and get the job done FAST! I decided to load one big piece of backing, enough to accommodate all 4 placemats, one big piece of batting, and I butted each placemat together or would leave just a tiny gap in between. The theory is that I’d then quilt over all 4 four placemats as if they were just one piece of fabric.

Here’s a little tip if you need to piece your backing fabric. Try to keep the smaller pieces in the middle with larger uninterrupted pieces towards the outside edges. This will help keep those seams from popping as you roll the quilt and it reduces stretching. I also try to keep longer seams running horizontally, parallel to the bars, to again reduce stretching and this also reduces bulk as the quilt rolls up onto itself This is also why I choose to press my seams in my backing (if I have them) open, as opposed to one side. I generally make them wider as well for more stability, about 1/2 inch as opposed to the usual piecing standard of 1/4 inch. However, it’s all personal preference, so do whatever works for you.
One of the great features of the Janome Quilt Maker Pro18 is it’s versatility so it can fit into almost any space. The frame can be set up to 4ft, 8ft, or 12ft. It comes standard as a 12 foot, but there are 2 foot extensions now available as well which allows for even more flexibility. Maybe you want a 6 or 10 foot table; whatever your space and needs dictate.

The Quilt Maker Pro Stitcher tablet allows for even more speed and creativity possibilities, all with the ease of a touch screen tablet which mounts to the sewing head of the Janome Quilt Maker Pro18.

The Quilt Maker Pro Stitcher comes preloaded with hundreds of designs from which to choose, but it also allows you to transfer your own purchased patterns into the software for unlimited fun and creativity.
When using the robotics it’s especially important to baste around the edges of your project to ensure the hopping foot doesn’t get trapped under the fabric and to prevent the edges of the piece from flipping back on itself. I baste about an 1/8 inch away from the edge. While I could adjust easily adjust my stitch length to a more traditional longer basting stitch, a 4 or a 5, I don’t bother. Just one less thing I have to remember to switch back when it’s time to quilt! lol!

Since I’ll be binding my placemats with the fabulous Janome Quilt Binder Attachment Binding the Quick and Easy JANOME way! I ultimately have 1/2inch as a seam allowance since the binding finishes at 1/2 inch, so I leave the basting in as it’ll be covered with the binding anyway.

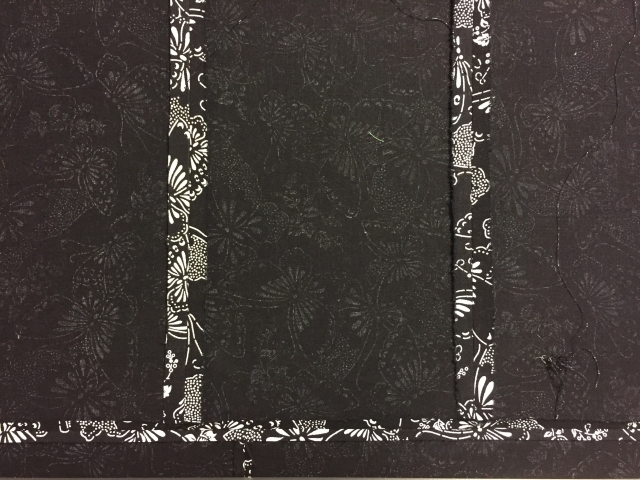
As an added security measure, I stitched a little serpentine-like stitch across the edges of my placemats where they weren’t butted as closely together. This wasn’t really necessary, but I wanted to be sure the edges were securely held in place so there’d be no surprizes when the Quilt Maker Pro Stitcher worked it’s magic.


When quilting is complete, use a long quilting ruler and rotary cutter to cut the placemats apart in order to square them up once separated.

Now onto binding and they’re DONE! Quick; Easy; Fun; FAST! Buzz words I always use to describe Janome.