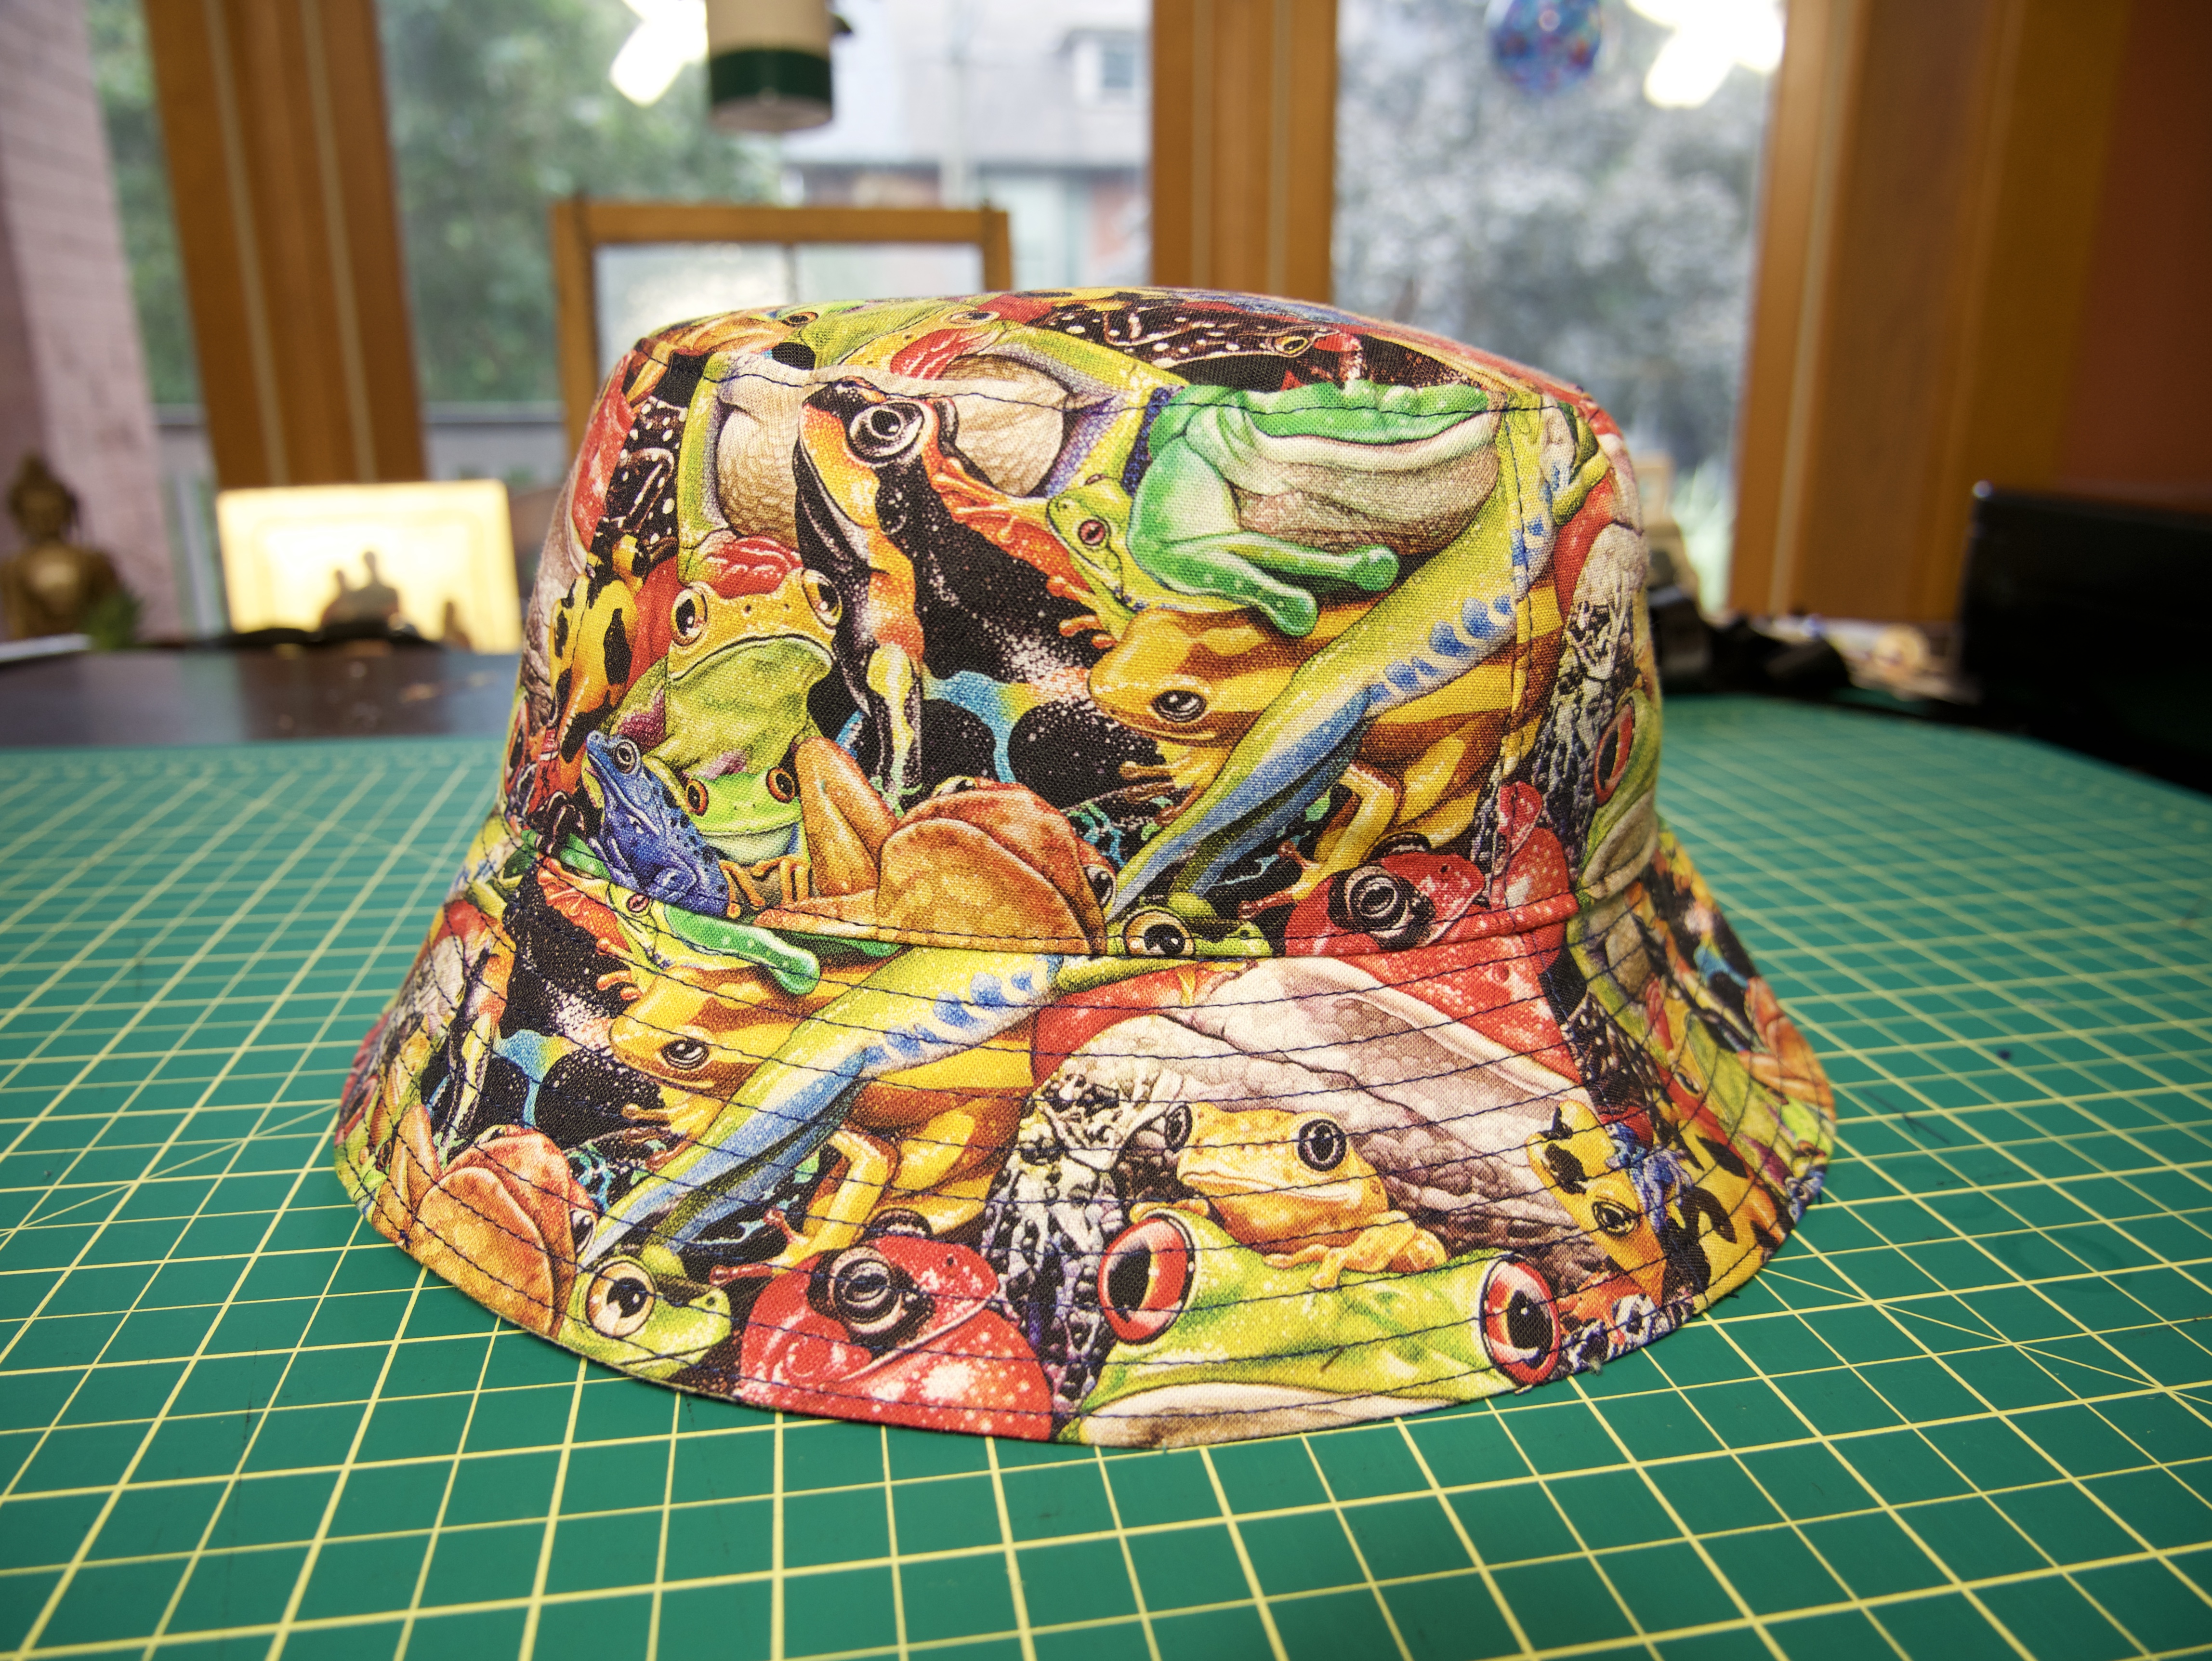
Bucket hats are a really fun project that you can leisurely finish in one day. I love making them to wear on vacation, or to give as gifts! In this case, I’m making one for my friend out of this cute cotton frog print. I’m using a blue lining because it’s what I had laying around, and it’s a nice contrast. I used this bucket hat pattern from Properfit Clothing.com, but these tips can be applied to any standard bucket hat pattern.
Of course, I’m using my favourite machine for this project, the Janome HD9BE. With its high speeds of up to 1600 stitches per minute and jumbo bobbin, I spend less time fussing and more time sewing!
1) Use the right kind of interfacing
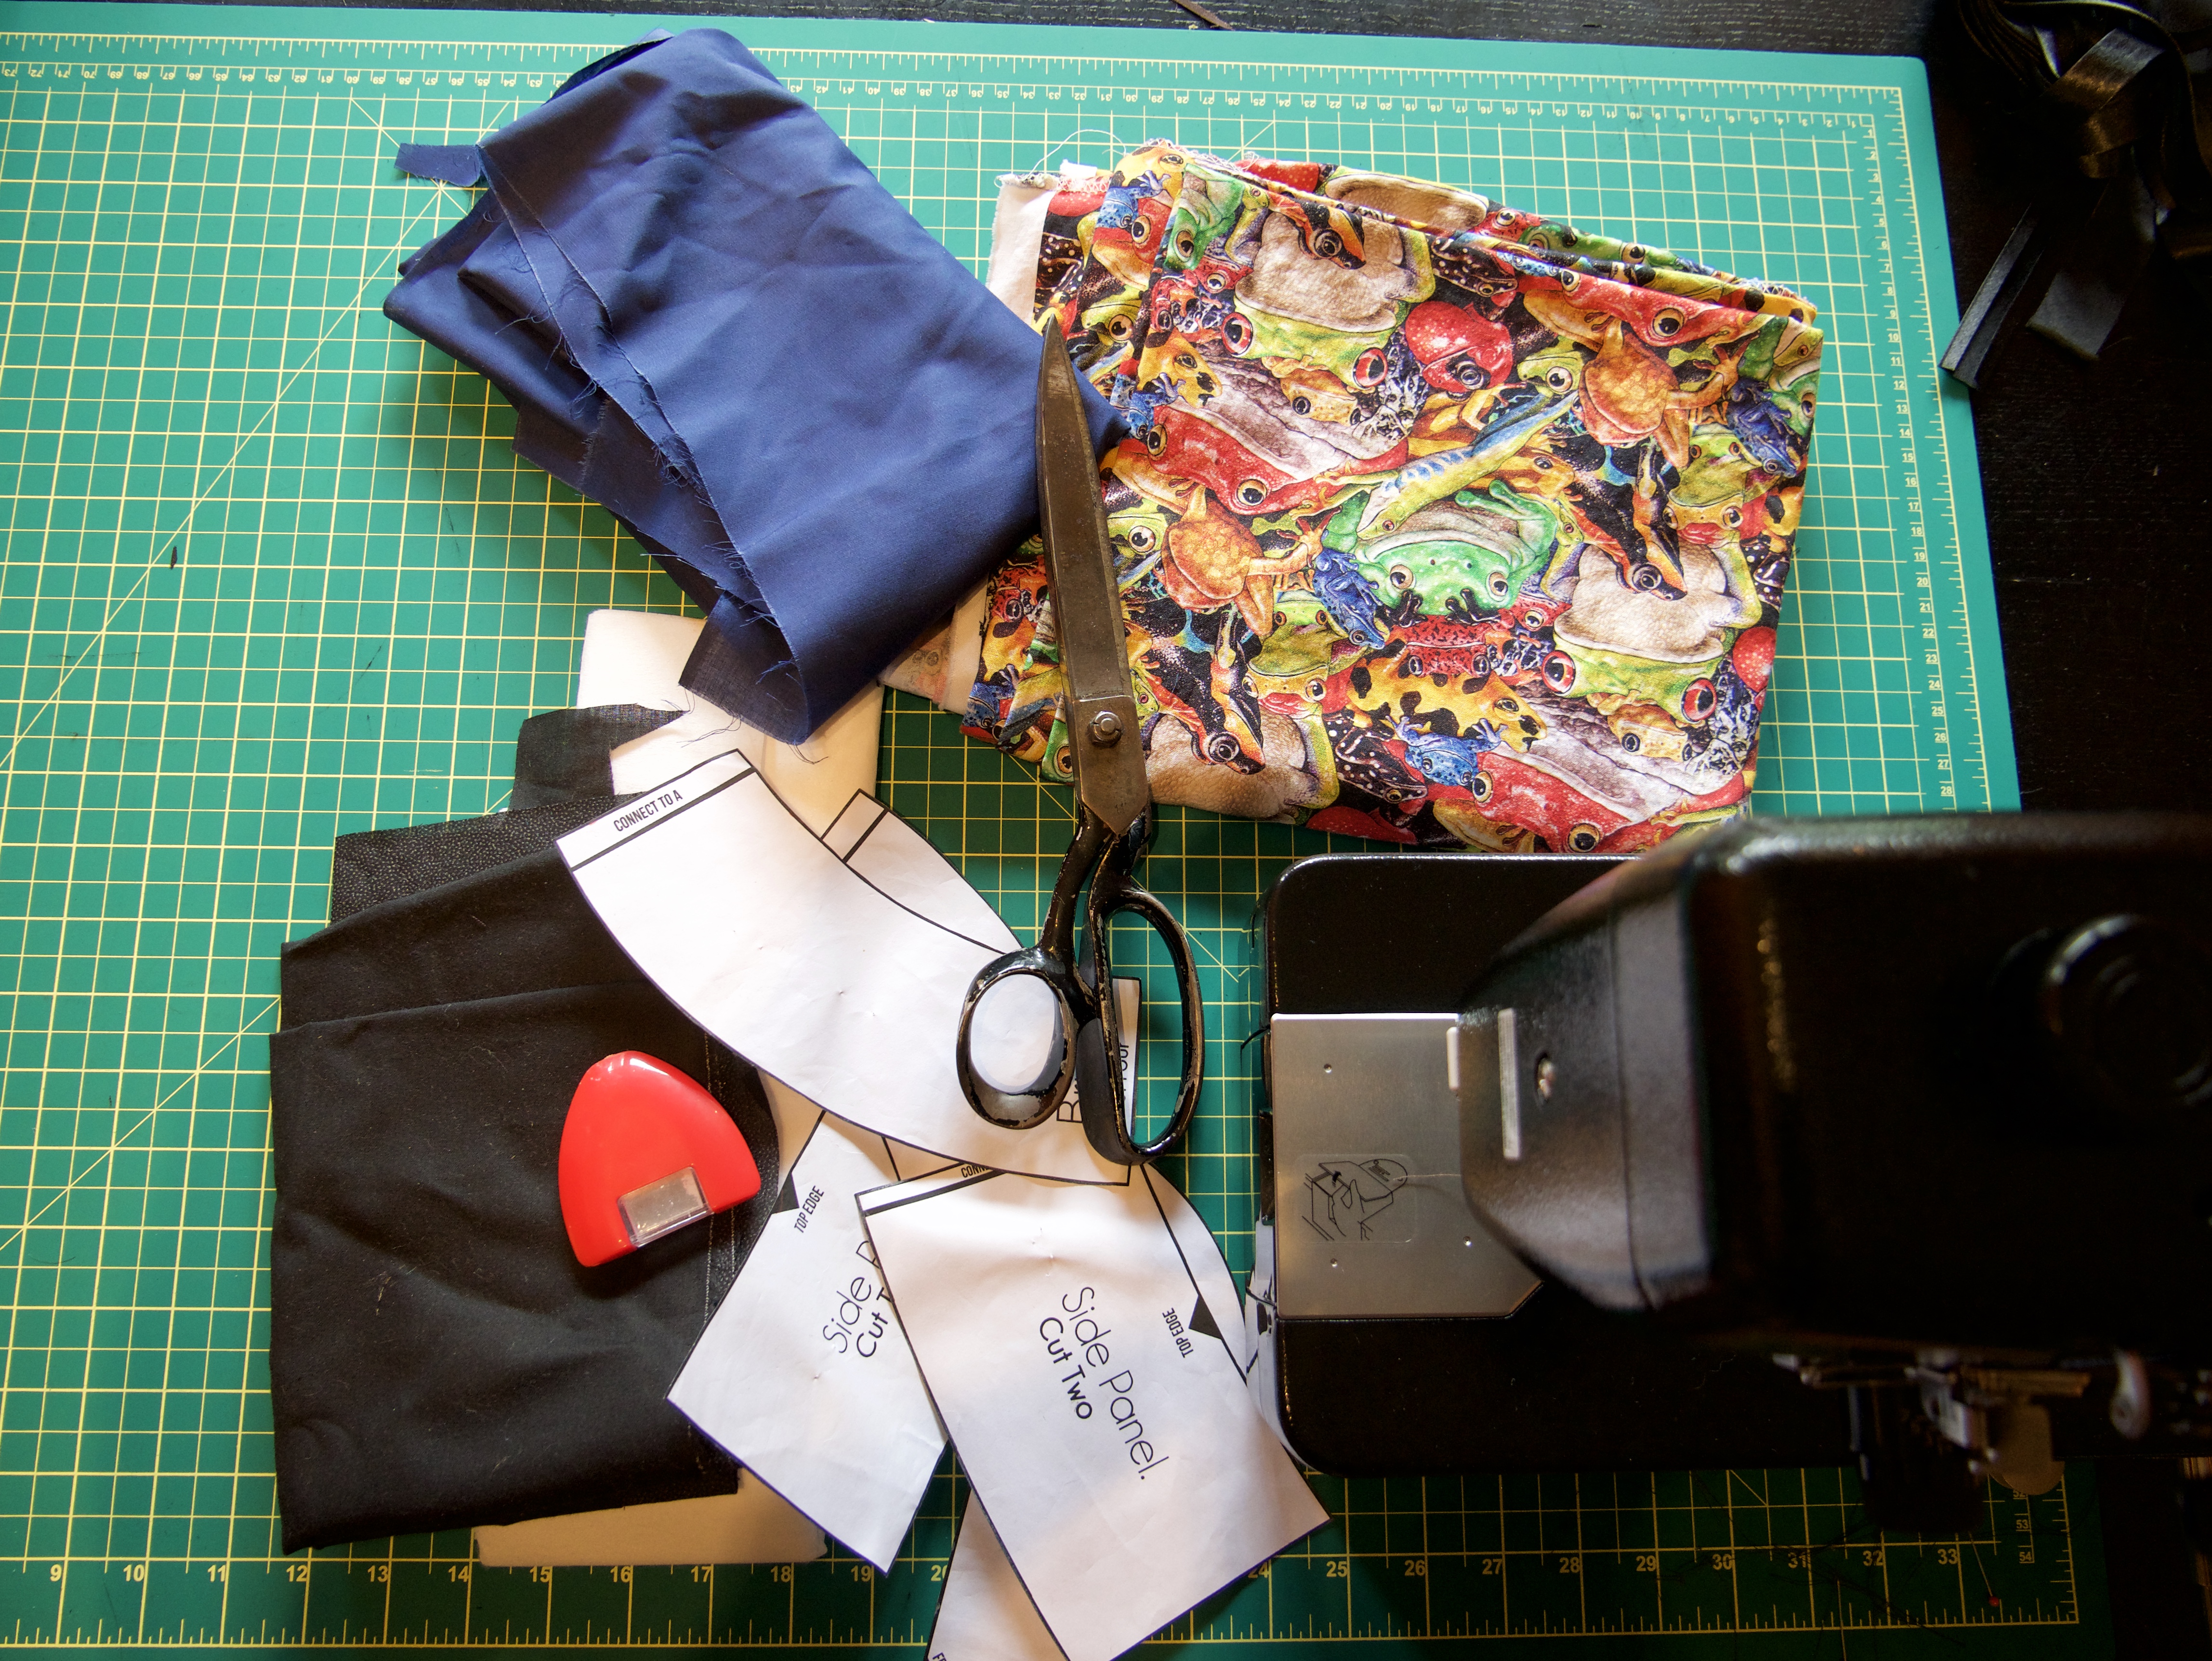
Since this is a lighter weight quilting cotton, you need to use interfacing to provide structure and durability. For the side and top panels (top right in photo), I use standard medium weight fusible interfacing. For the brim (bottom right) I’m using a heavier, stiff interfacing. If you prefer a more flexible brim, just use the standard medium weight interfacing.
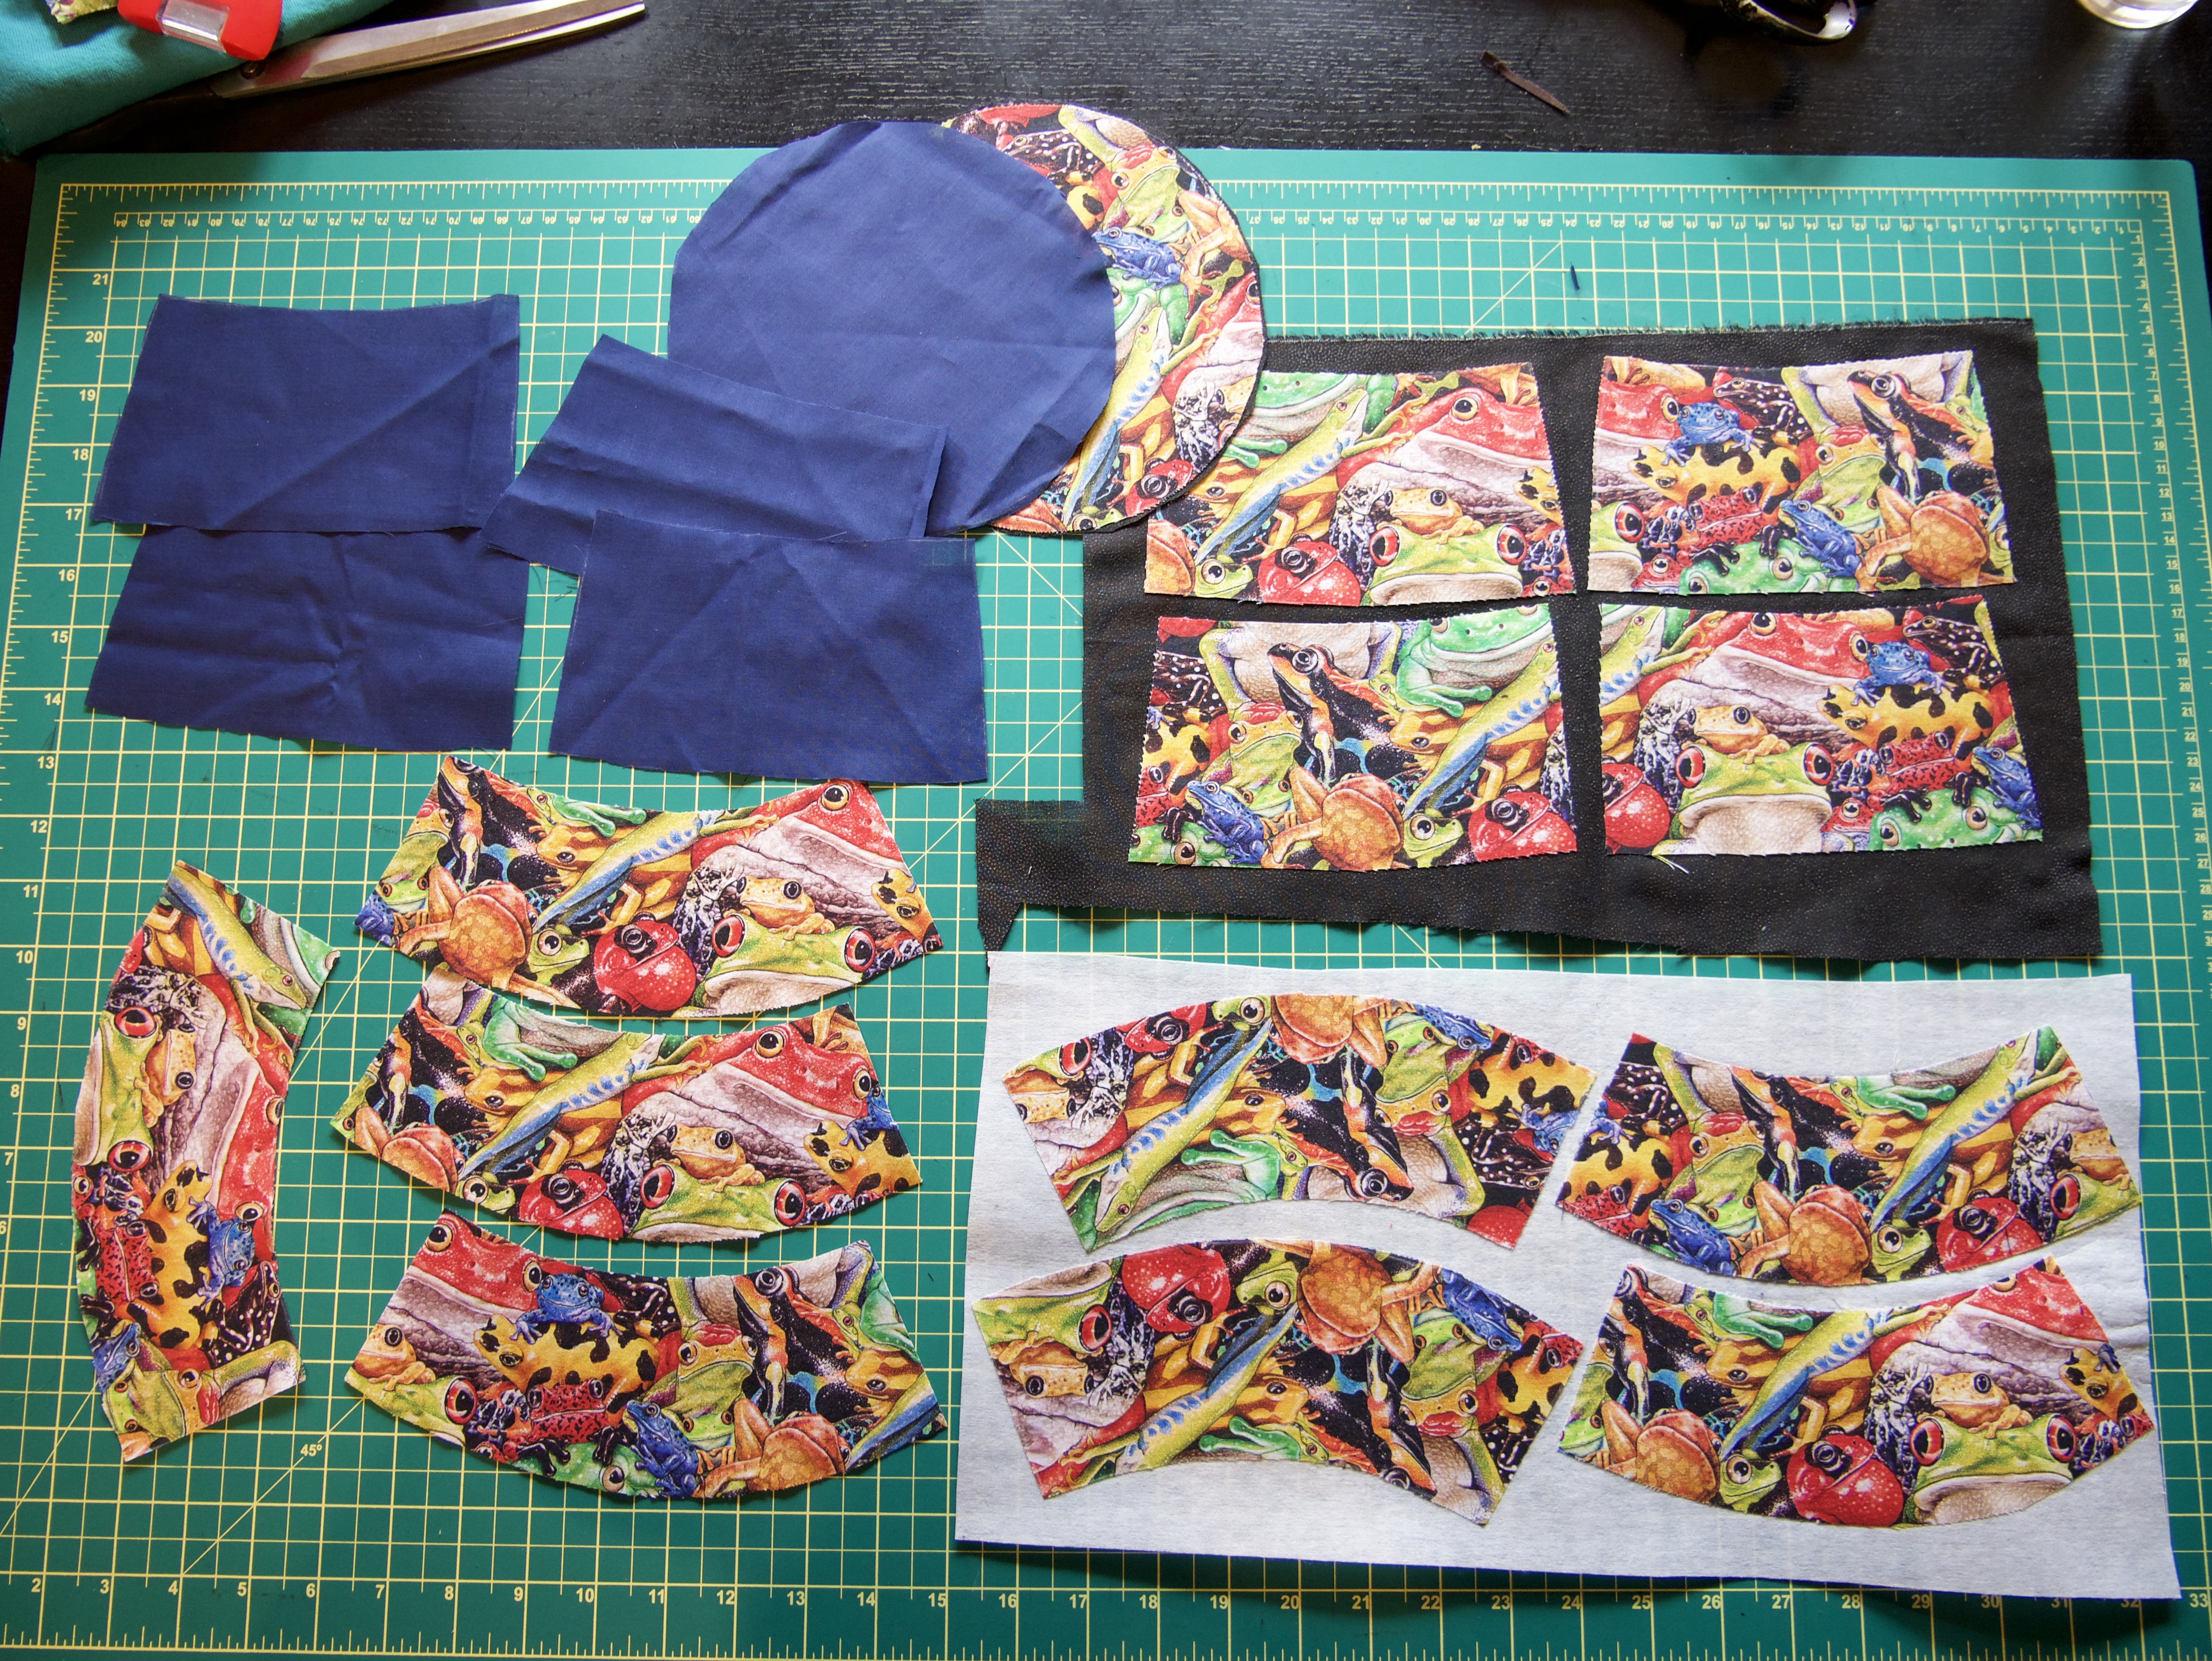
PS: I promise the lining pieces were not that wrinkled when I cut them! lo1!
2) Use lining to hide interfacing and raw edges
Our projects should look beautiful on the inside, not just the outside. Some bucket hat patterns have you topstitch the seams with seam tape underneath, but I prefer to line the bucket hat instead, especially when I want to hide the interfacing. It looks so nice and neat by the end.
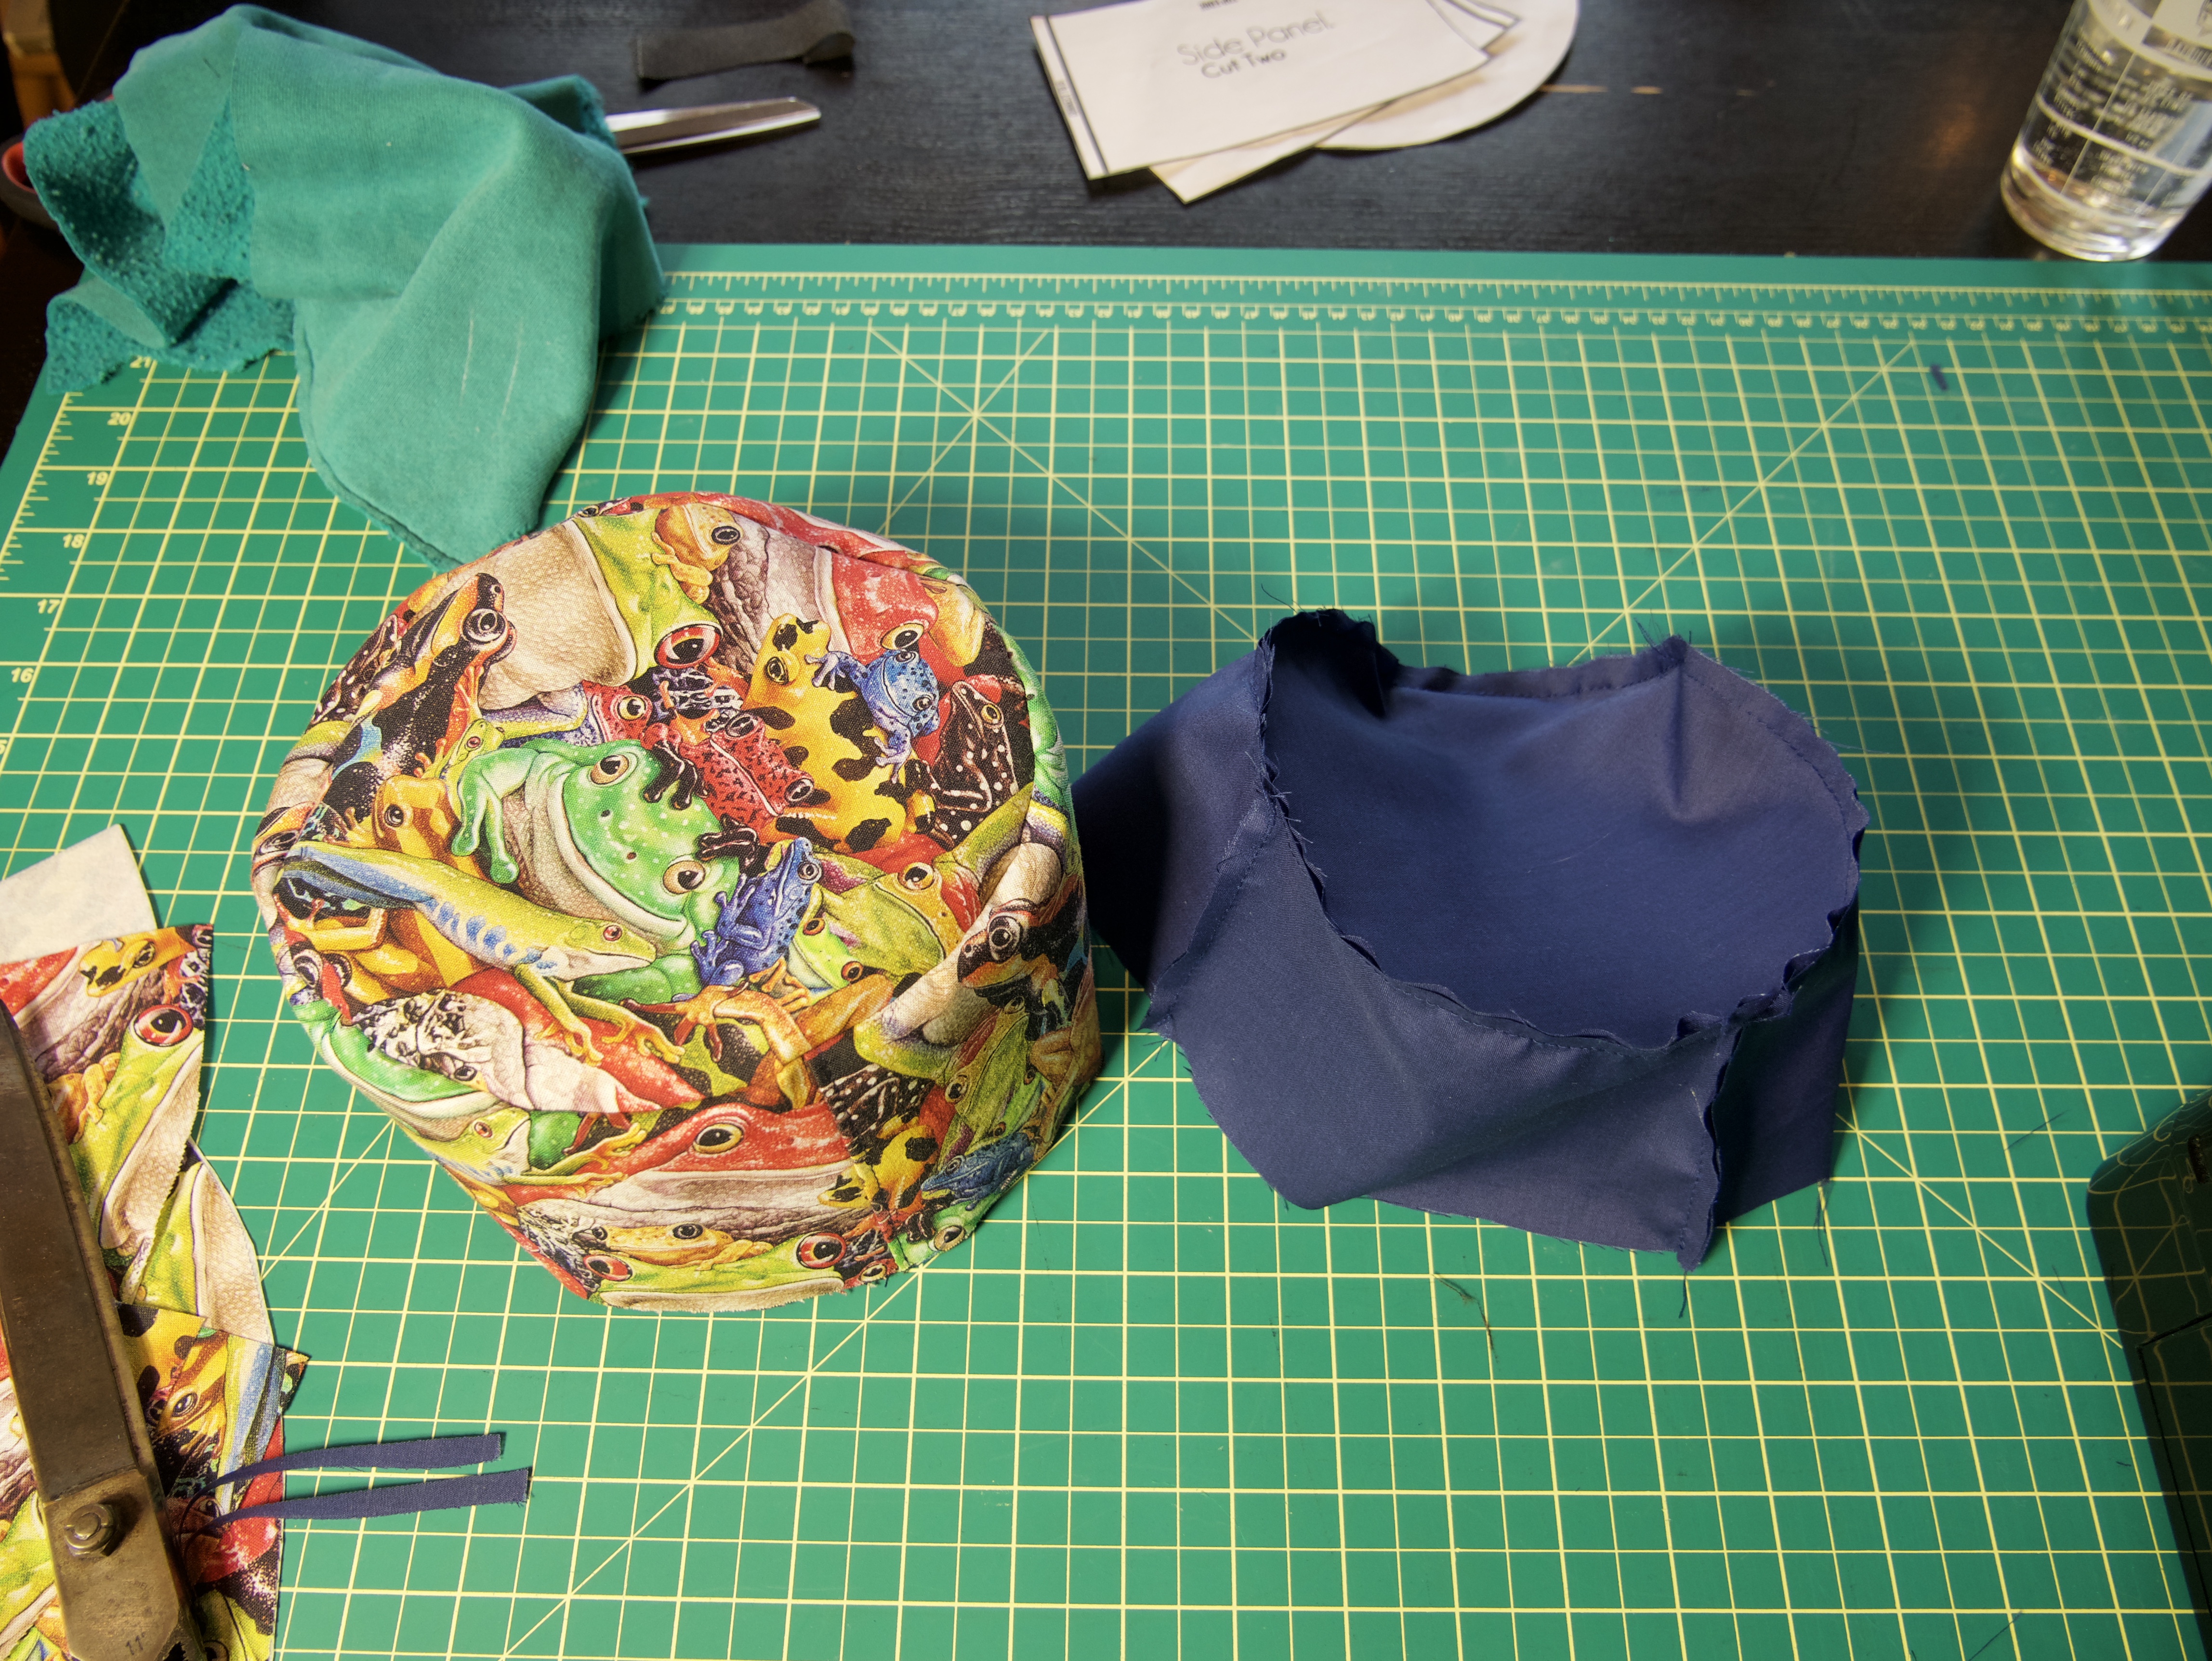
At this point, I’ve sewn the ‘bucket’ part of the hat from both the lining and the main fabric. Next, I insert the lining inside the main ‘bucket’, wrong sides together and pin it in place along the top edge. Use at least 6 pins or clips so the lining doesn’t shift around.
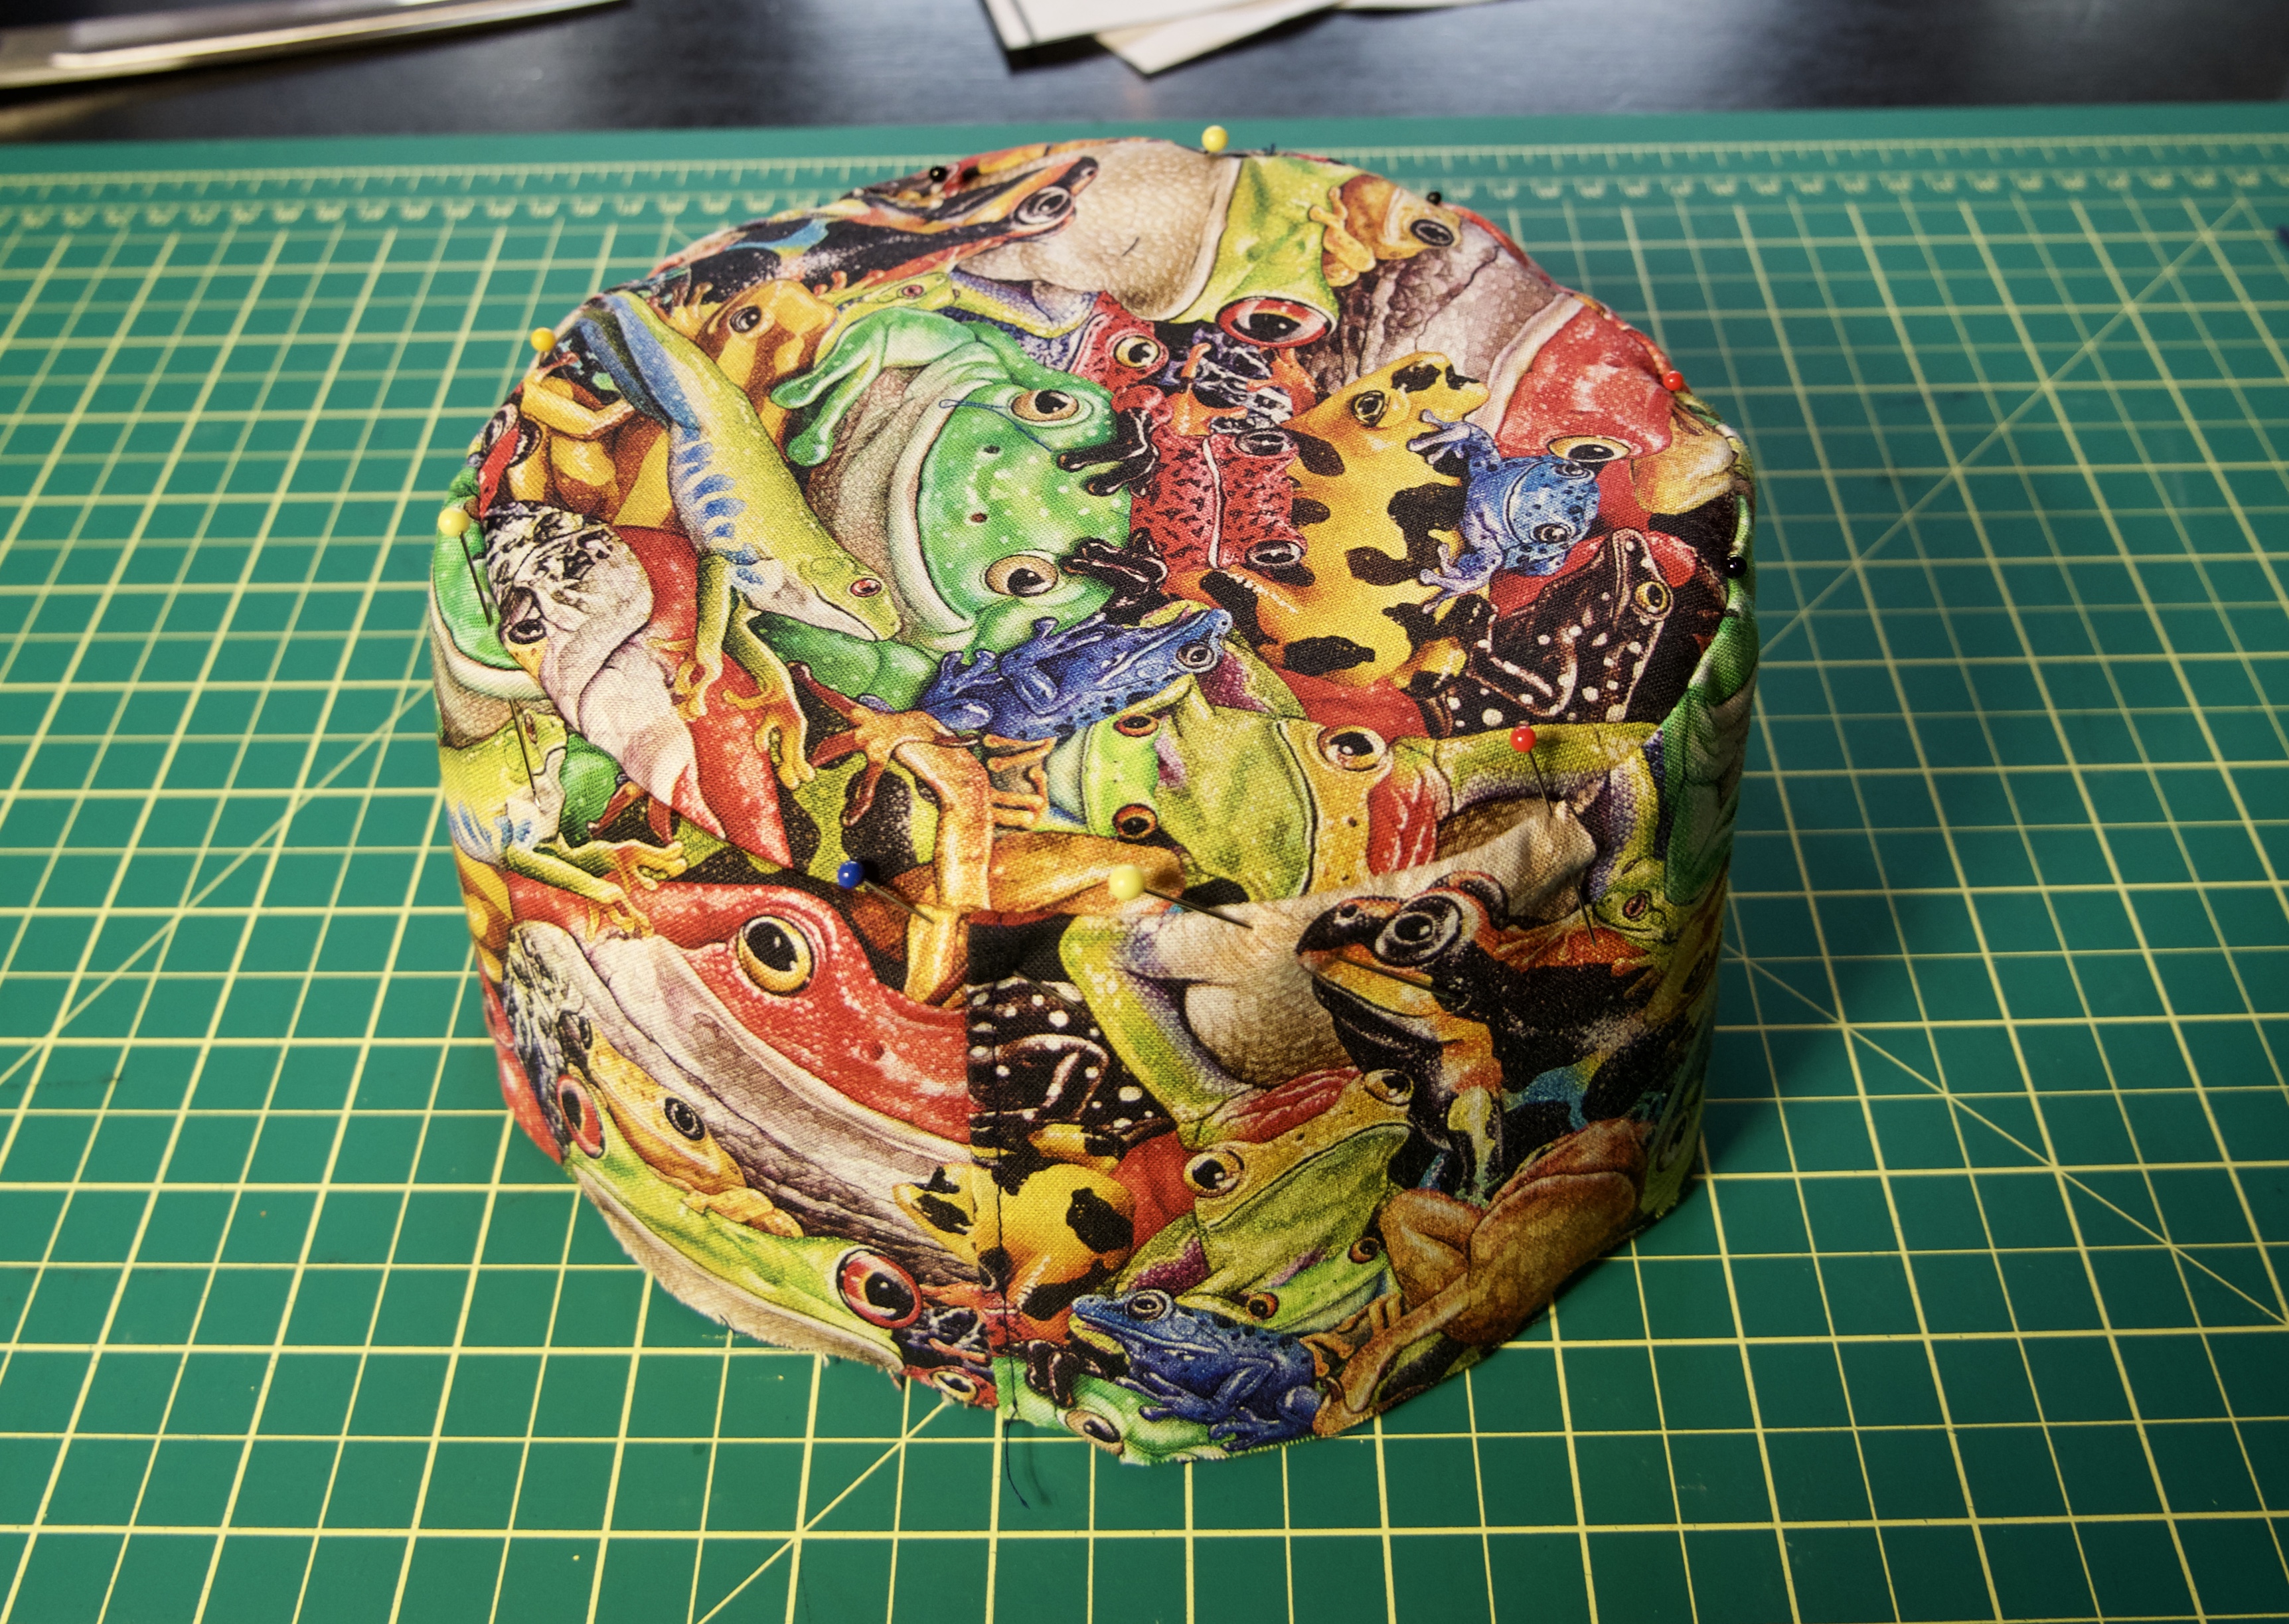
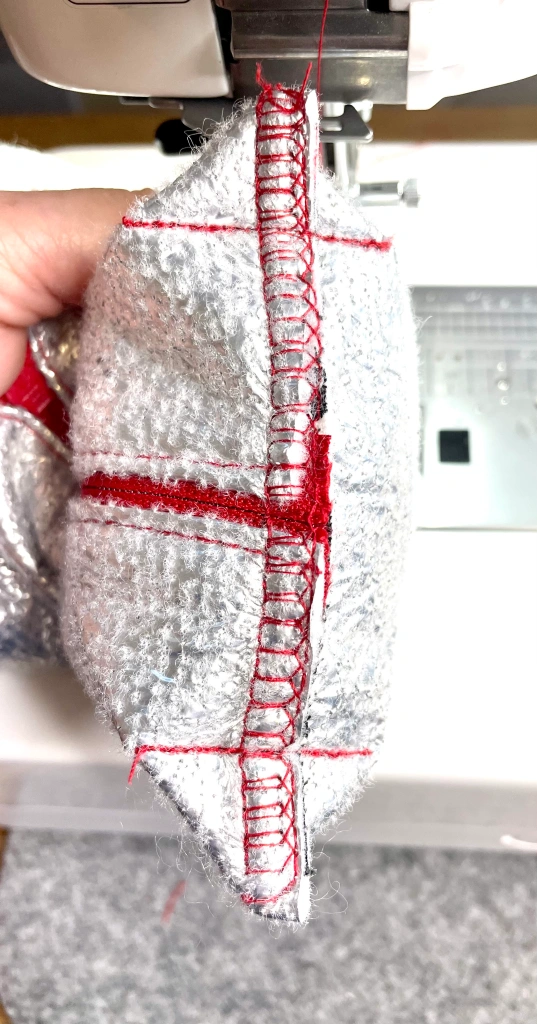
Topstitching is next, all the way around the top seam. This secures the lining in place, and it looks great! One thing I love about the Janome HD9BE is that it effortlessly stitches over seams and bumps. It really comes in handy for these kinds of projects!

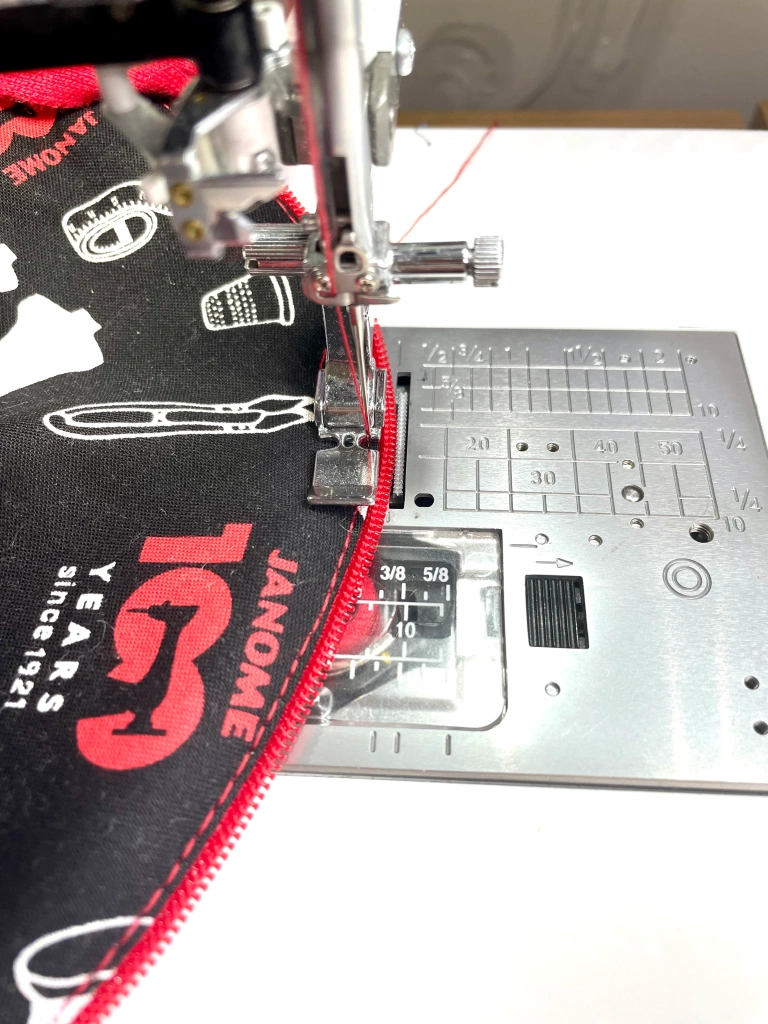
3) Topstitch your brim quickly and easily with a straight stitch foot
This is by far my favourite part of this project. Once the brim pieces are seamed together, I like to topstitch for that “finished” look. The Janome Straight Stitch Foot, Part Number: 767406019 for high-speed straight stitch models like the Janome HD9/HD9BE and Janome 1600P, makes it really easy to evenly topstitch the brim without marking or measuring anything. Watch the video below to see exactly how I do it!
If your machine didn’t come with a straight stitch foot, visit your Janome Canada dealer and they will supply you with the right one for your machine.
Once the brim is topstitched, you can sew the brim and ‘bucket’ together.
4) Make your own sweatband
If you look on the inside of factory made caps, you will find a strip of folded fabric sewn around the bottom of the cap. They call this the “sweatband”. It finishes the cap by hiding the raw edges, and of course, it’s there to absorb sweat! You can purchase already made sweatbands, but for one-off projects I prefer to make one using the lining fabric. This way it matches the inside of the hat!
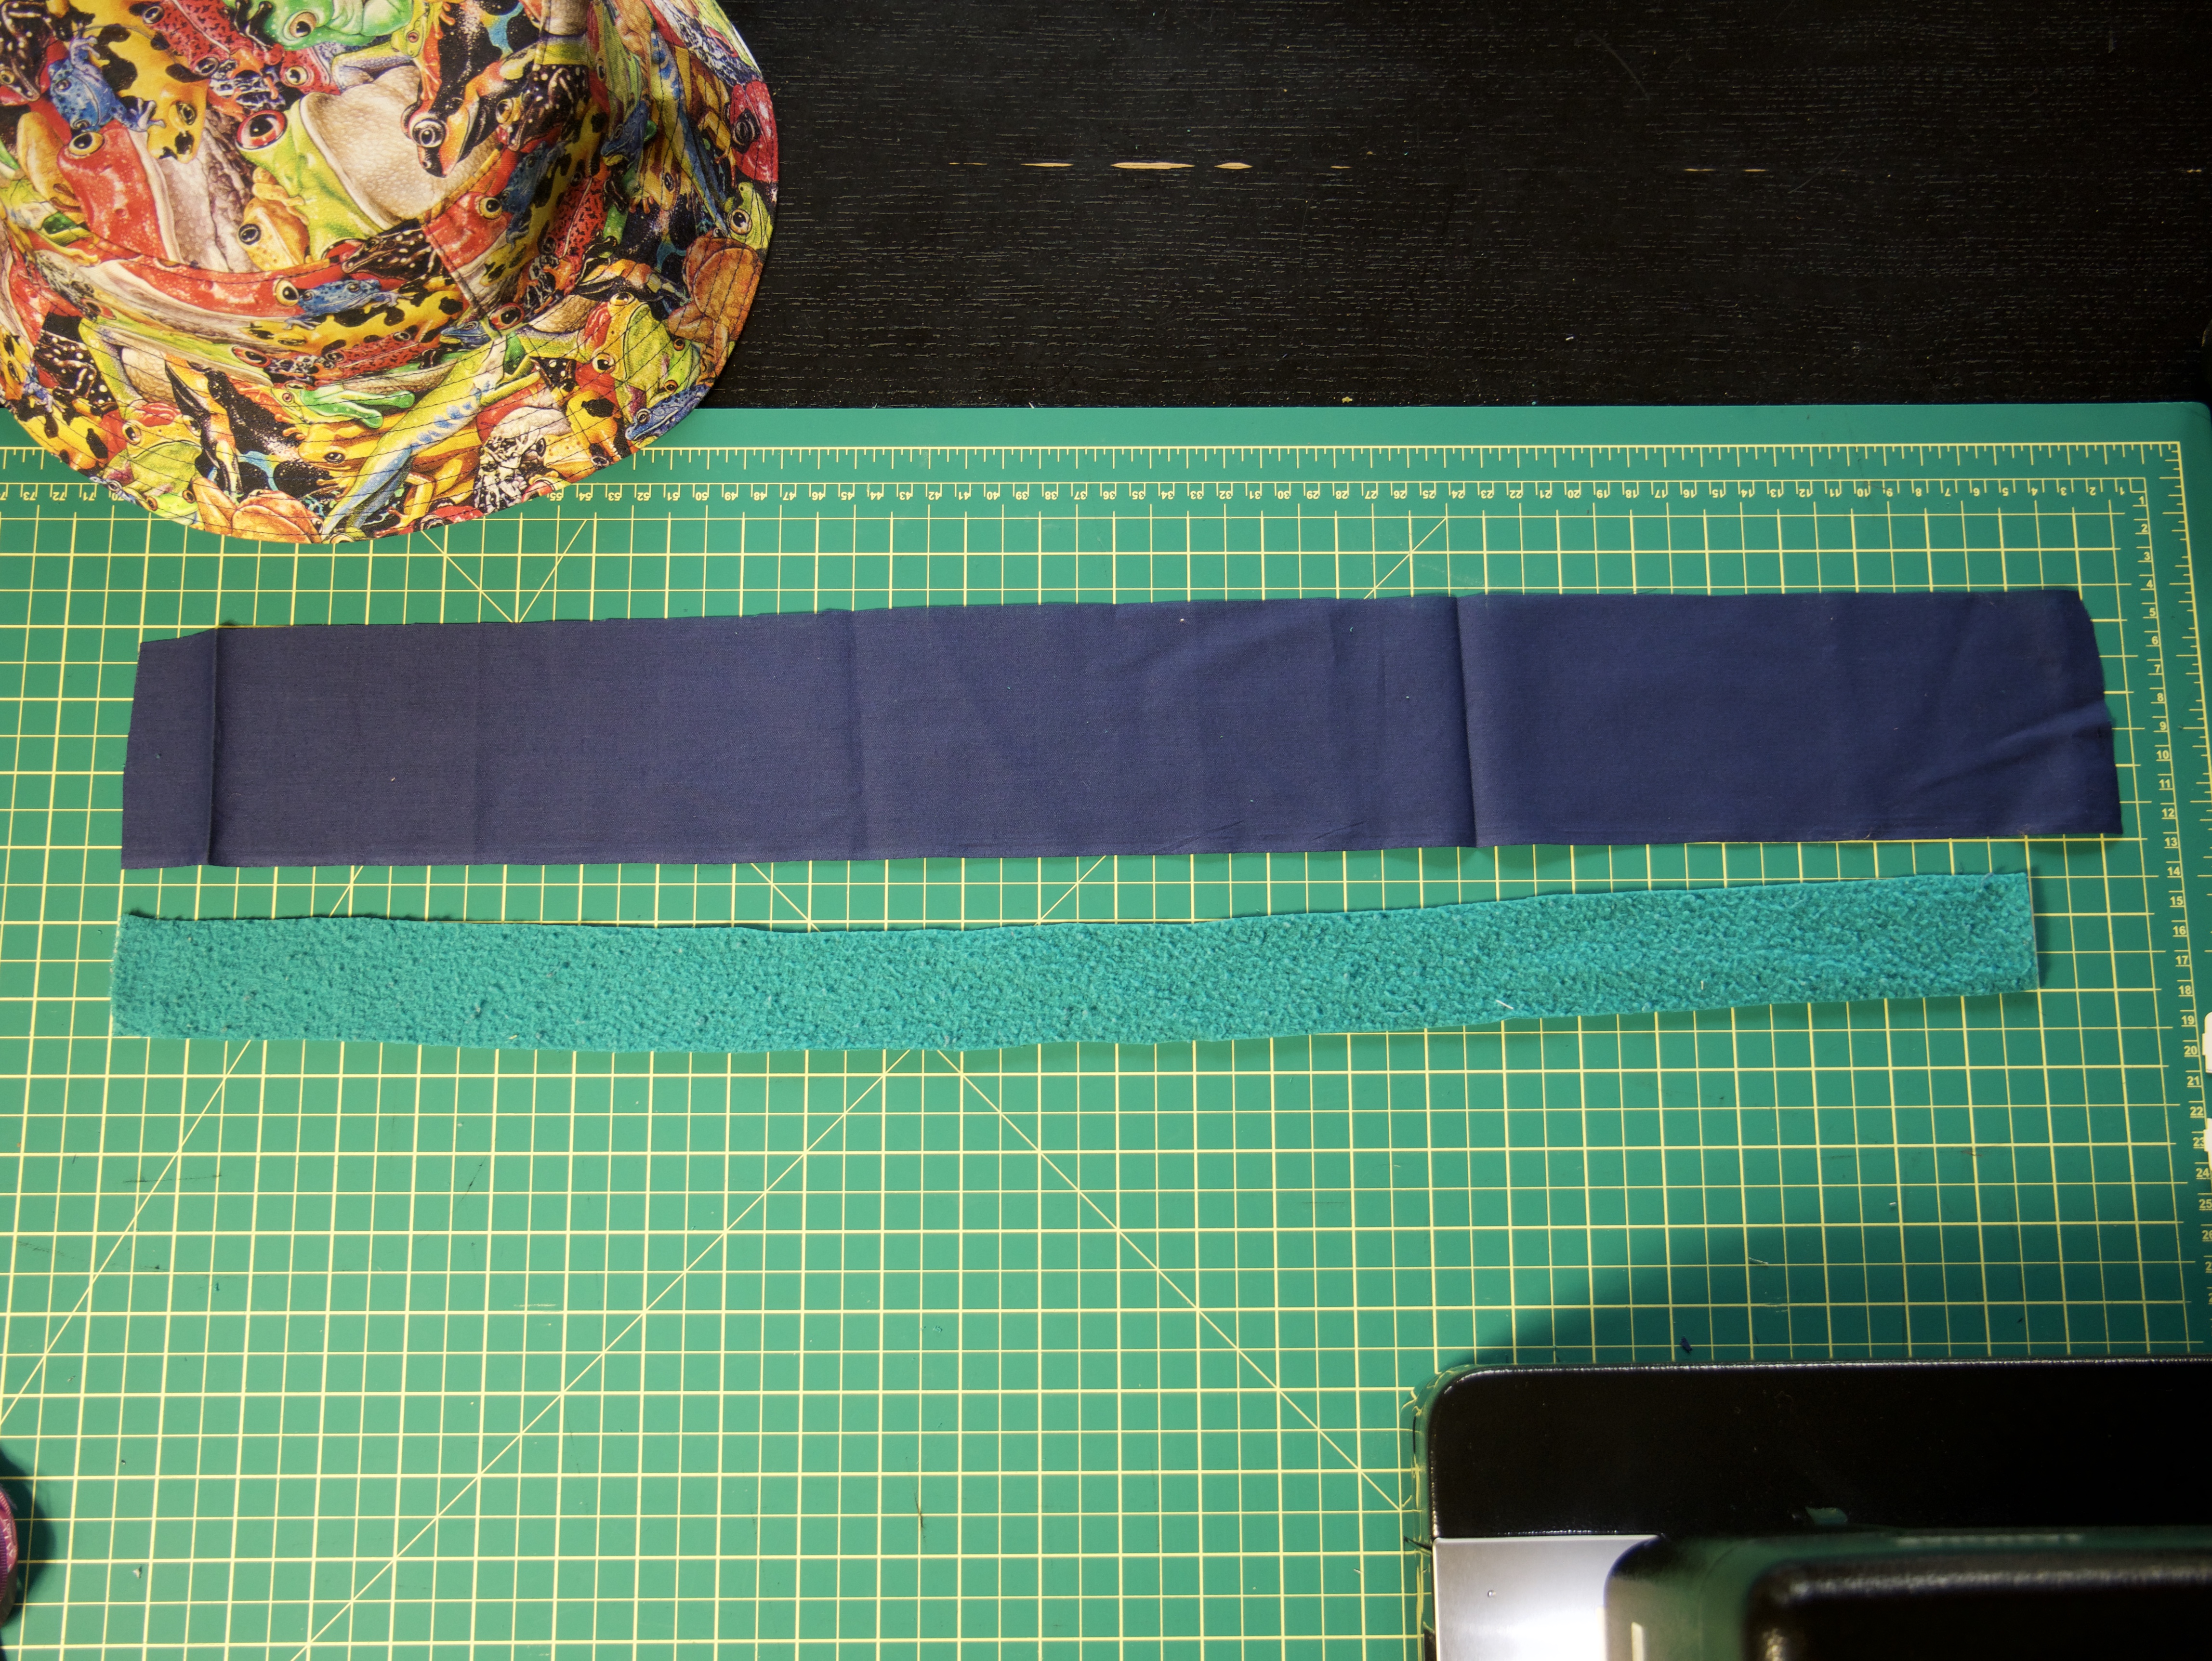
First, I measured the brim/bucket seam at 24″. I then cut a piece of leftover sweatshirt fabric 24″ long and 1.5″ wide. Then, I cut a piece of lining one inch longer (25″), and twice as wide (3″).
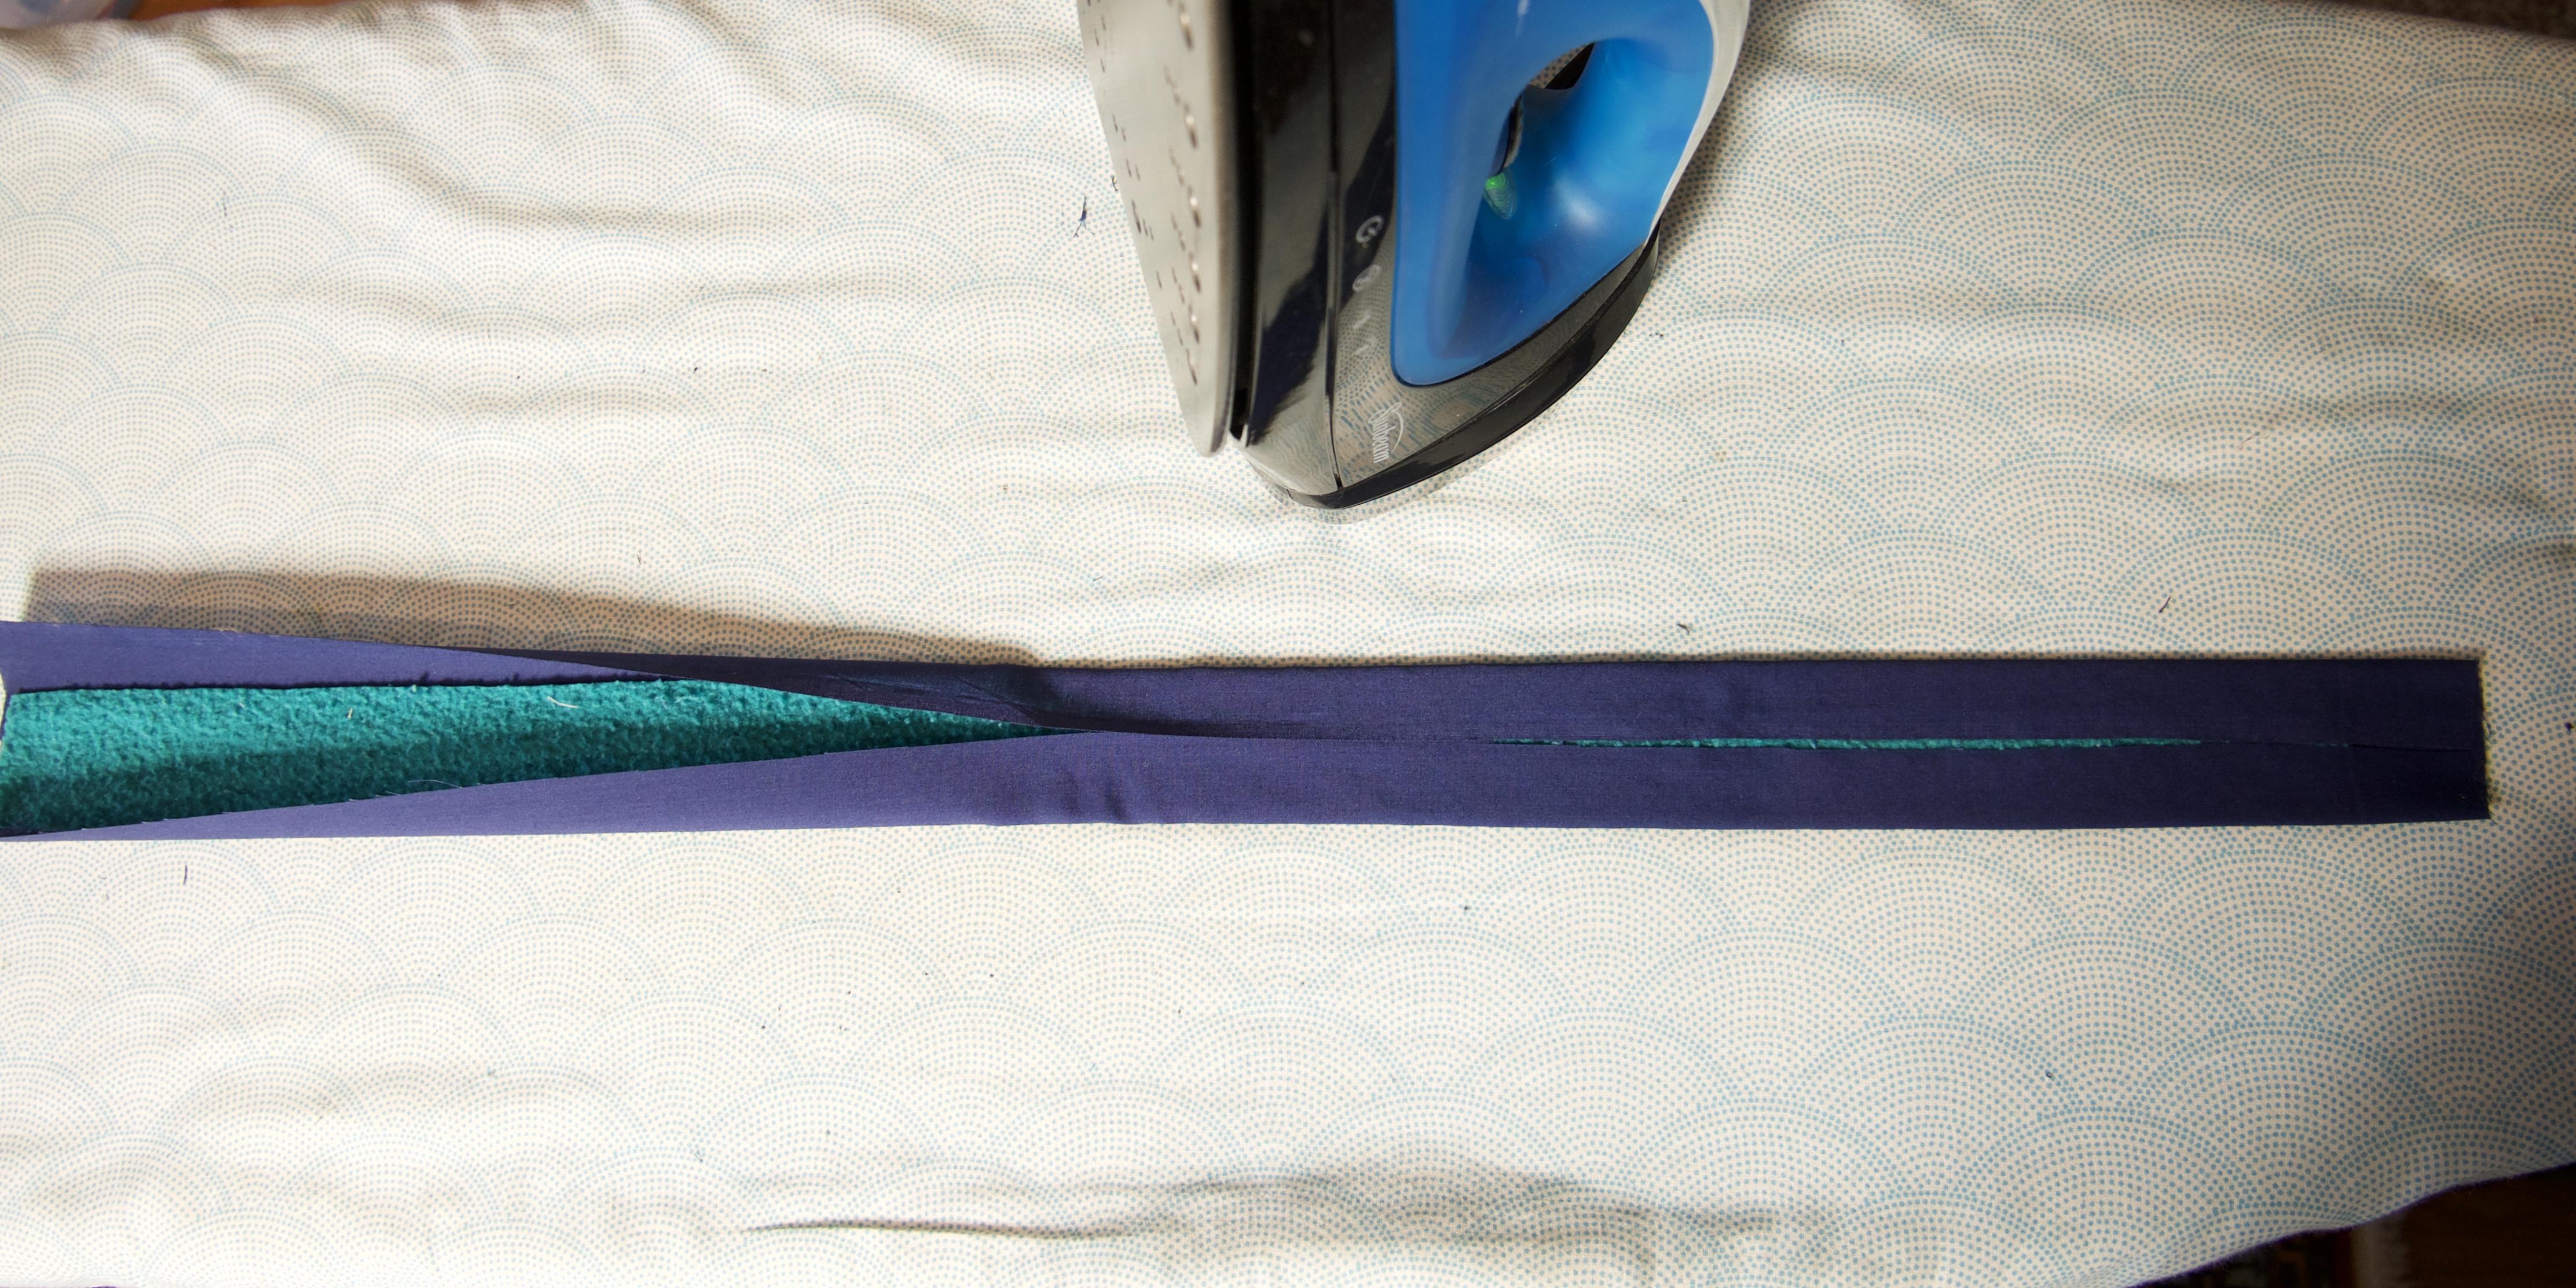
Next, I wrap the lining around the sweatshirt strip and press it in place. Take to the sewing machine to make a few passes of stitching to secure the layers.
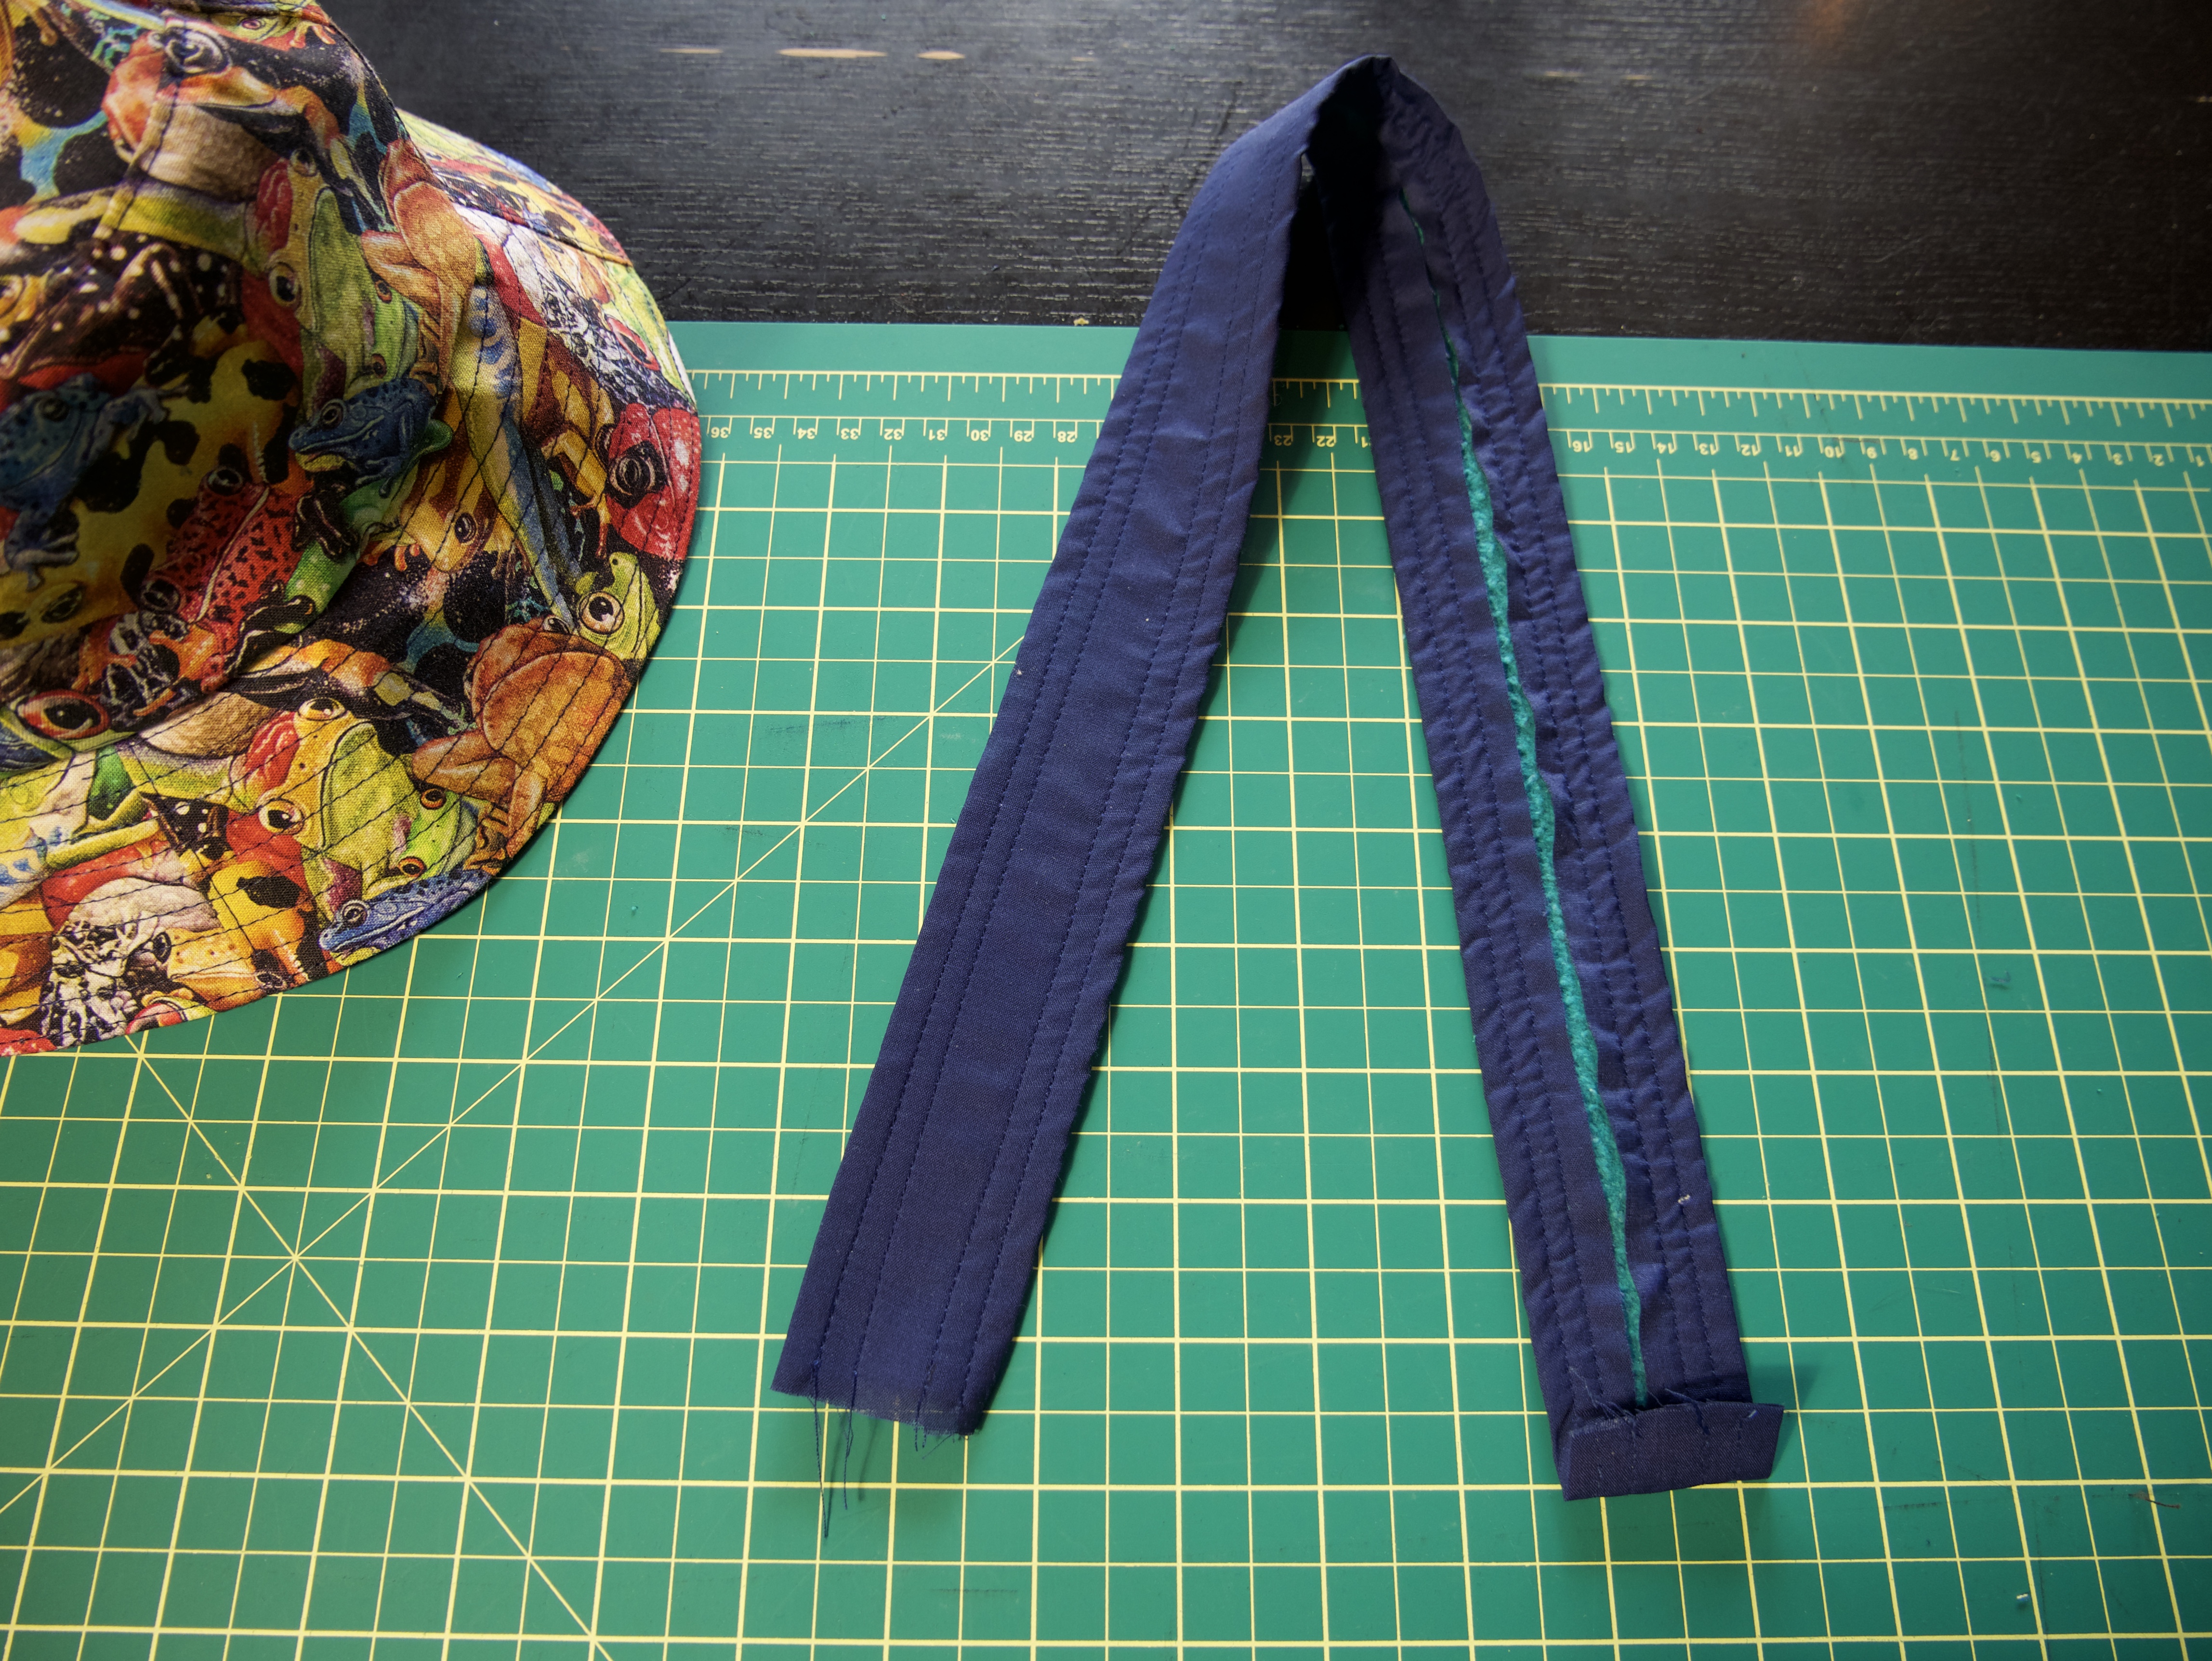
Press the extra inch of lining at the end of the sweatband in half. When I sew the sweatband into the cap, I will start with the raw end and finish by sewing the folded edge over it. Because the folded edge is just the lining, the bulk is minimal.
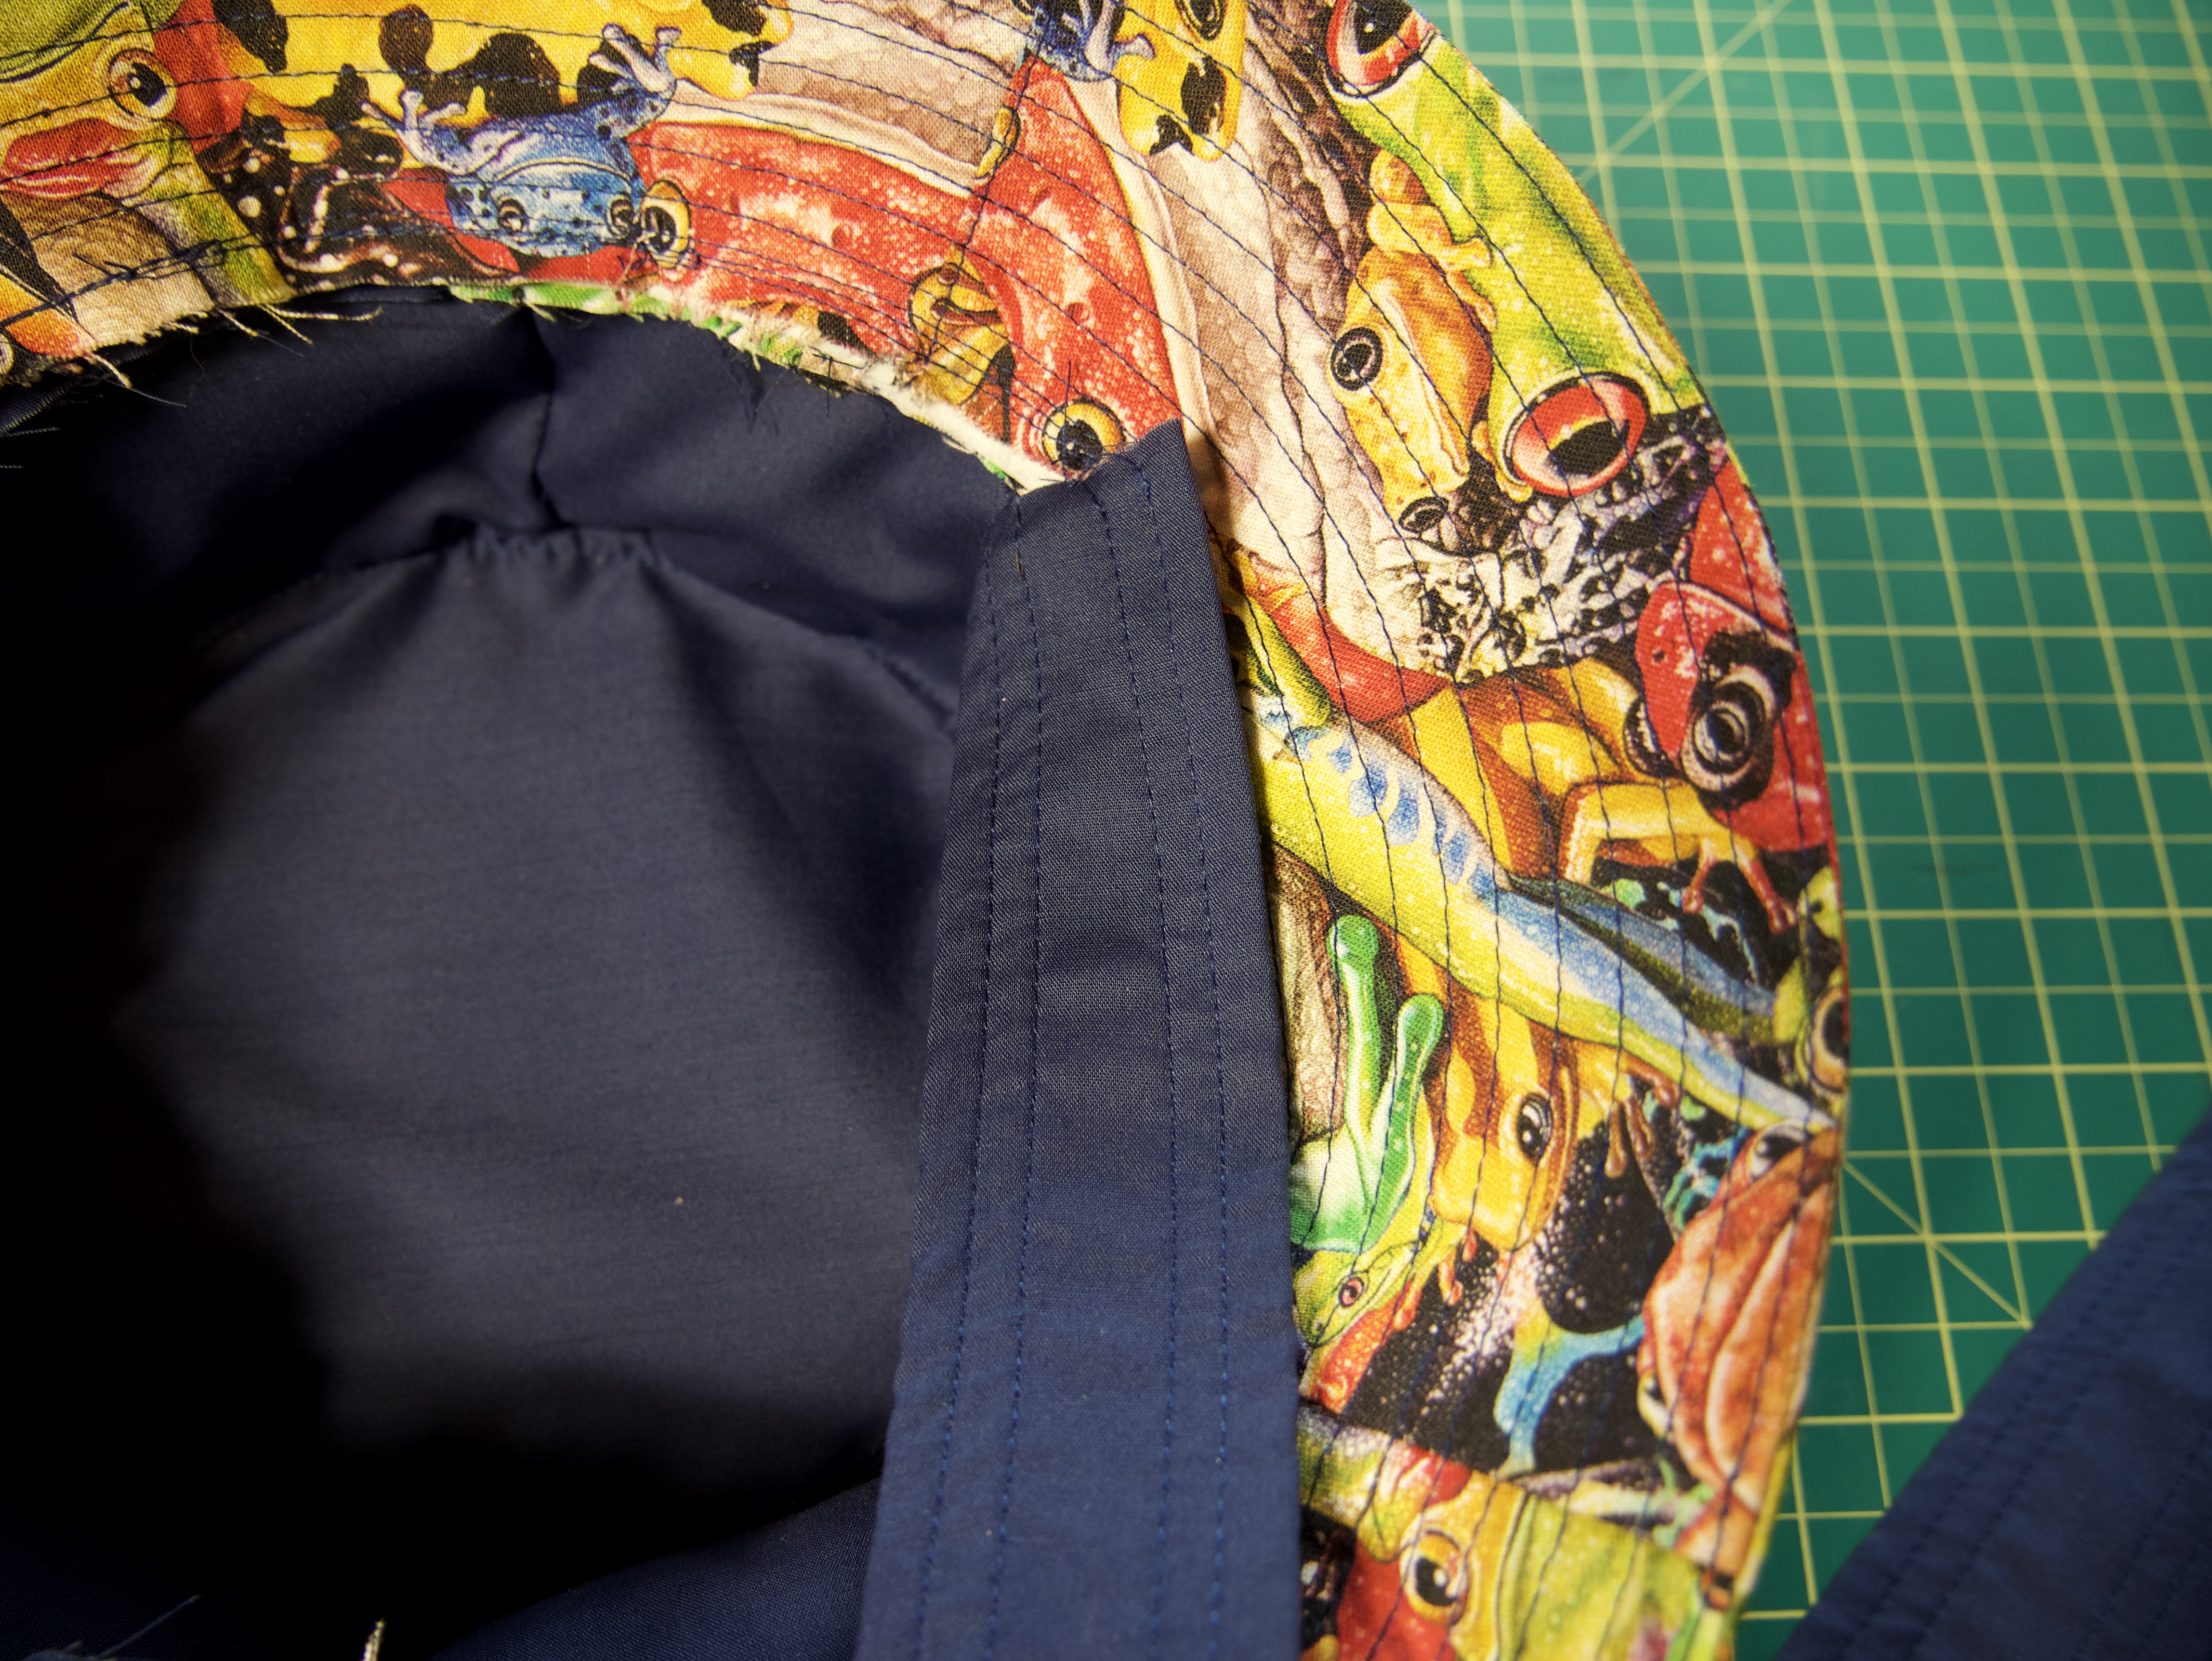
Lay the sweatband inside the hat, just covering the raw edge, right side facing out. Topstitch it carefully into place.
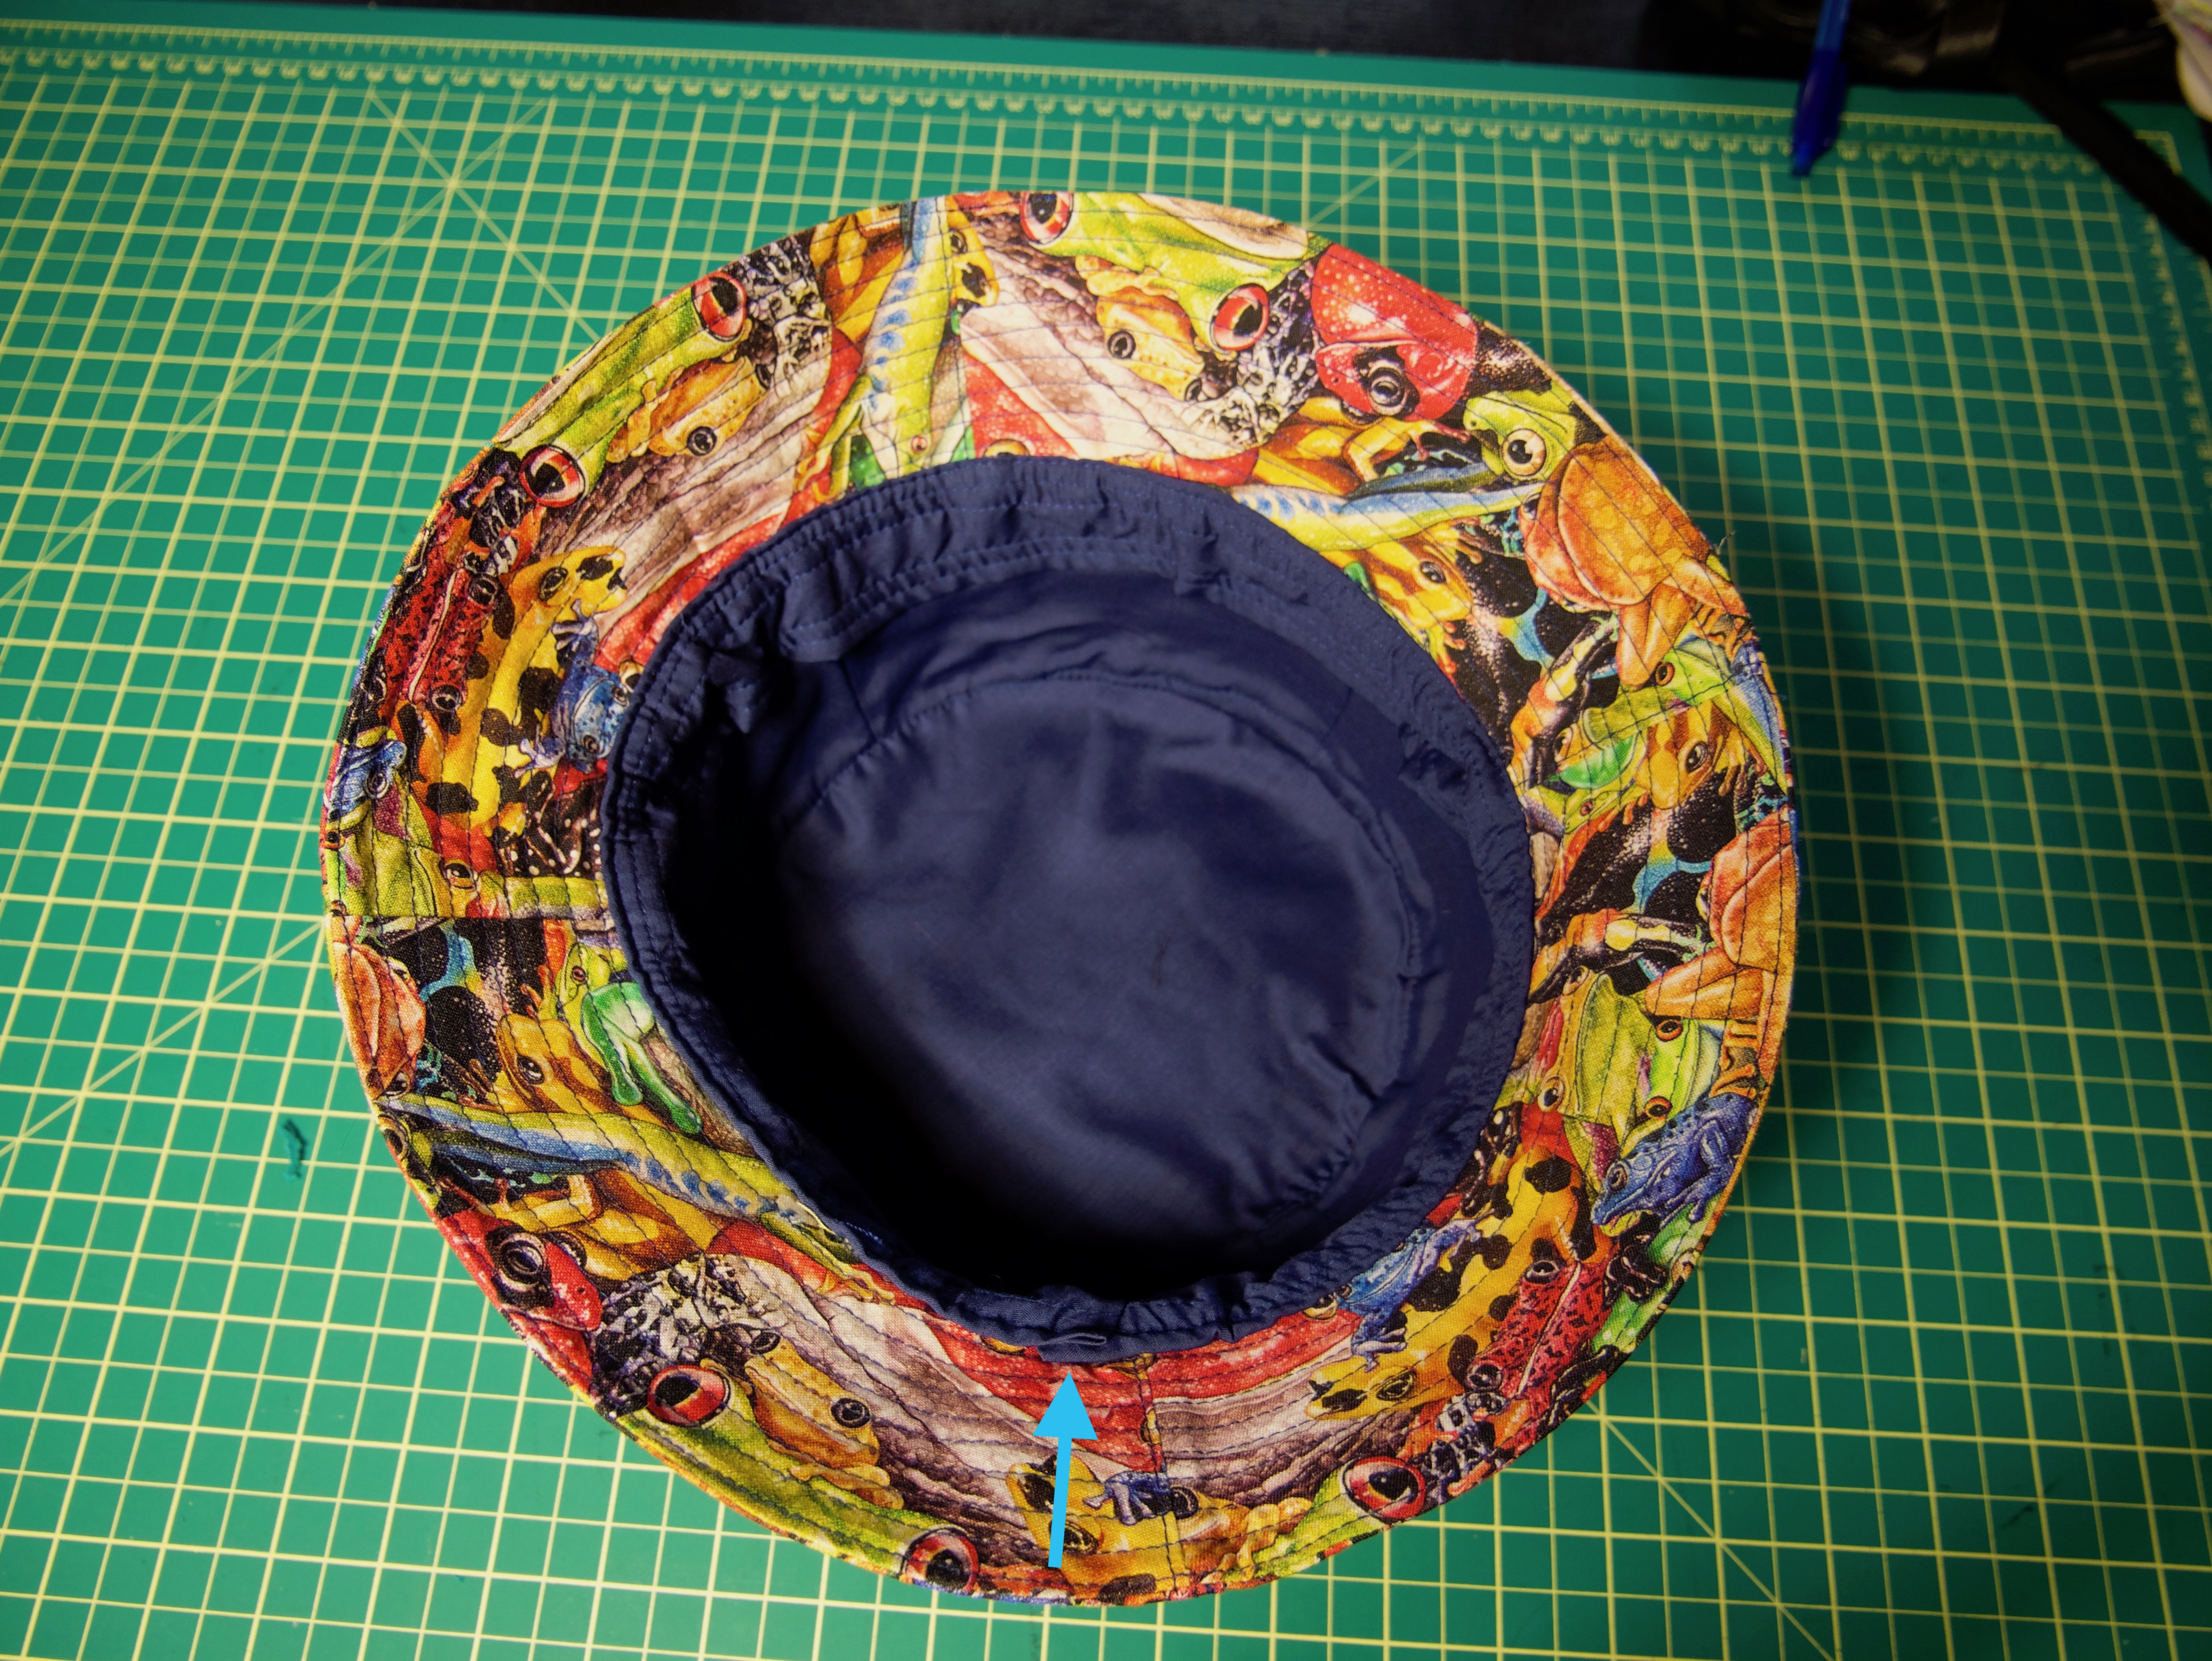
Here is the finished product on the inside! Dare I say it looks even more fabulous than the outside? The turquoise arrow points to the sweatband overlap that I just mentioned. It’s barely noticeable! The bucket hat is ready to wear, but there’s one more step we can do to really finish it off right.
5) Steam the bucket hat for final shaping
Professional cap makers use hat blocks and steaming machines to crisply shape their final product. Here is how we can replicate that at home.
Start by stuffing the inside of the hat with scrap fabric until it’s completely filled.
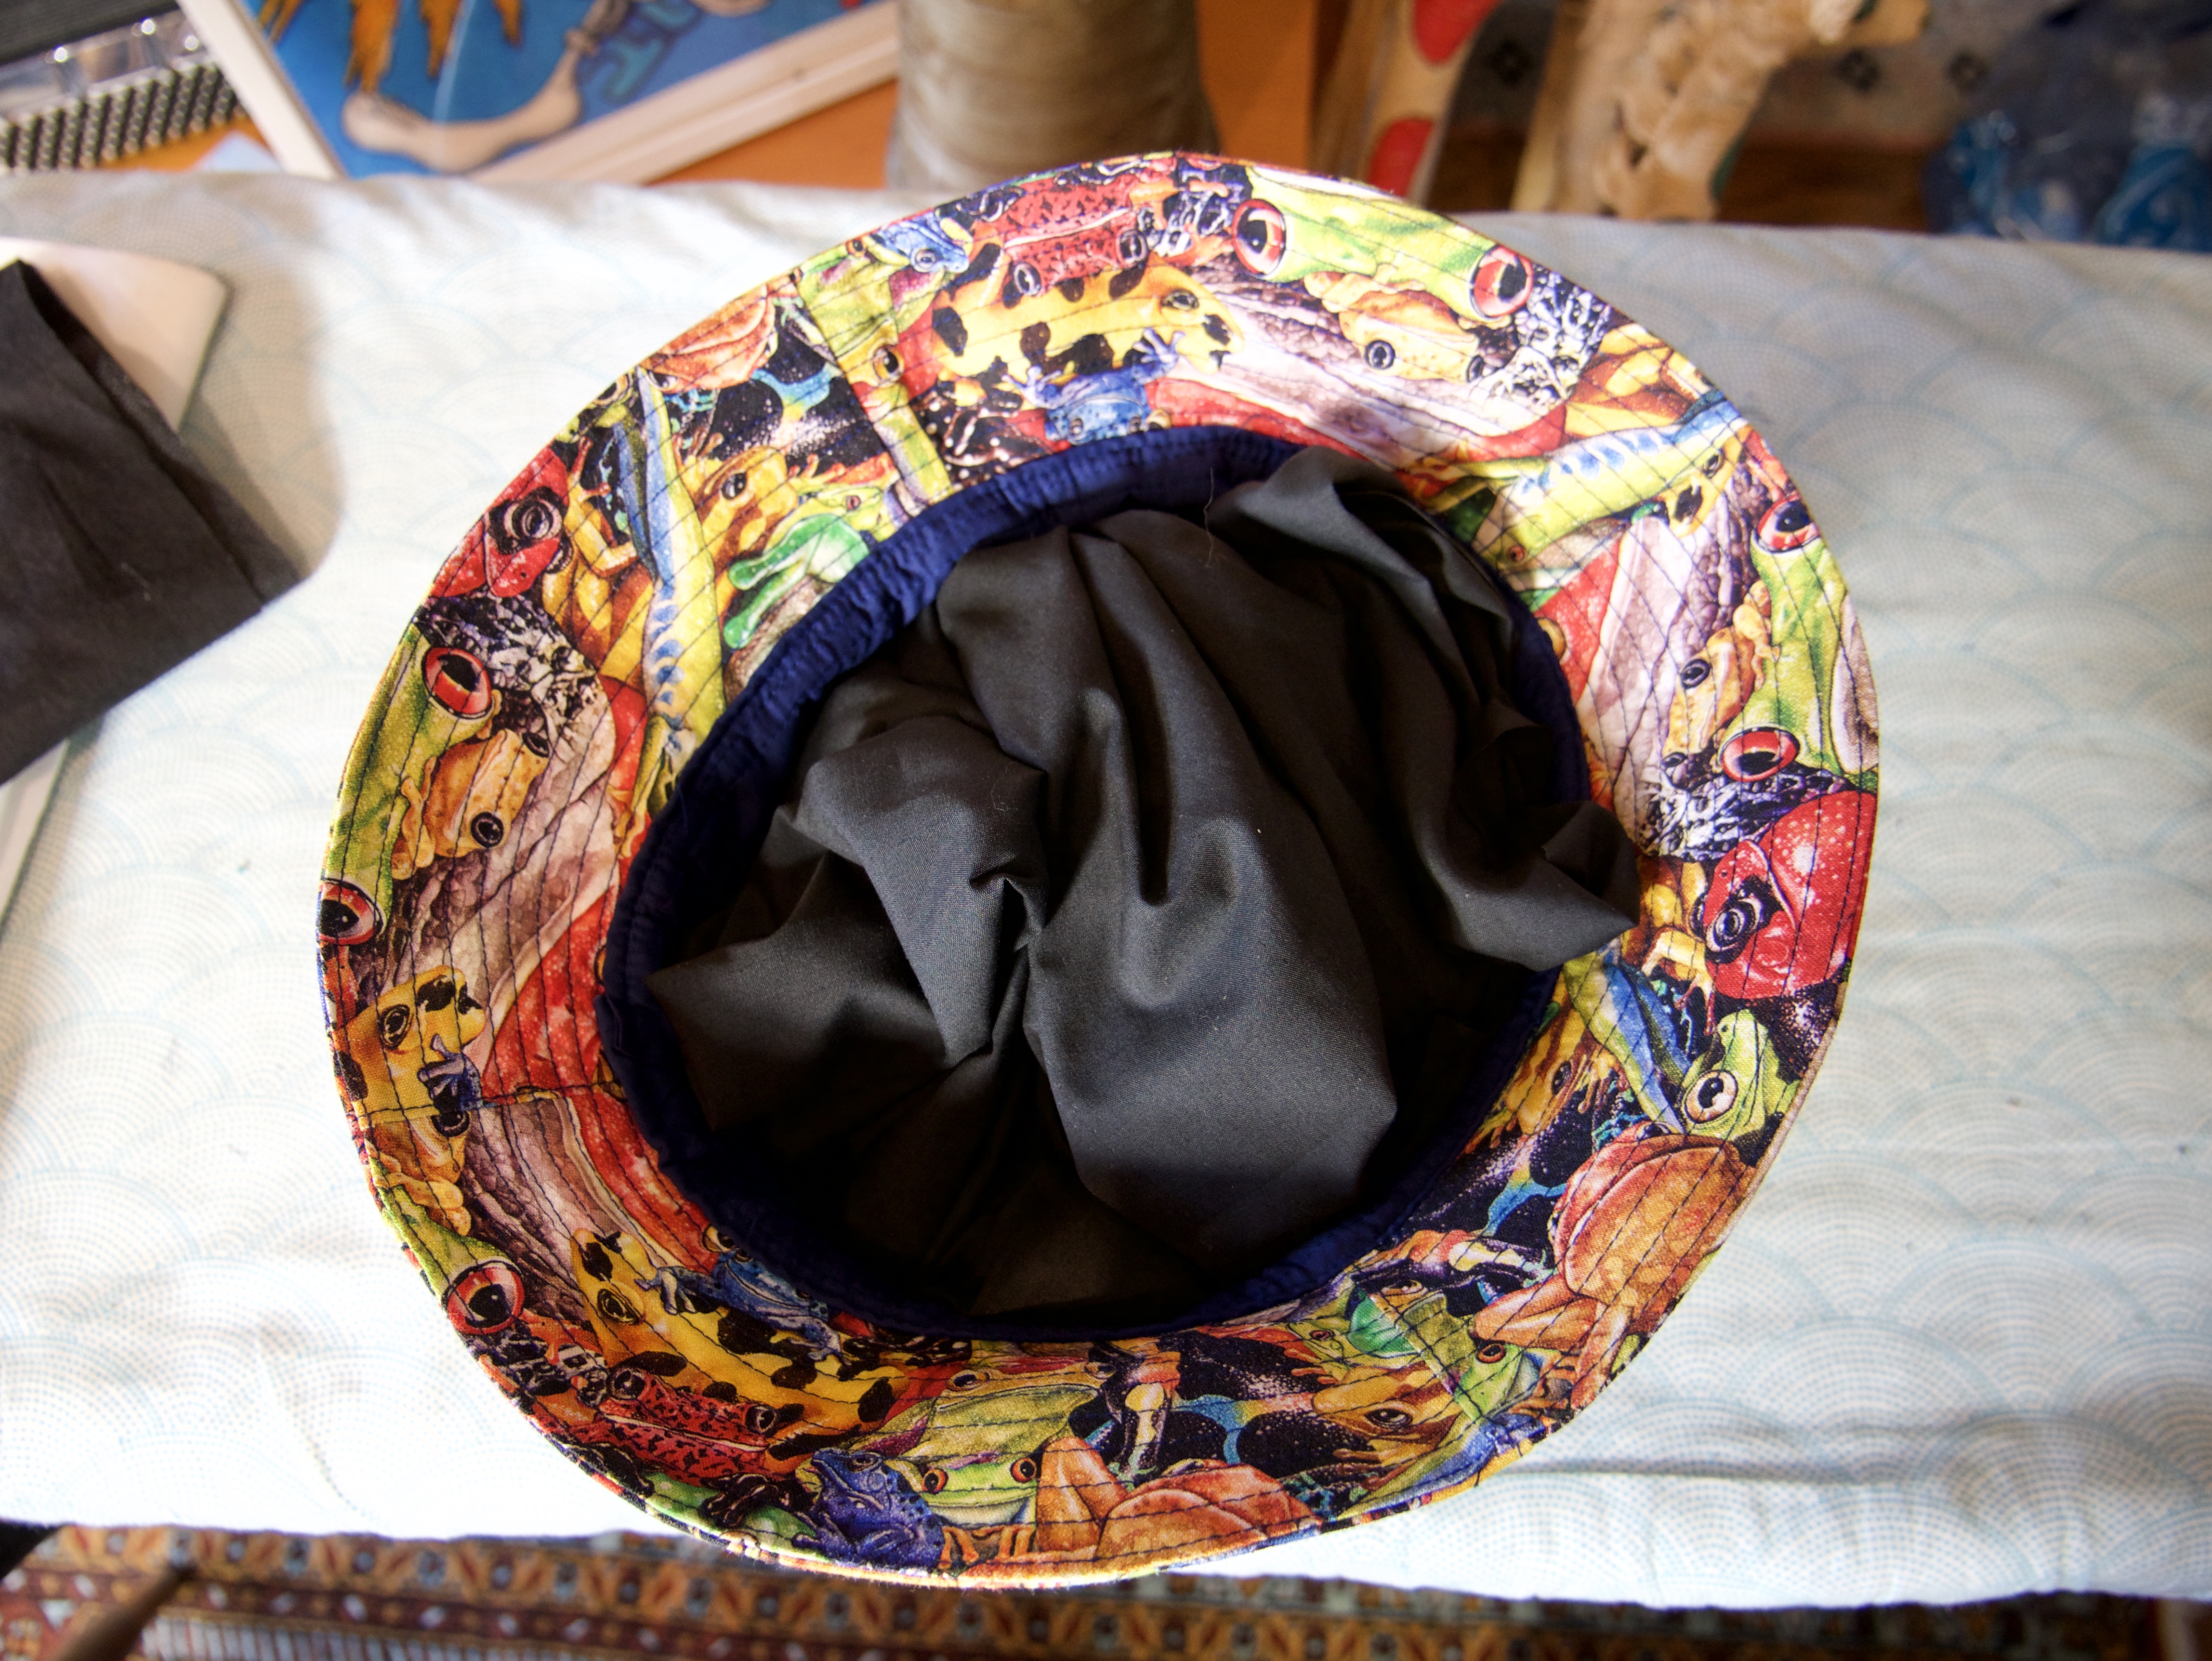
Press the steam button on your iron to blast steam onto the hat for a minute or so. Afterwards, set the hat aside for a couple of hours to dry.
And now we are finally done!
I hope this will inspire you to make your next bucket hat. Stay tuned for more sewing tips & tricks right here on Janome Life!